Employees are the users who use REVO, in other words, your workers.
Each employee has a unique 4-digit PIN to identify themselves in the REVO app. It is recommended that each employee has their own user account and does not share one among themselves. This way, you ensure that each person uses their privileges correctly.
GENERAL SCREEN
1. Access the back-office of Revo XEF.
2. Go to Settings / EMPLOYEES.
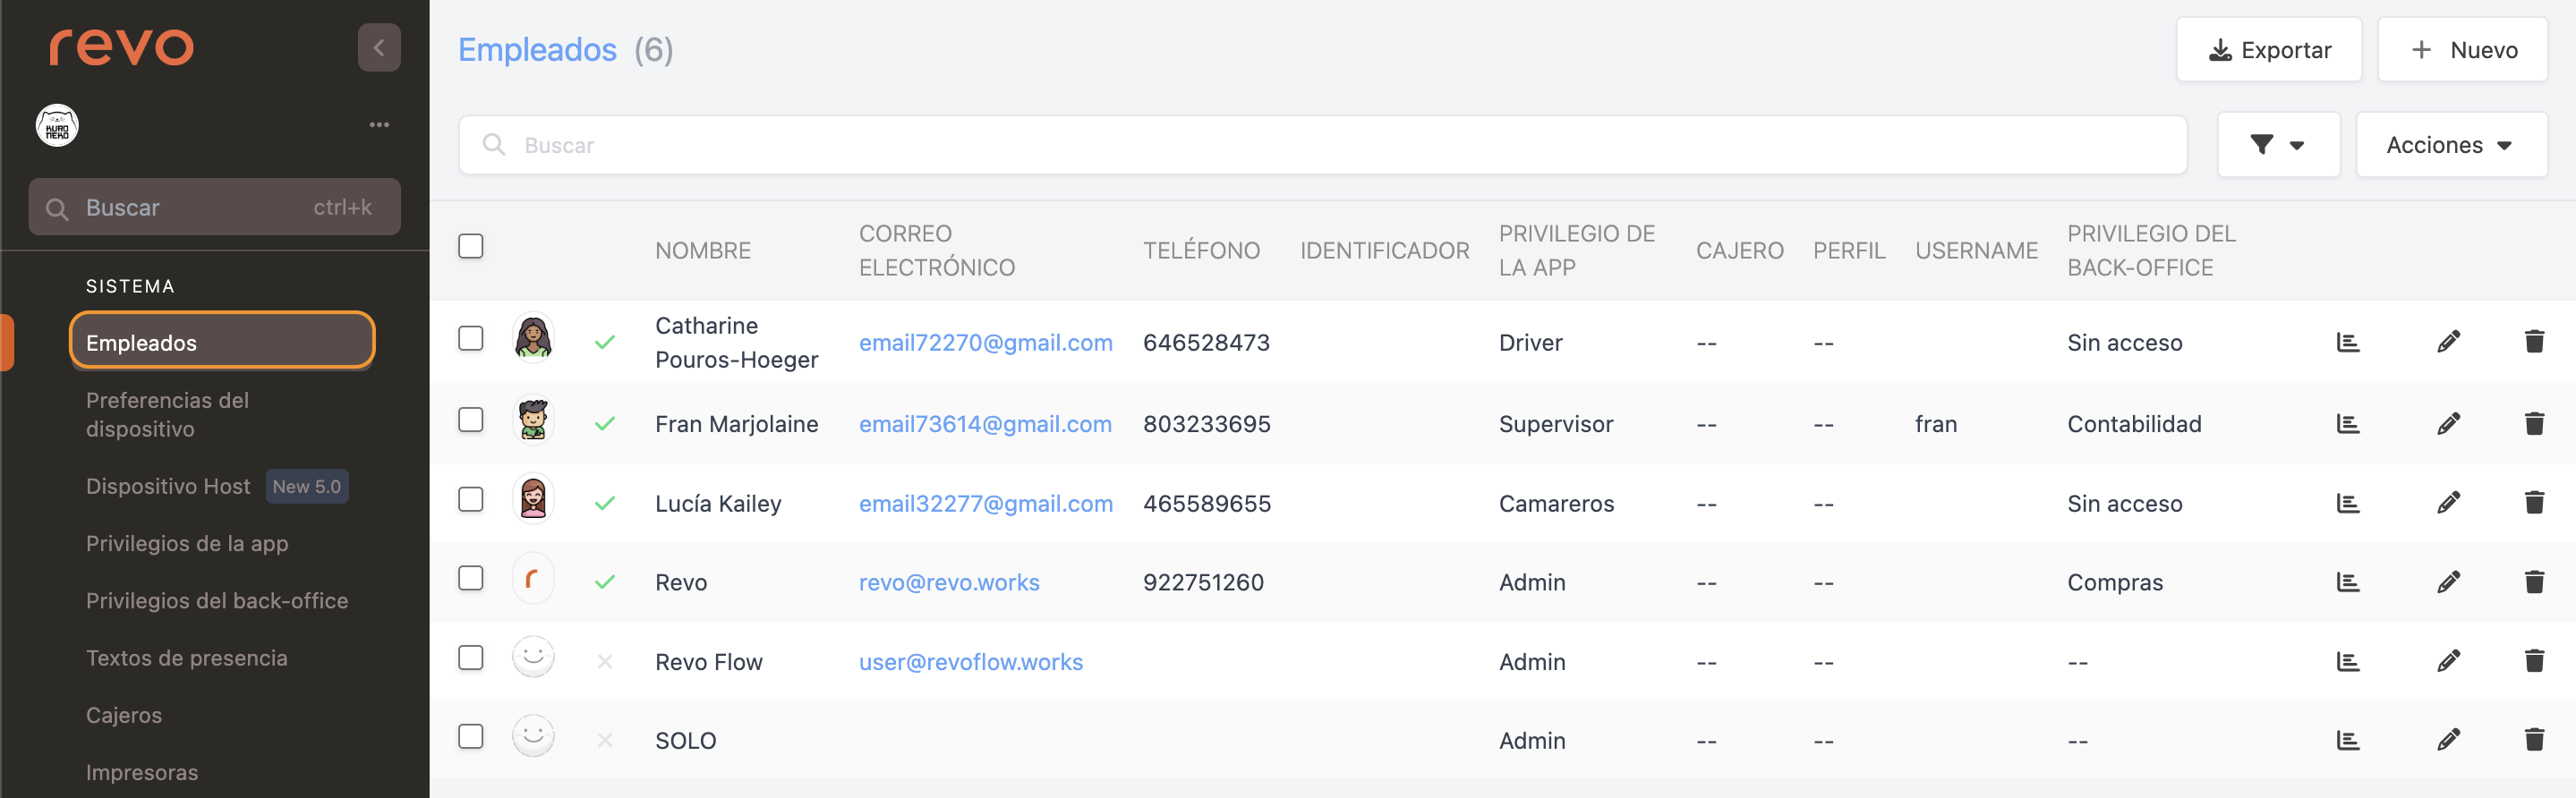
- : Export the list of employees.
- + New: Create a new employee.
- : Search for employees.
- : Filter employees by active status or app privilege.
- Actions: Delete one or more selected employees.
- : Select all or multiple employees.
- : Add a photo to quickly identify the employee. Recommended for the Night Shift system.
- : Employee activated or deactivated.
- Name: Employee's name.
- Email Address: Employee's email.
- Phone: Employee's phone number.
- Identifier: Code if you use an NFC identification method, etc.
- App Privilege: Employee's privilege in the app.
- Cashier: Assigned cashier.
- Profile: Assigned profile.
- Username: User account for the back-office.
- Back-office Privilege: Employee's privilege in the back-office.
- : List of open orders by the employee.
- : Edit the employee.
- : Delete the employee.
HOW TO CREATE AN EMPLOYEE
1. Click on + New or the and fill in the information:
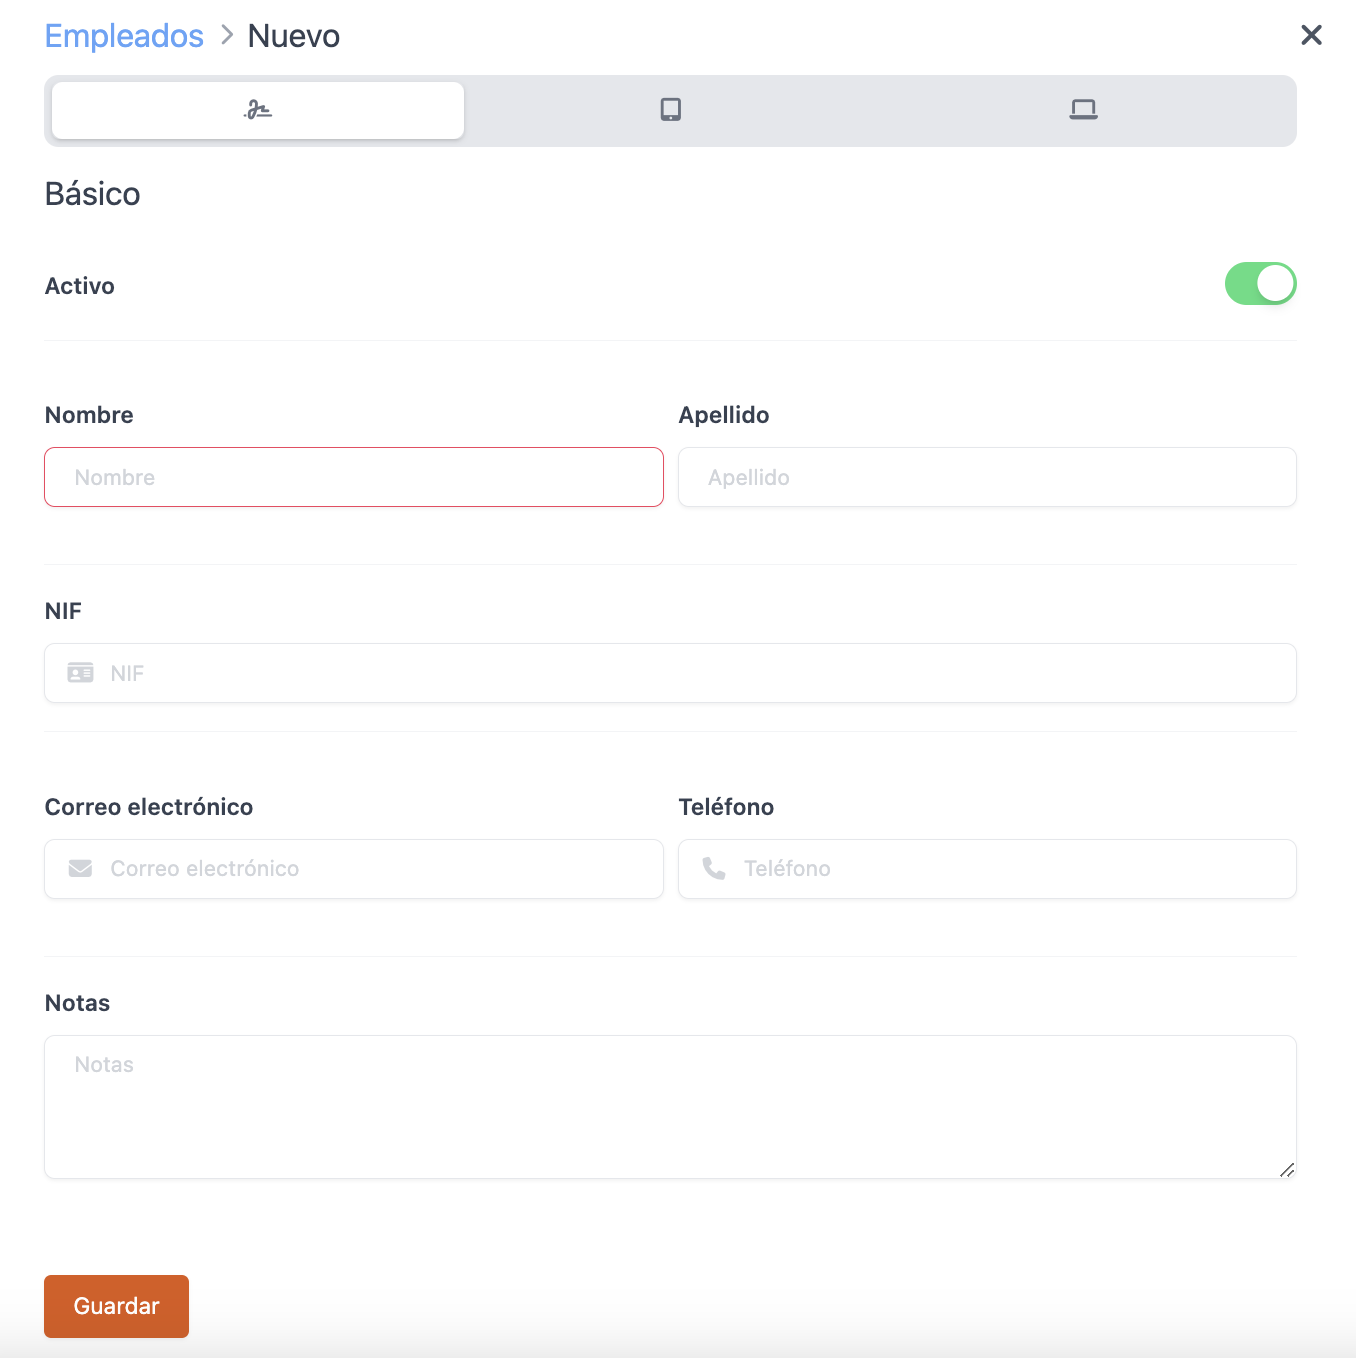
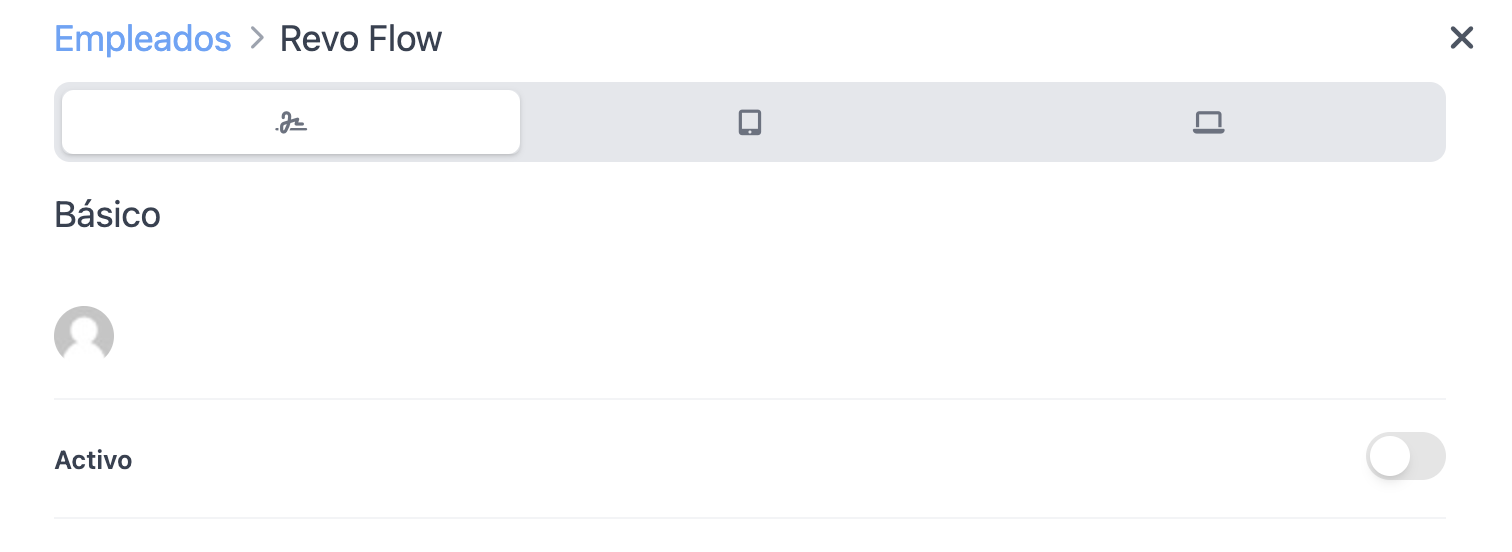
Basic Information
-
Active: Activate, so the employee is available in the app and will be able to acces to the back-office.
-
Name: Employee's name. Mandatory Field
-
Surname: Employee's surname.
-
NIF: Employee's NIF (National Insurance Number).
-
Email Address: Employee's email.
-
Phone: Employee's phone number.
-
Notes: Free text field to note down any information.
App
-
PIN: Unique 4-digit code. You can generate a random PIN by clicking on Generate.
-
Identifier: Code if you use NFC, QR Code, magnetic card, etc.
To use this identification method, configure it in the Order Settings. More information here.
-
App Privilege: Define what the employee can do in the REVO app. You must create this privilege beforehand. Learn how here. Mandatory Field
-
Cashier: If you assign a cashier, it will be automatically assigned to the employee each time they enter their PIN in the app. Leave it as -- to use the default cashier.
-
Profile: If you assign a profile, it will be automatically assigned to the employee each time they enter their PIN in the app. Leave it as -- to not use a profile.
Back-office
-
Username: Username for the employee to access the back-office.
-
Password: Password for the employee to access the back-office.
-
Back-office Privileges: Define what the employee can do in the back-office. You must create this privilege beforehand. Learn how here.
2. Click on Save.
How to add an image to the employee?
You have two options:
1. From the general screen:
-
Click on , next to the employee's name.
-
Use the Select File button to upload an image.
-
Click on the Save button to apply the changes.
2. From the employee's record:
-
Click on the of the employee.
-
Click on .
-
Use the Select File button to upload an image.
-
Click on the Save button to apply the changes.
For each worker to access their personalised page in the back-office, they should go to the URL: revoxef.works. Then, they should enter their username using the template: name@establishmentname and the assigned password.