1. CREATE A MODIFIER 2. CREATE MODIFIER OPTIONS 3. ASSIGN A MODIFIER 4. PRACTICAL EXAMPLES
Modifiers in REVO allow you to add a modification or variant to a product. You can also use them to give instructions on how to prepare that product.
For example, when adding an espresso coffee (product), you can configure REVO to ask you for the size (modifier). Unlike the optional modifiers, these always appear when you click on the product, displaying a window with the variants.
1. CREATE A MODIFIER
To create a modifier:
1. Access the back-office.
2. Go to Catalogue / MODIFIERS.
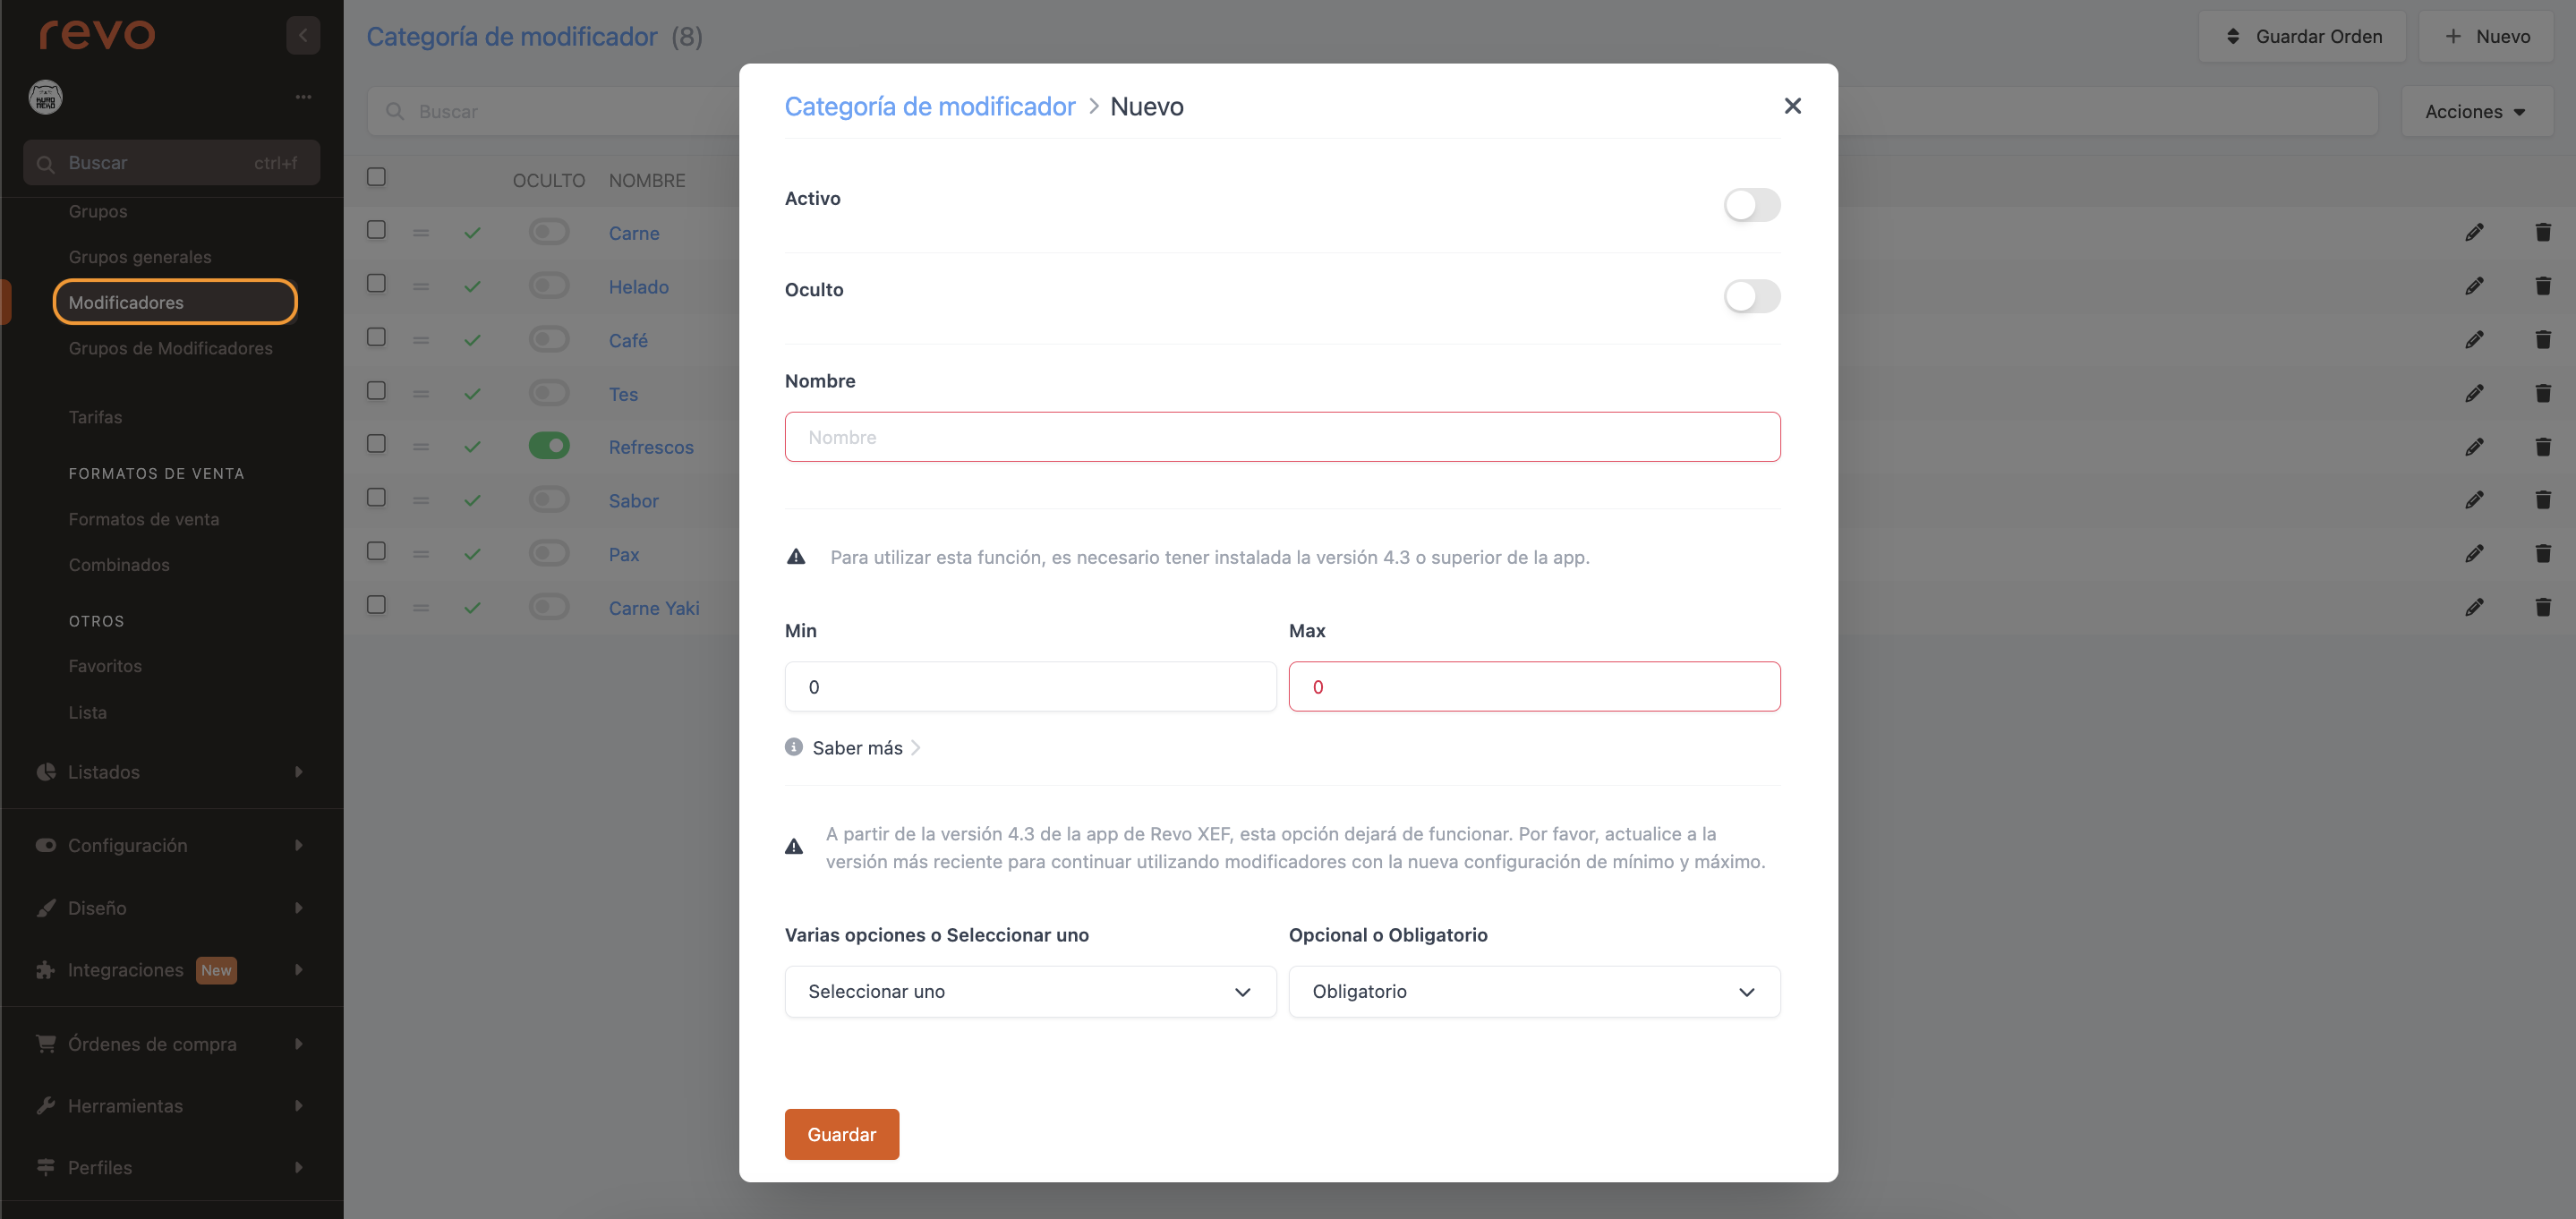
3. Click on + New and fill in the information:
-
Active:
-
Hidden: This option prevents the window with the variants from appearing, even if the modifier is mandatory. Useful with the Auto-select option.
-
Name: Enter the name of the modifier.
These two options will be available from version 3.4.3 onwards.
-
Min: Indicate whether it's optional (0) or mandatory (1).
-
Max: Indicate whether you can choose one or multiple options.
IMPORTANT: Do not leave the max field at 0 for proper functioning.
Examples:
Min: 1 and Max: 1: Mandatory, select one option.
Min: 1 and Max: 2: Mandatory, select up to 2 options.
Min: 0 and Max: 1: Optional, select up to 1 option.
IMPORTANT: From version 3.4.3 onwards, these two options will become obsolete.
-
Multiple options or Select one: Allows you to select multiple options or only one within the modifier.
-
Optional or Mandatory: Determines whether it's necessary to select one or multiple options, or if you can add the product without selecting any options in the modifier.
2. Tap Save.
2. CREATE MODIFIER OPTIONS
After creating the modifier, click on the name of the modifier or the -- to access the modifier options.
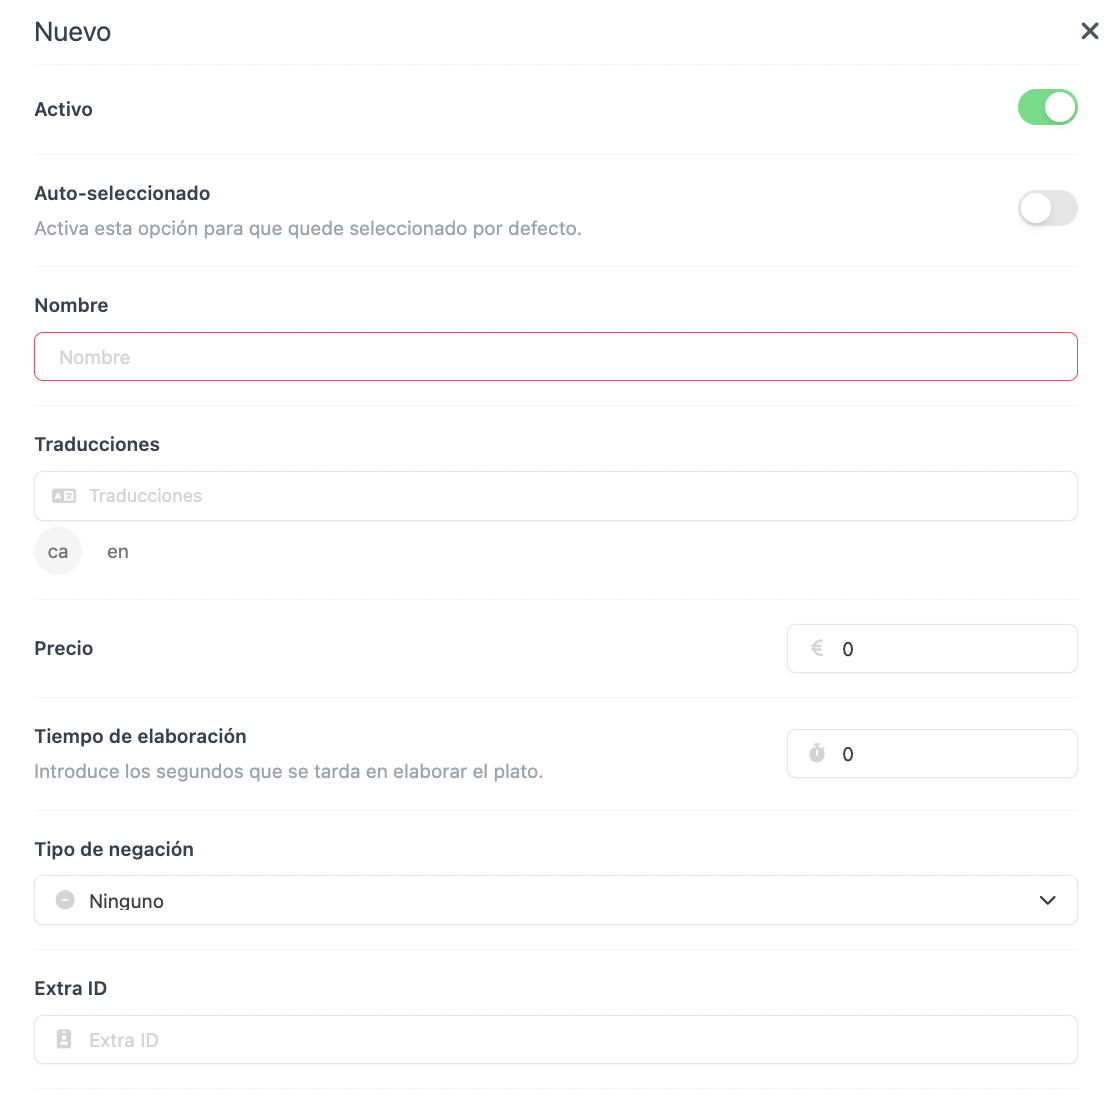
1. Click on + New and complete the following information:
-
Active:
-
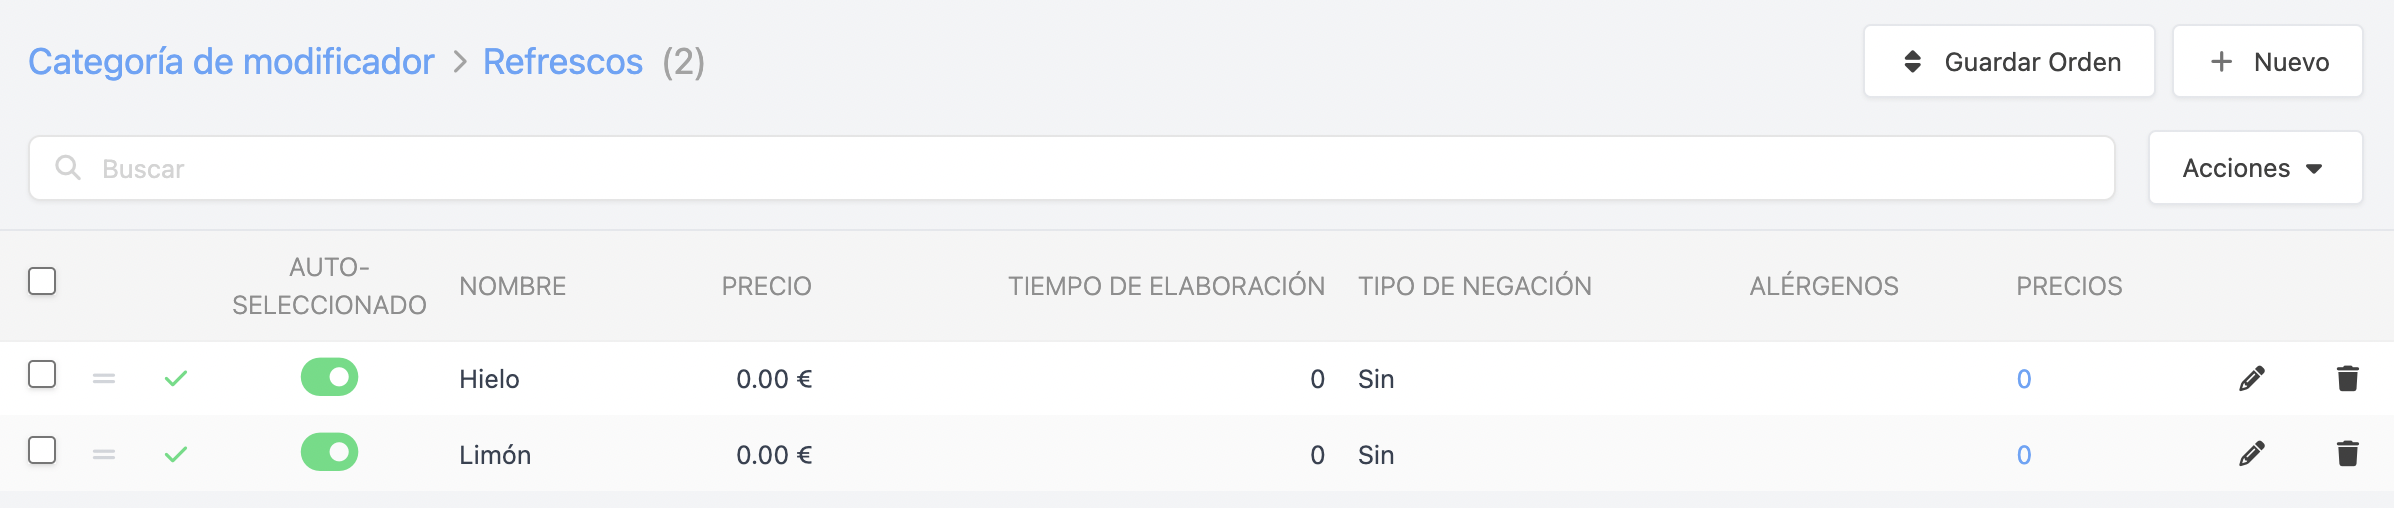
Autoselected: Activate this option so that when you tap on the product from the app, the modifier option is selected by default.
-
Name: Enter the name of the option.
-
Price: Indicate if there is a supplement.
-
Preparation time (seconds): Add the preparation time of the product for better control in the KDS.
-
Negation type: Create negation in the same modifier without having to create two modifiers.
-
None: Default option. No request for negation type.
-
No: The and buttons appear and, by pressing the button, No is added before the modifier.
-
Without: The and buttons appear and, by pressing the button, Without is added before the modifier.
-
Only negation: Only the button appears.
-
Half Pizza: Allows selecting the right or left part of the pizza.
-
-
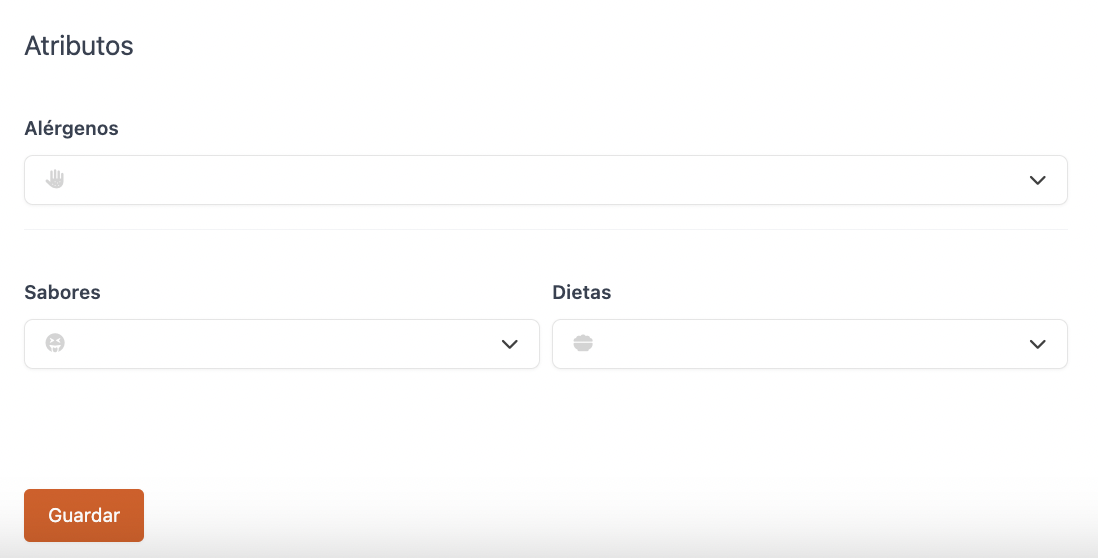
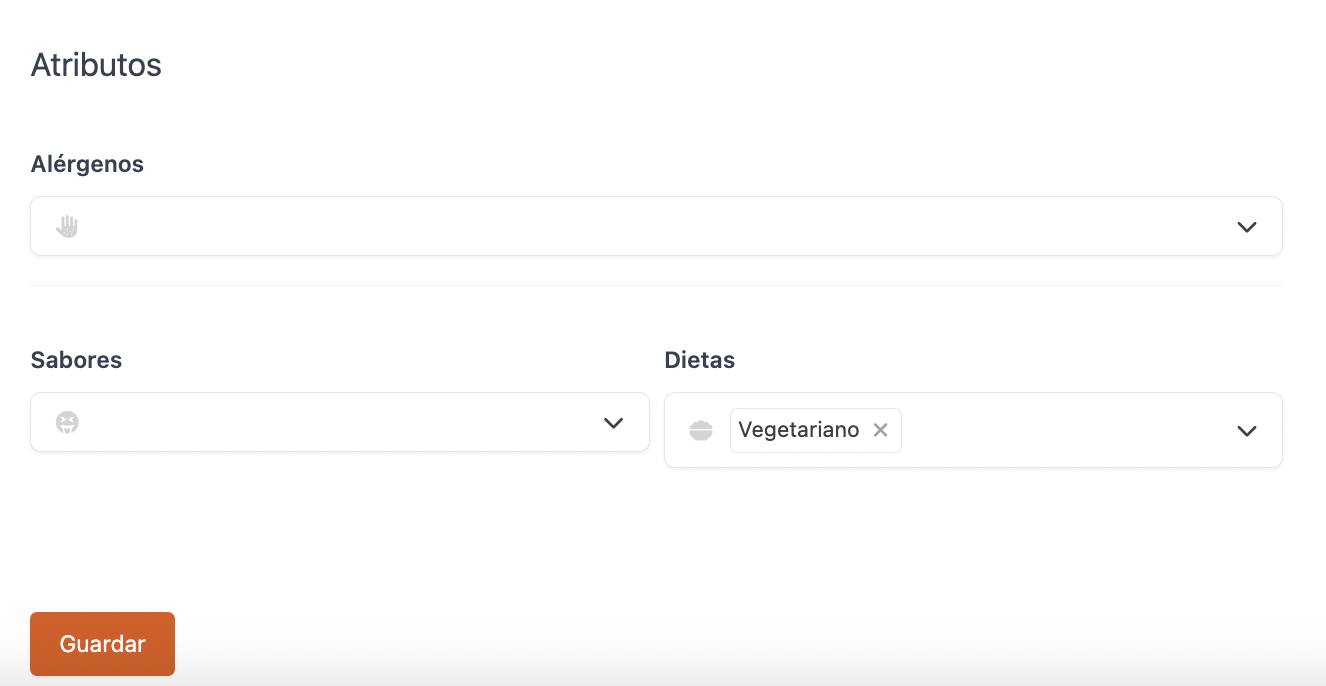
Allergens: Select the allergen from the dropdown menu.
2. Click on Save.
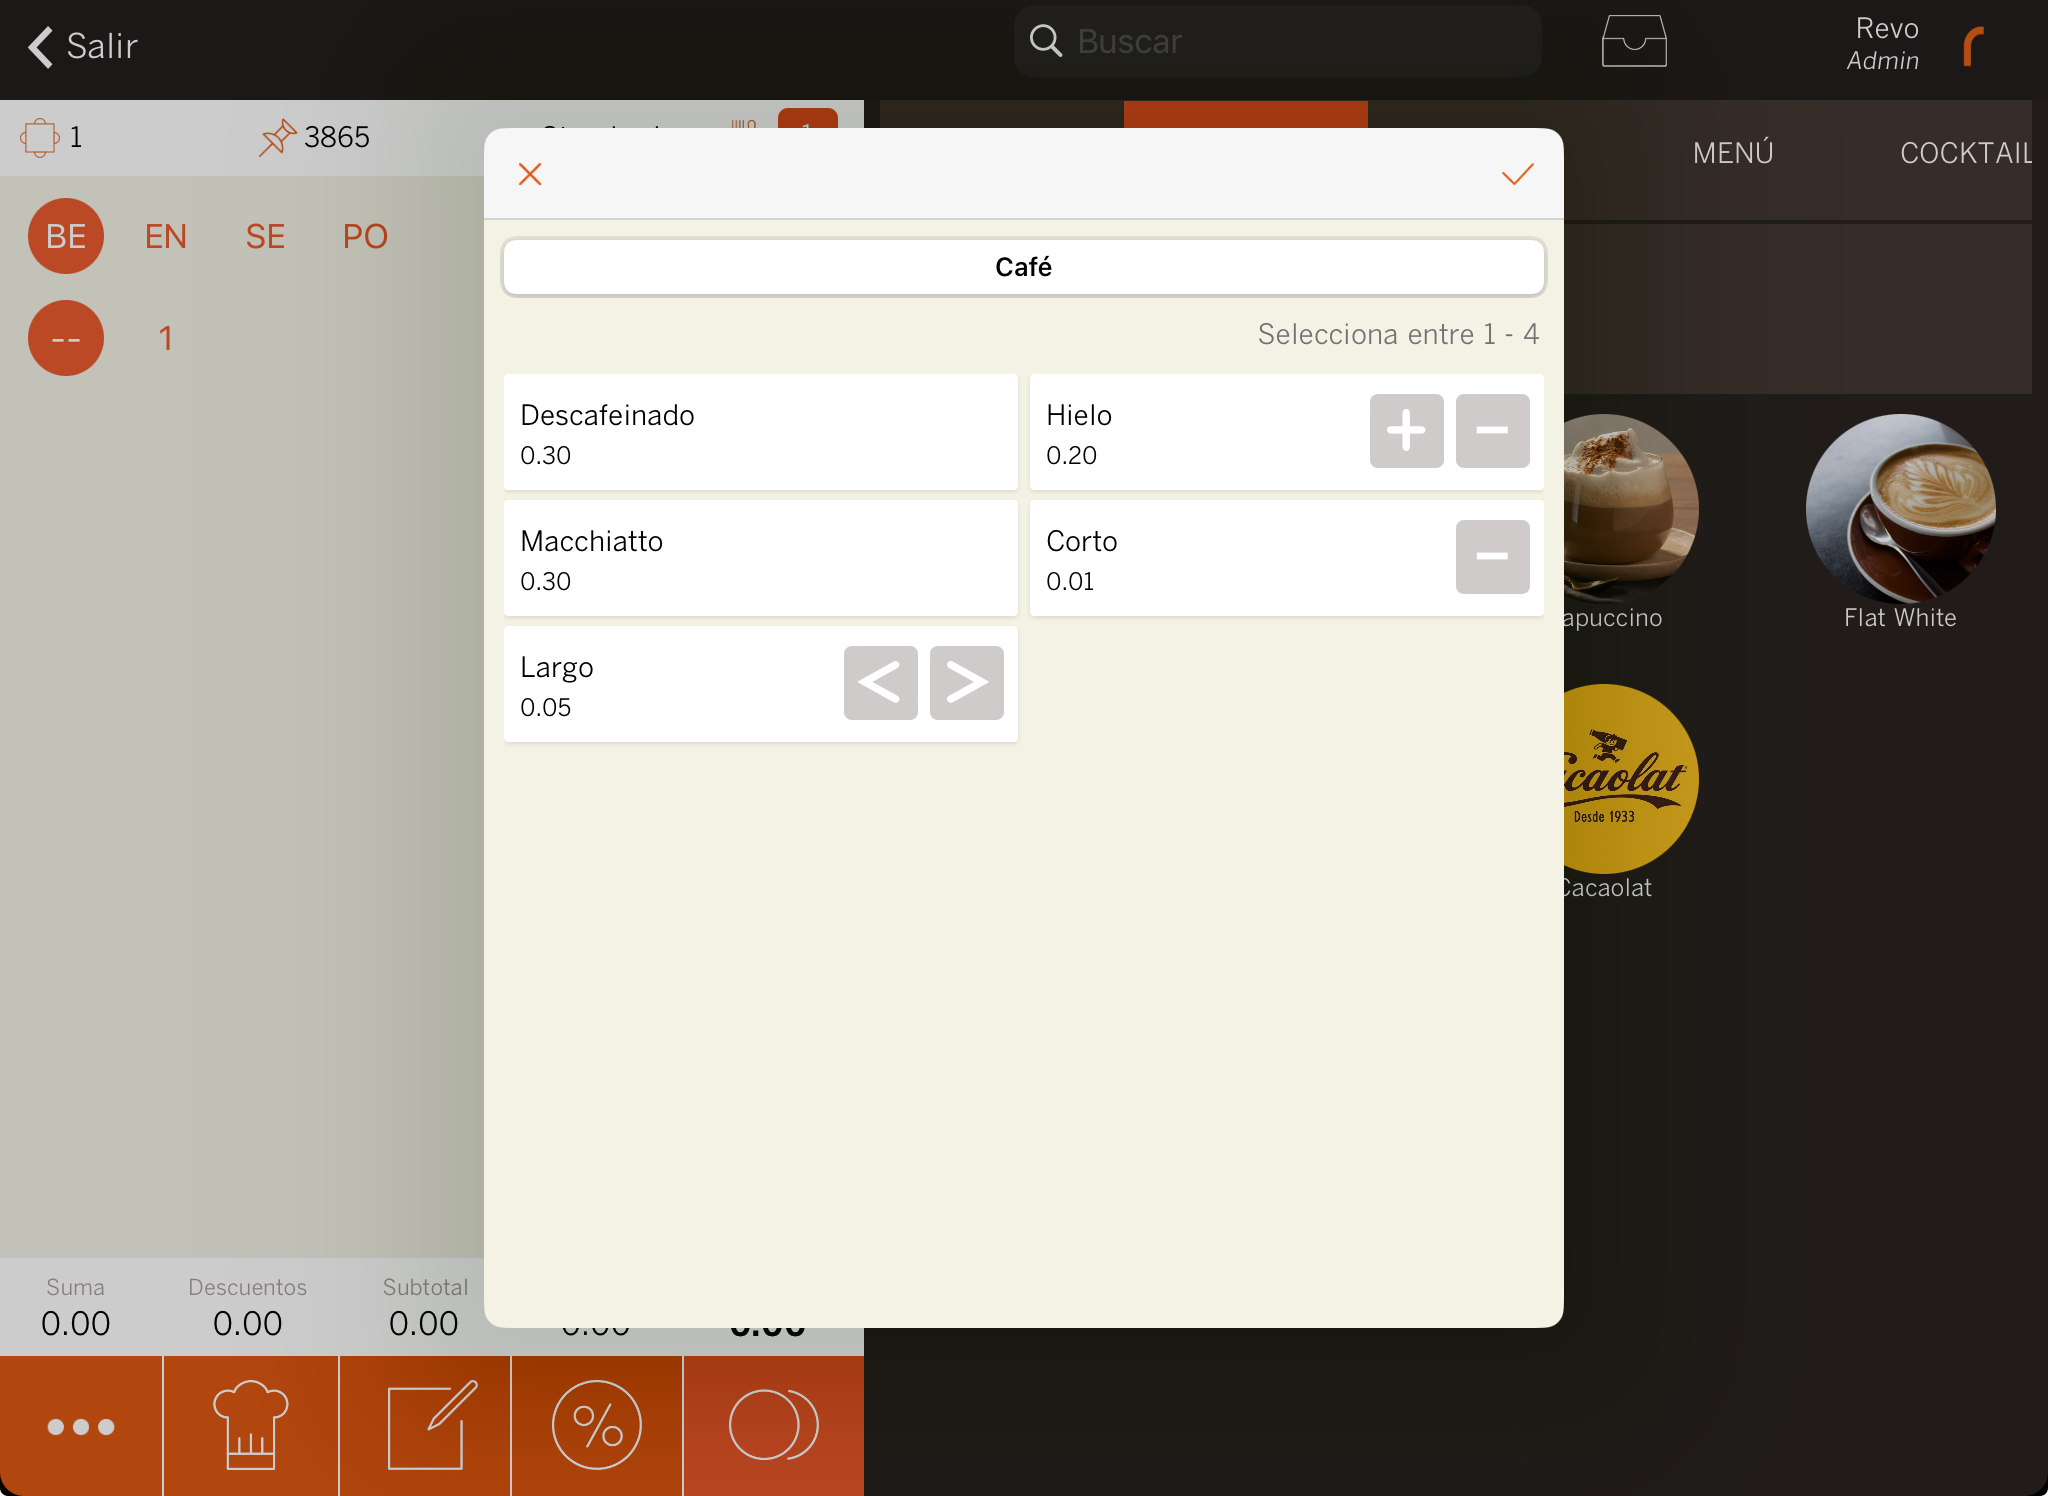
For the example of the espresso, the appropriate modifier would be as follows:
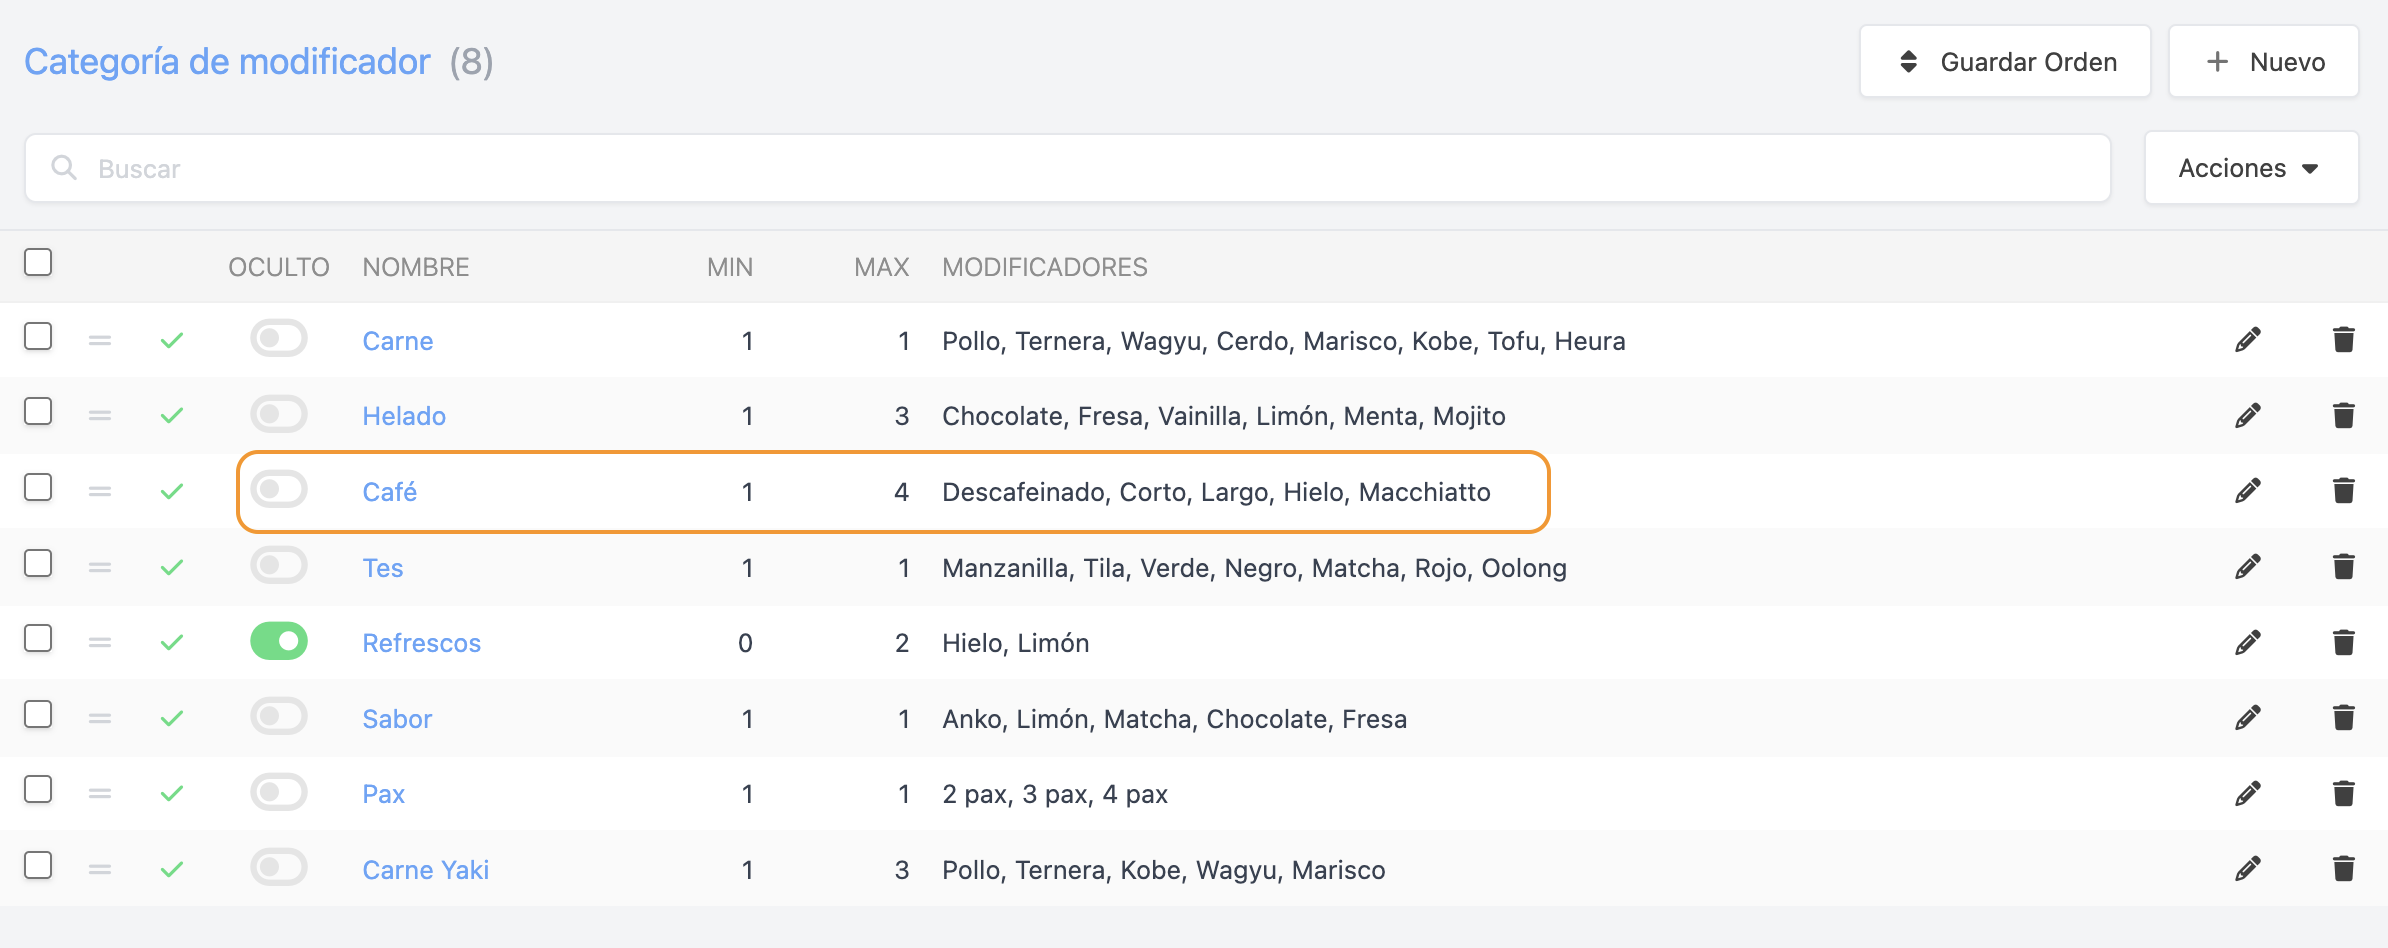
In this example, the modifier includes all the variations (short, long, with ice, etc.) with some price supplements. It is mandatory to choose at least one option, as you can order a long espresso with ice or a short espresso.
3. ASSIGN A MODIFIER
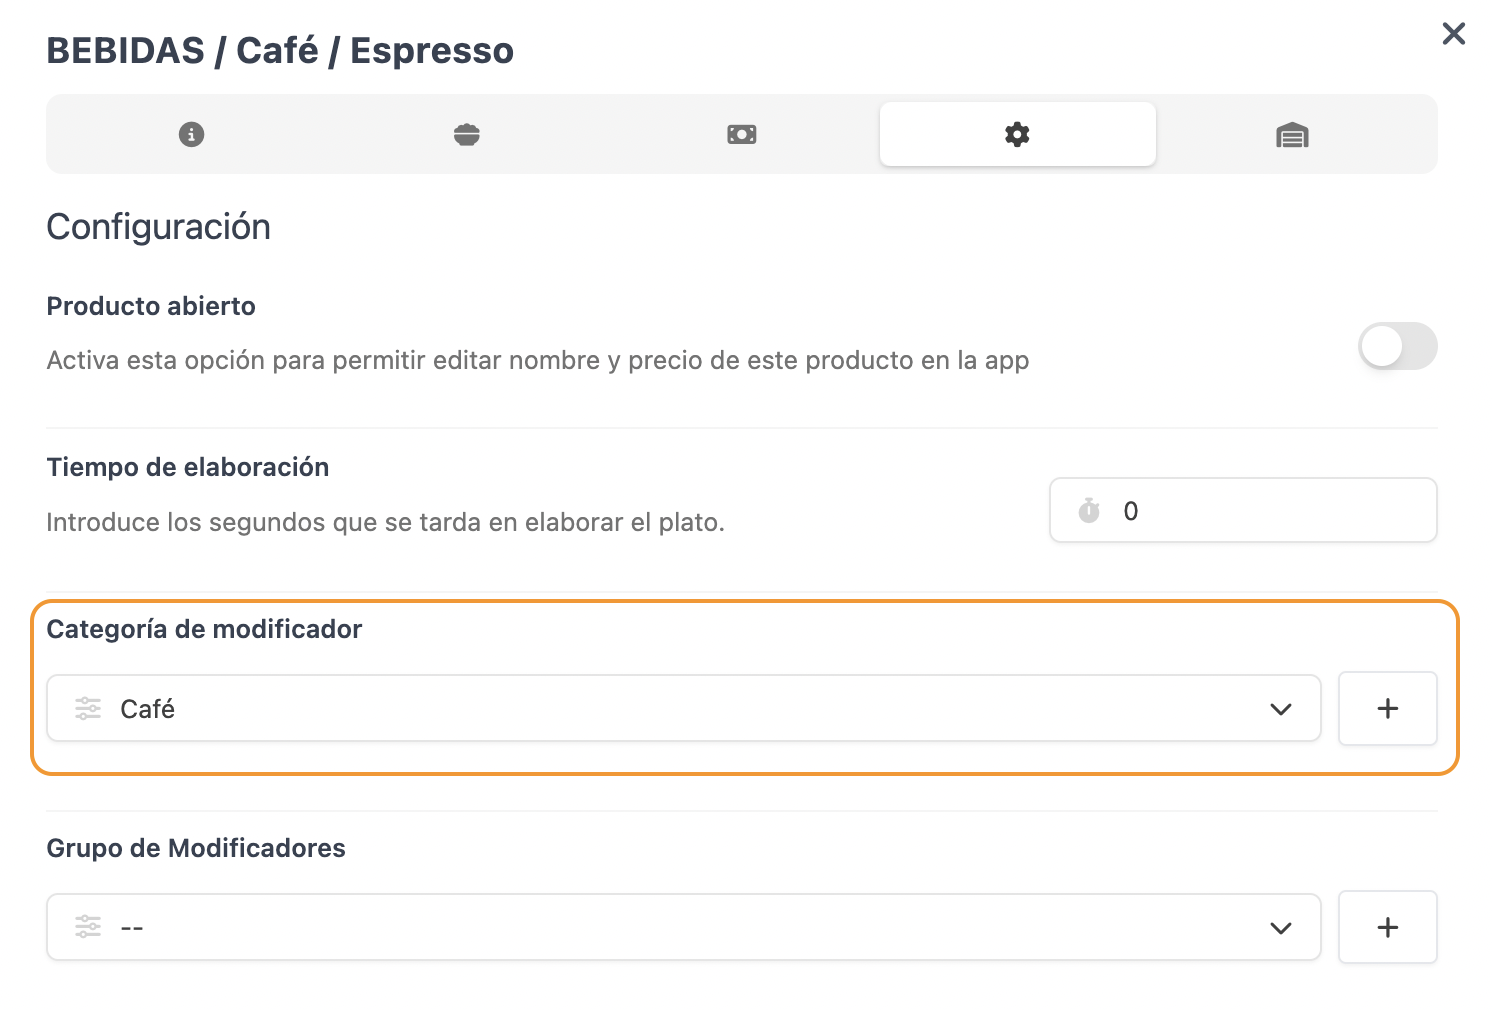
You need to assign the modifier to a category or directly to a product. If you assign it to the category, all products within it will have the modifier assigned.
To do this, go to groups, find the category or product, and assign the modifier in the Settings > Modifier Category tab.
Following the previous example, assign the modifier to the espresso.
4. PRACTICAL EXAMPLES
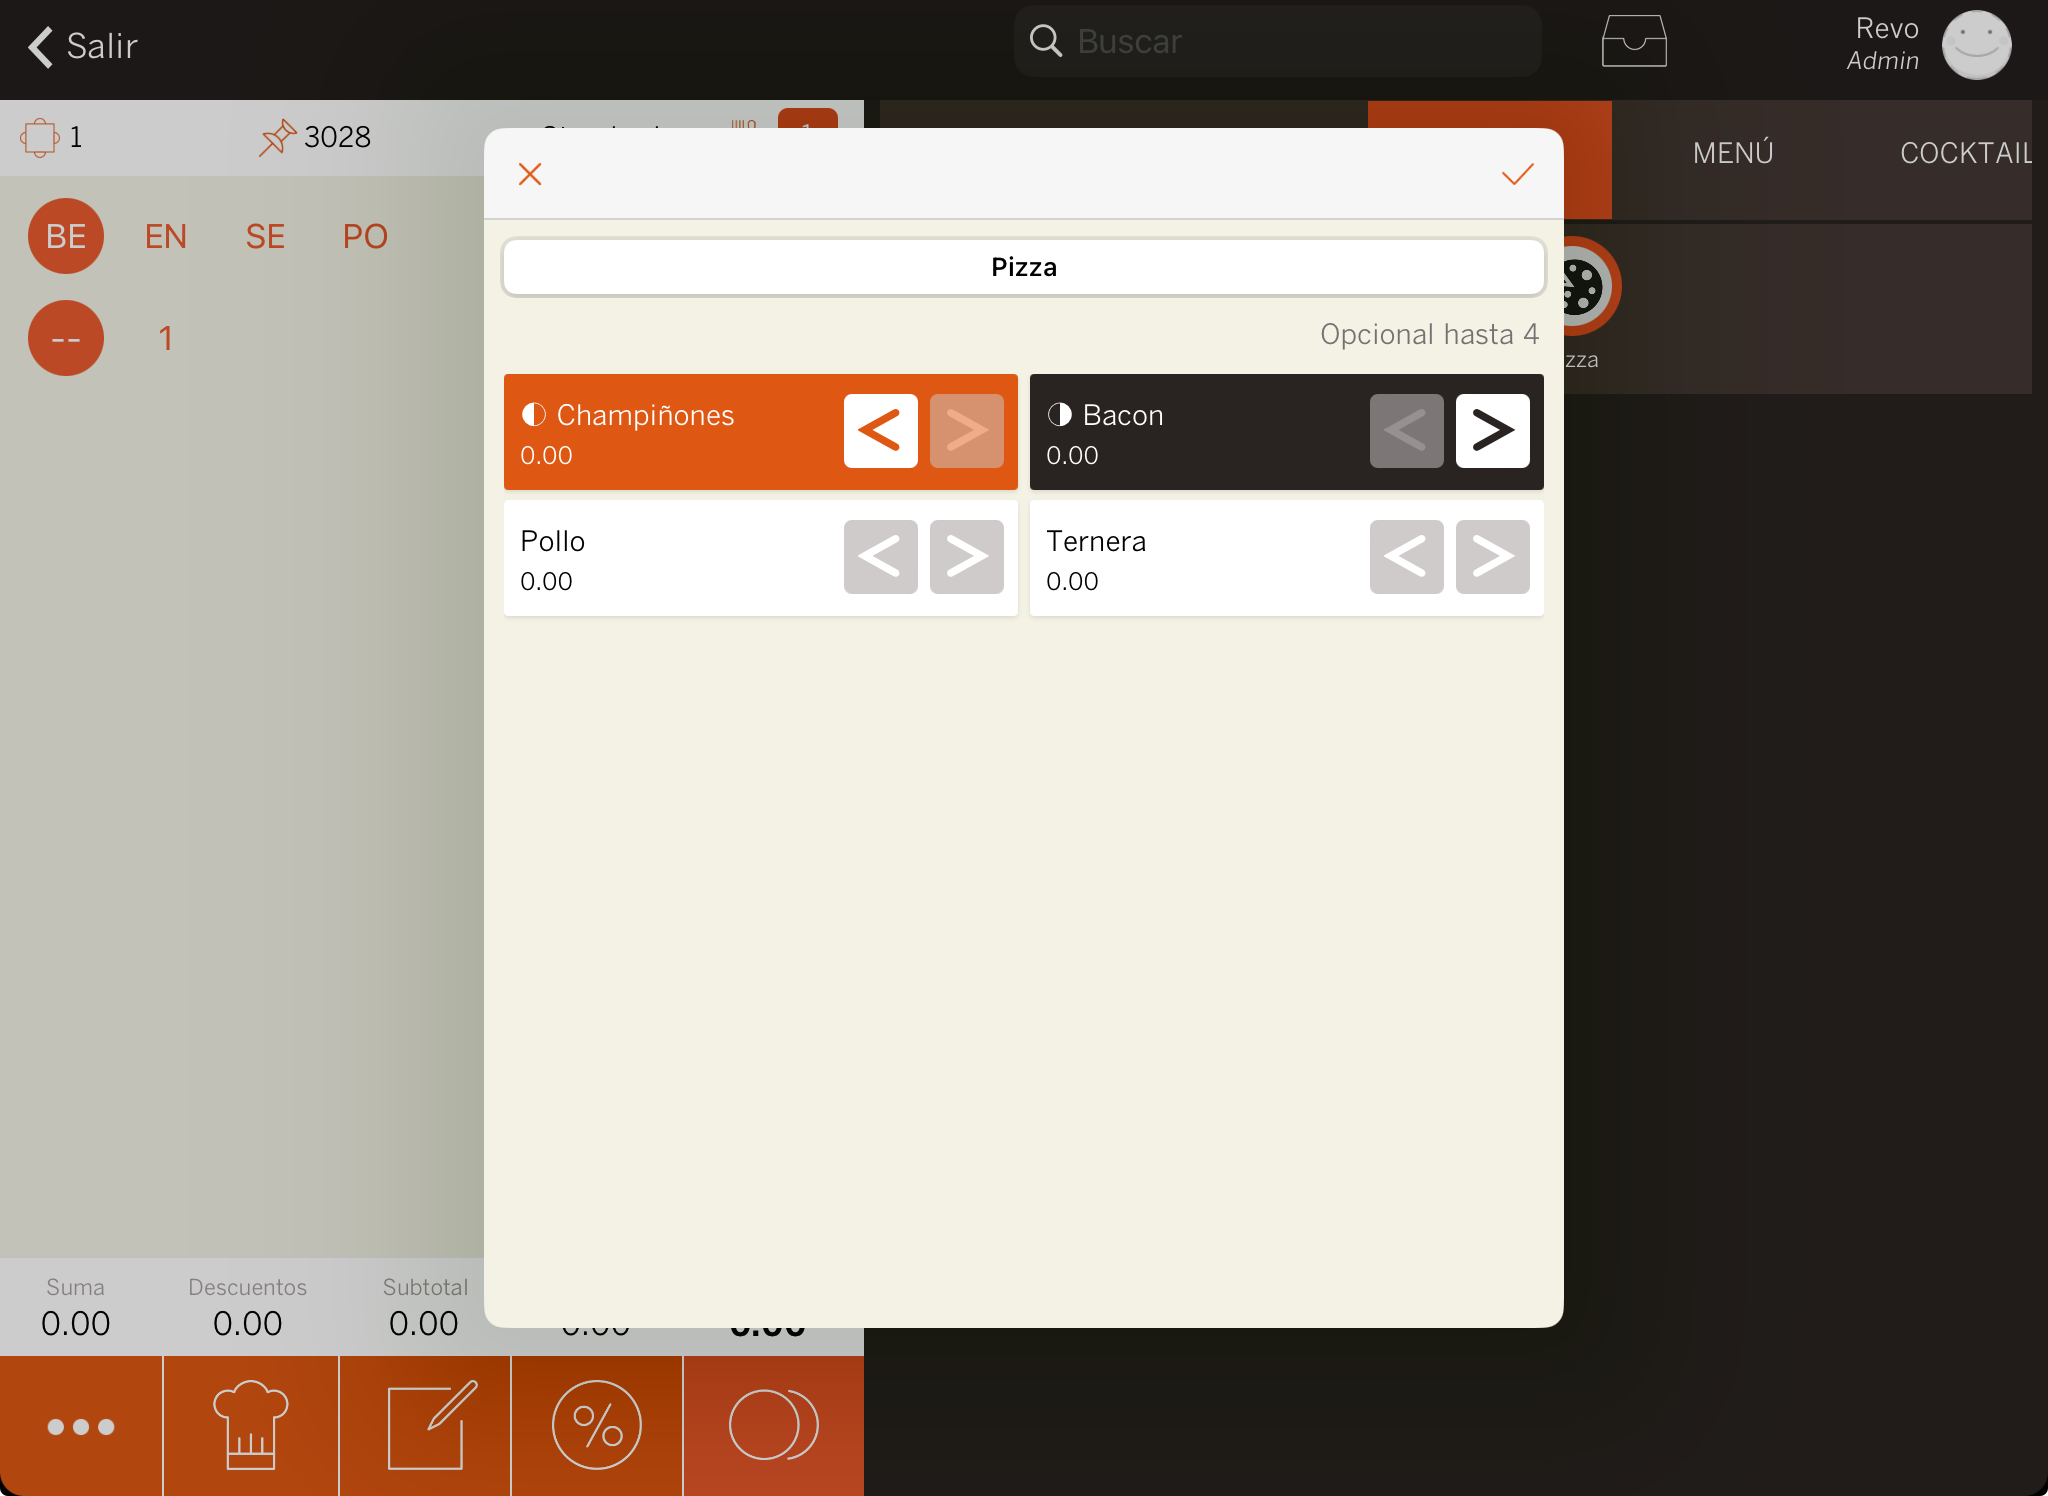
Half Pizza
With this option, you can choose whether you want certain toppings on your pizza only on one half. To do this:
-
Create the modifiers and select Half Pizza in Negation Type.

-
When you add the pizza, the modifiers screen will open with the toppings created previously. You will see or . By pressing them, you will indicate on which half of the pizza you want to add the toppings.
-
An icon will appear below the pizza indicating which half contains the topping. In the example image, there will only be mushrooms on the left half and bacon on the right.

"Hidden" and "Autoselected" Options
As an example, let's take a soft drink, where you're asked if you want ice and lemon. Mark ice and lemon as autoselected, so you avoid having to manually select them each time.
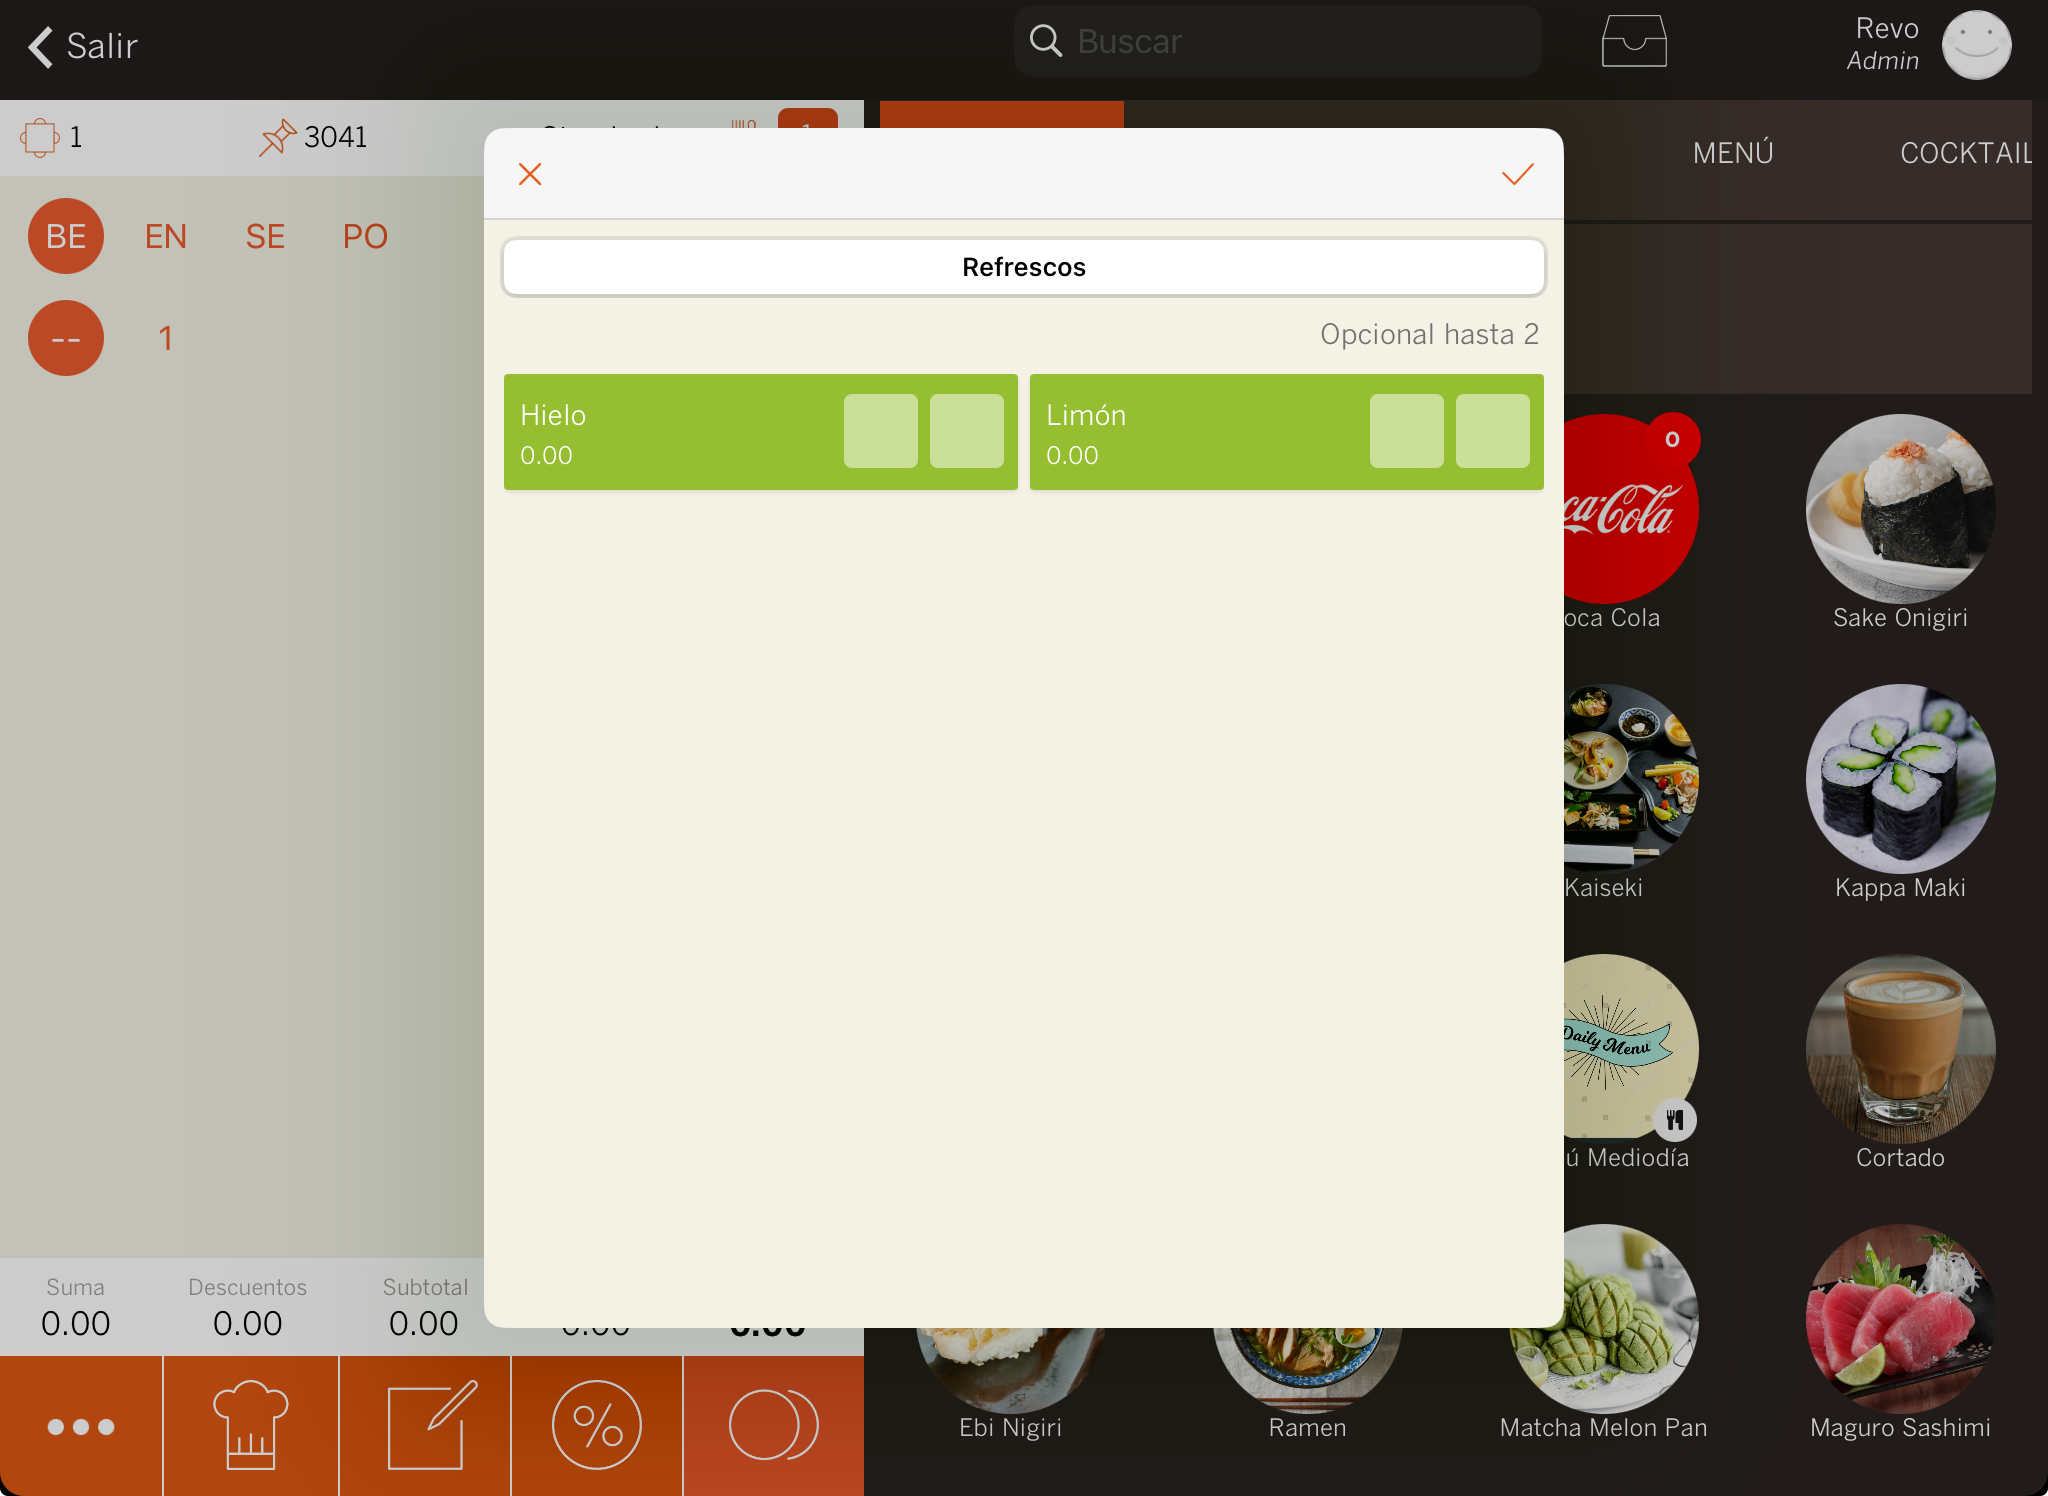
1. Modifier enabled, with Hidden disabled and Autoselected enabled. When you select the soft drink, the selected options will appear. In this case, you can modify and indicate that you don't want lemon.
-
Activate autoselected.
-
When you add the soft drink, the modifiers screen will open with ice and lemon selected.
-
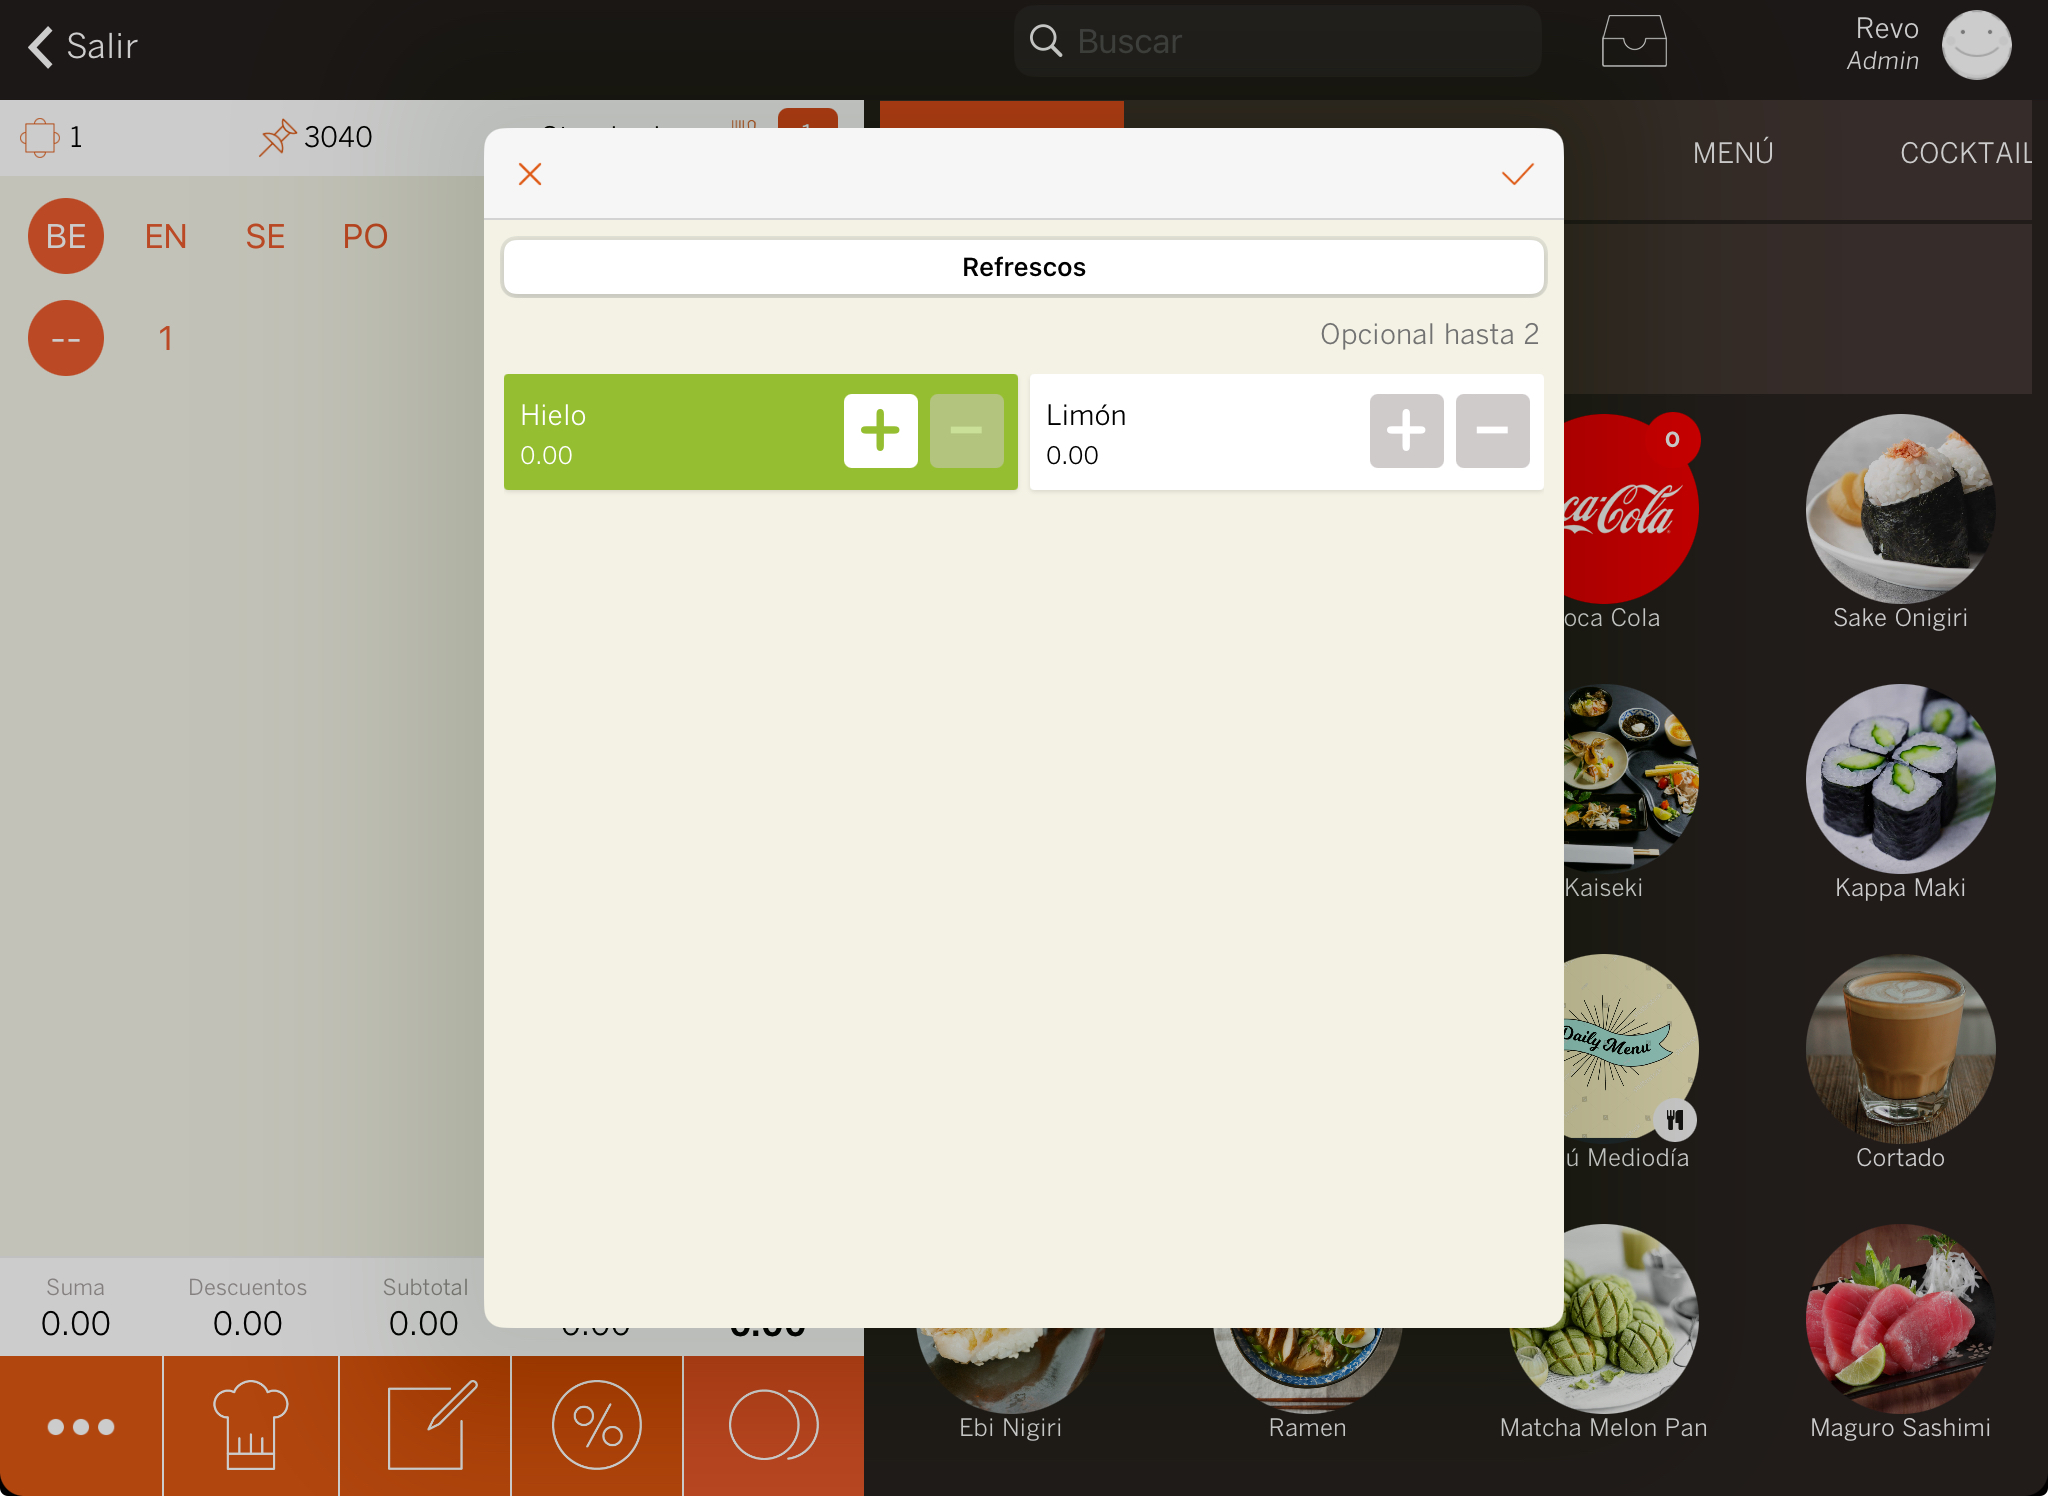
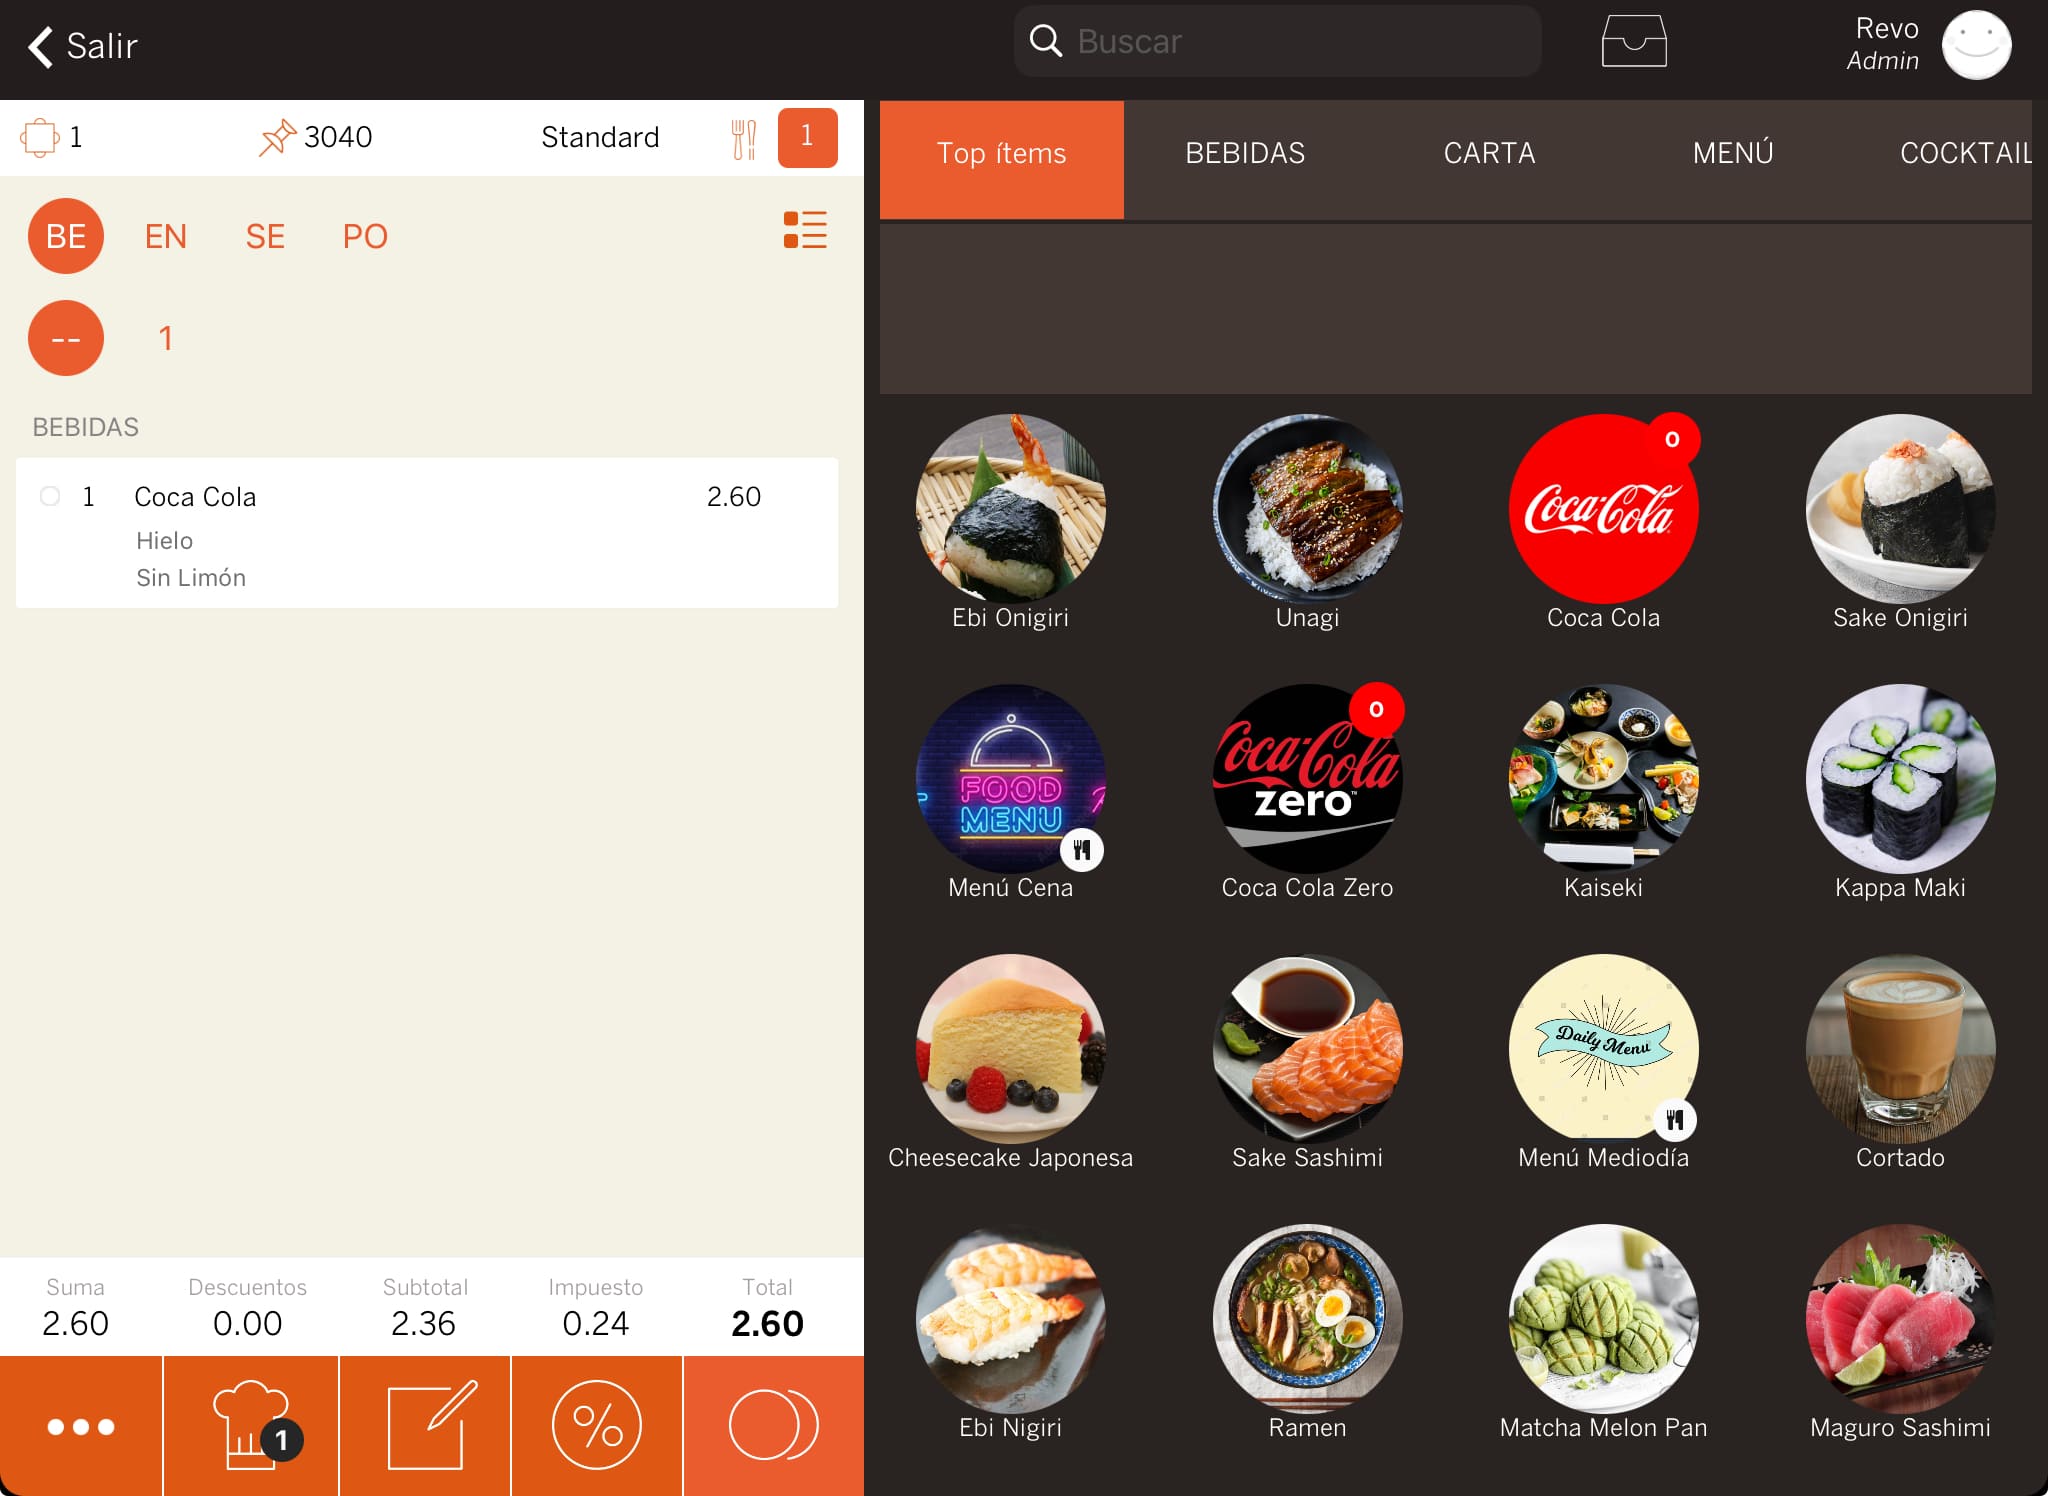
You can change the modifiers. In the example, press once to unselect lemon and, if you want it to appear as "Without Lemon", press the .
2. Modifier enabled with Hidden and Autoselected options enabled. This option will autoselect the modifiers without displaying the screen. In this case, you cannot modify, these options will always appear.
-
Activate hidden in the modifier category.

-
Activate autoselected.
-
When you add the soft drink, it will be added directly to the order with ice and lemon.
