The table layout it's a widely used screen in Revo XEF. From here, you can view the tables in your establishment and perform certain actions.
Top Bar

From left to right, you'll find the following actions:
-
Revo XEF Menu r.
-
Chef's Hat: This symbol appears when a dish is ready in the kitchen, sent from the KDS.
-
: Search for delivery orders. Allows scanning of QR codes and barcodes.
-
Delivery: Manage delivery orders and pickups at the restaurant.
-
Virtual: Create virtual tables.
-
POS: Create a POS order.
-
Open Cash Drawer: Pressing the icon opens the cash drawer. You must have the corresponding privilege to do so.
-
Employee: Pressing the employee locks it, and the PIN screen appears to change the employee.
Table layout
From left to right, you'll find the following actions:
-
Rooms: You'll see the names of your rooms. By tapping on them, you can switch between rooms.
-
Edit Tables: Tapping on the button allows you to access the layout configuration and modify the tables.
-
: Tapping on the magnifying glass allows you to search for the number of a table. Once entered, the preview of that table will open automatically.
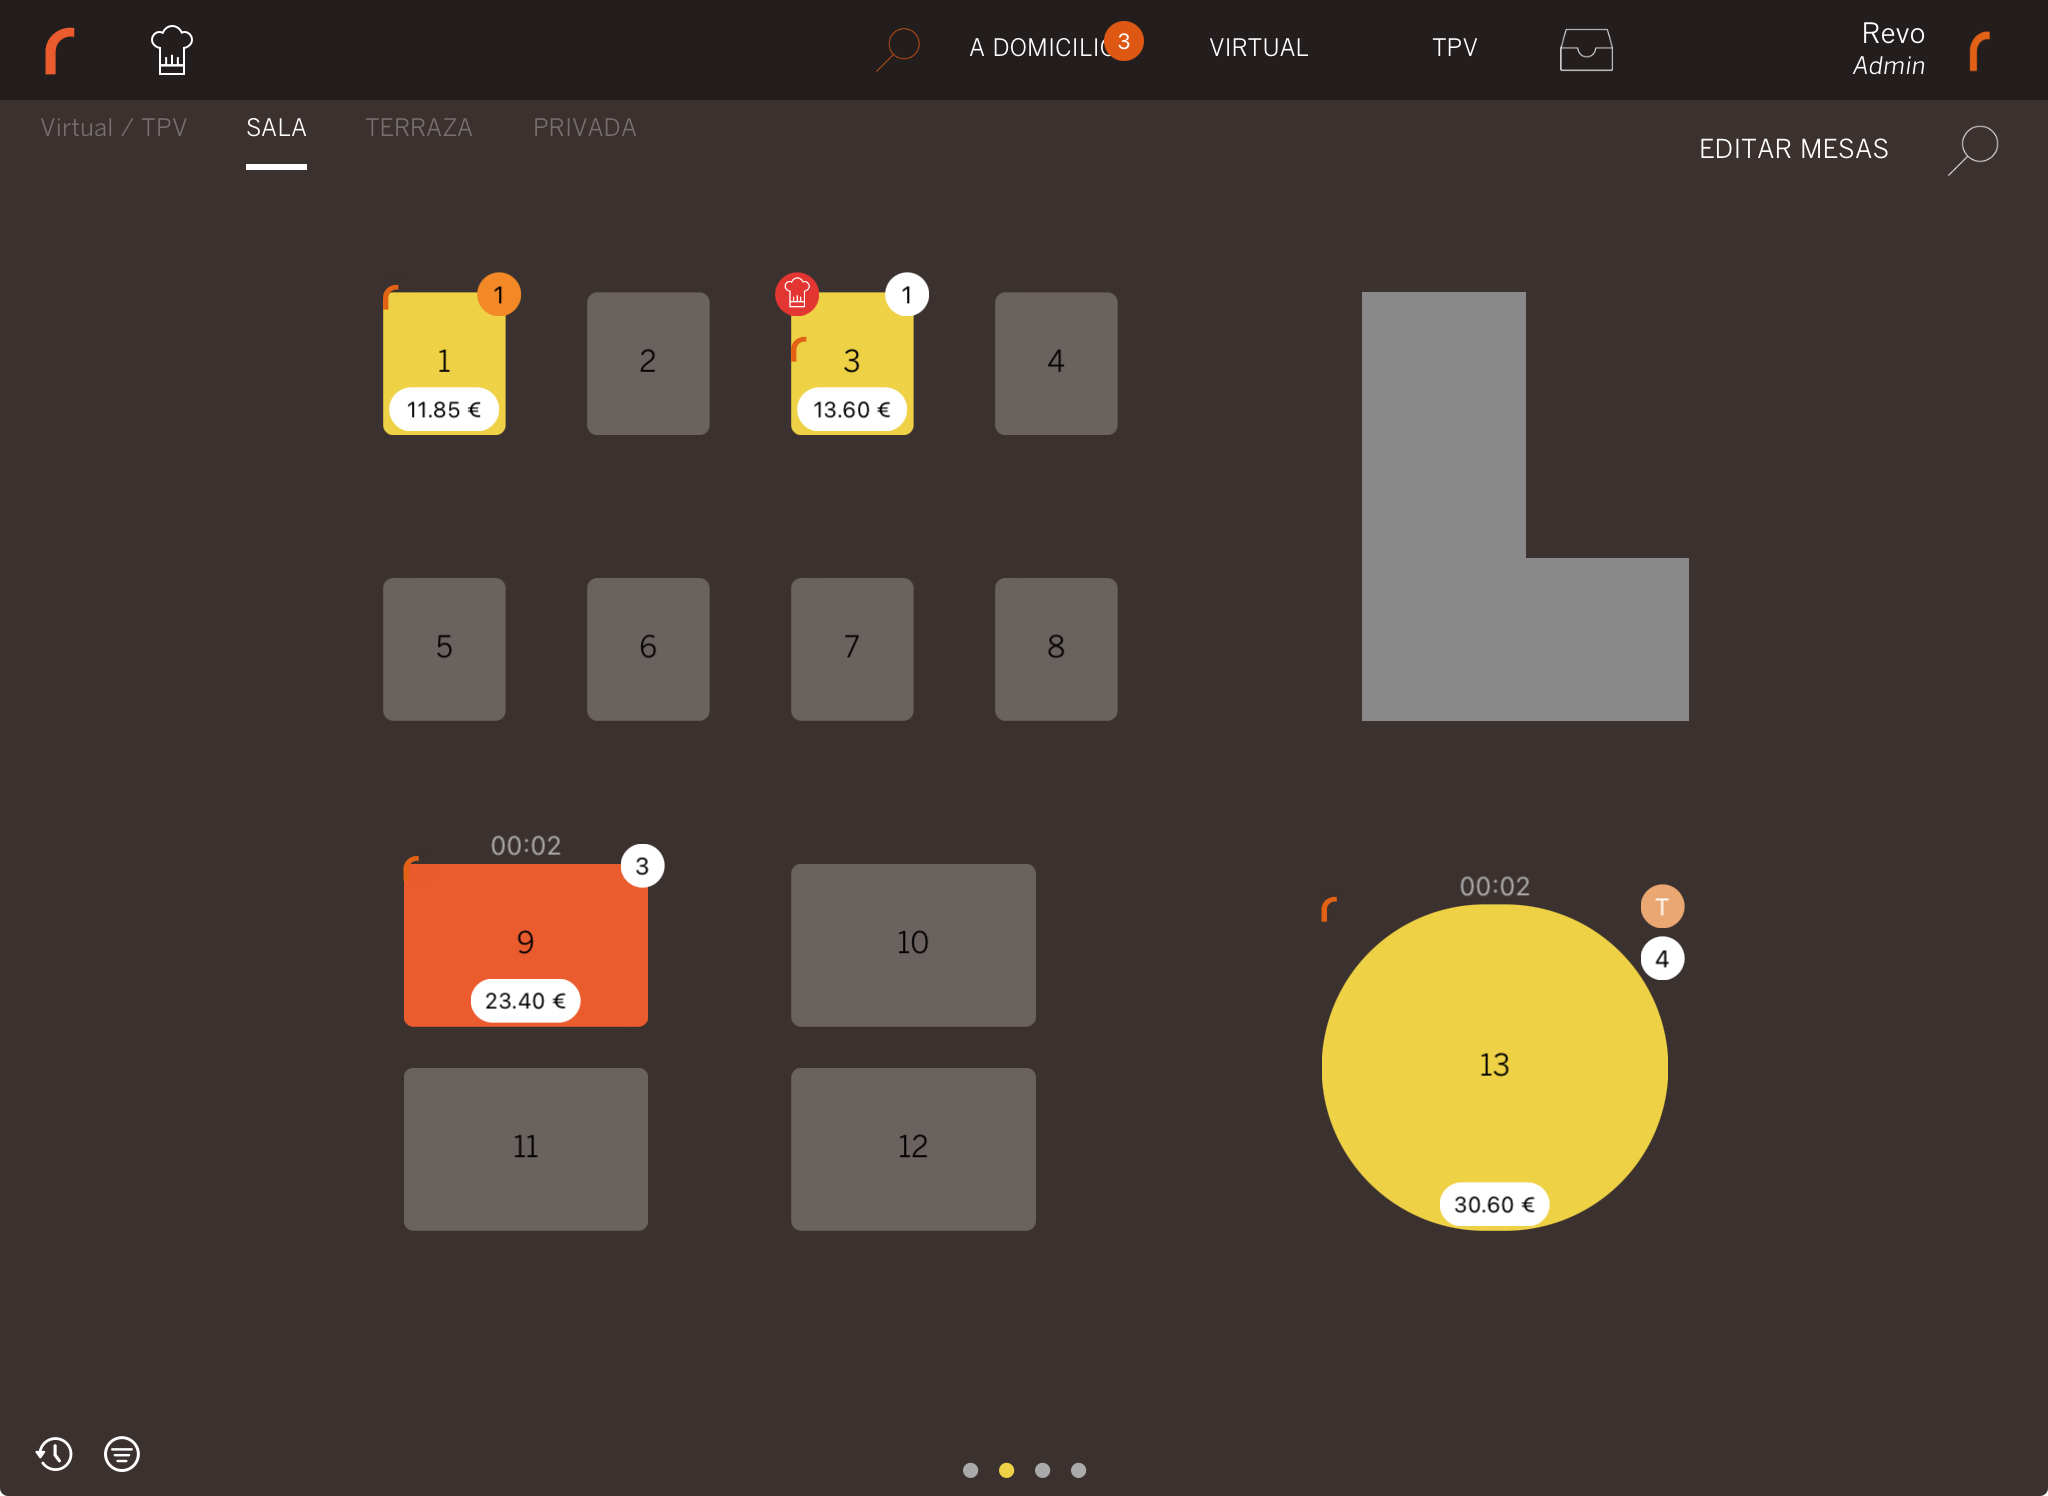
At a glance, tables have different colours depending on their status.
If you want to know more about table colors, click here.
In addition to the table colours, in the top right corner, you'll see a circular icon with a number. This indicates the number of guests at the table.
This icon can change color depending on kitchen notes. In these, you can configure a default color so that when the note is sent, the color of the guest icon changes. This way, you can easily see if the kitchen note has been sent. In the image, at table 1, a kitchen note has been sent.
In the top left corner, you'll see the icon, which is the image of the employee who opened the order. If an image is configured, it will be displayed. For more information on configuring employee images, click here.
If you have KDS configured in your kitchens, you'll see a chef's hat icon just above the employee image, indicating that orders are ready.
Also, sometimes another icon may appear in the top right corner with an initial. This indicates that a different tariff than the standard one is applied to that table. You can see this icon on table number 13, where a special tariff is applied.
Finally, by swiping your finger down from a table, you can access quick actions.
Bottom Bar

From left to right, you'll find the following actions:
-
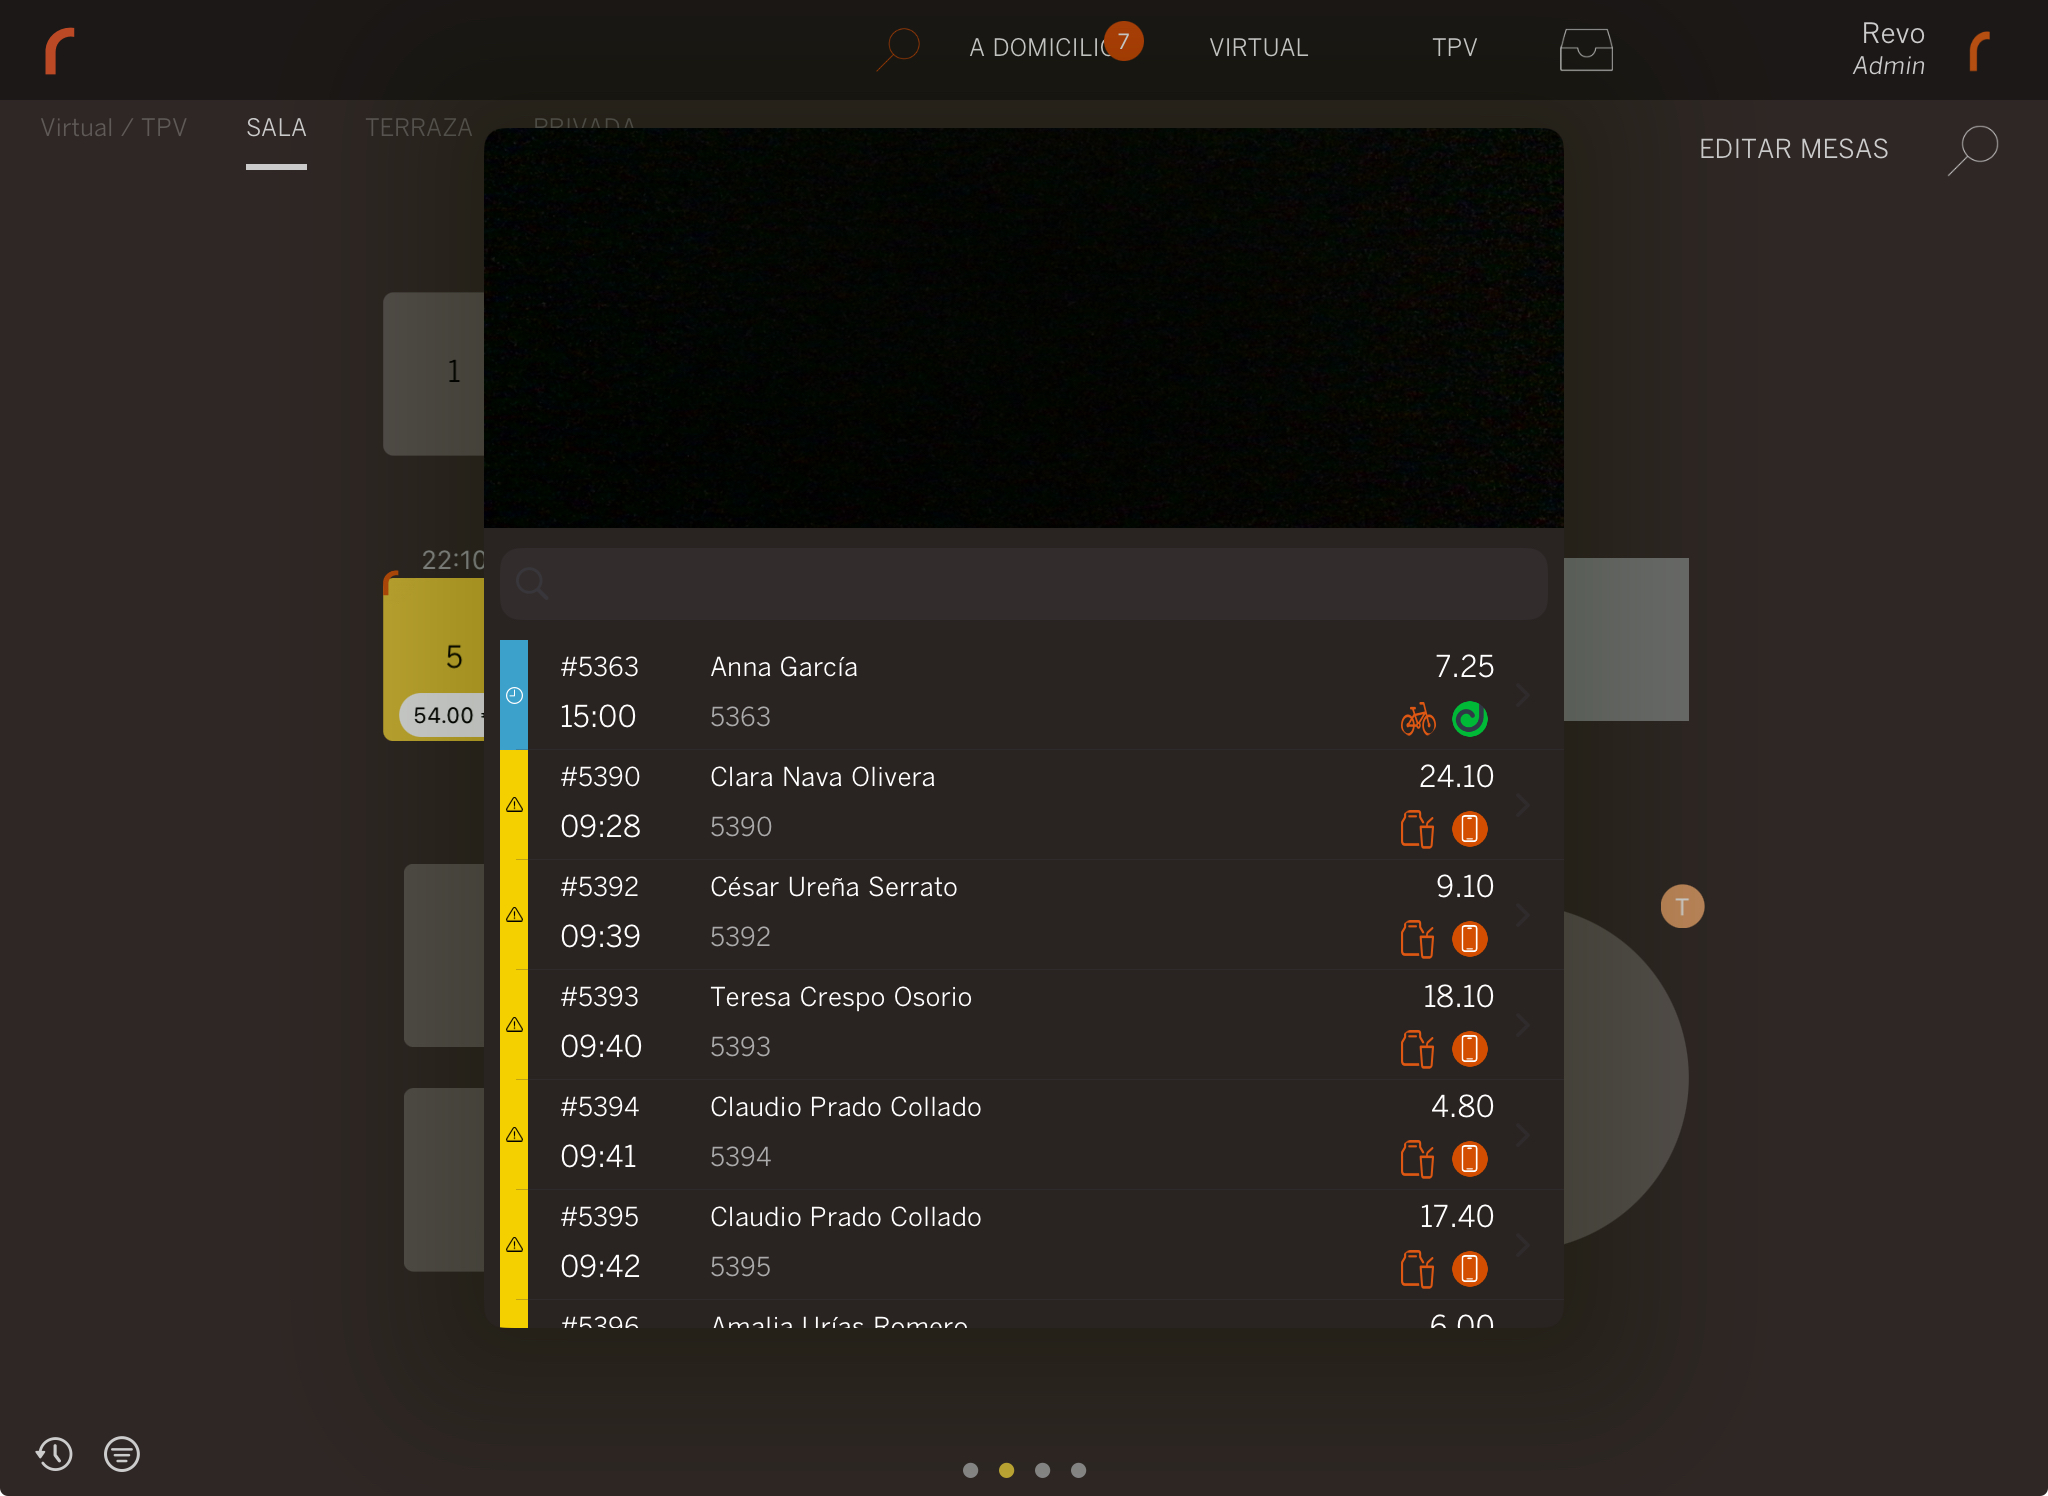
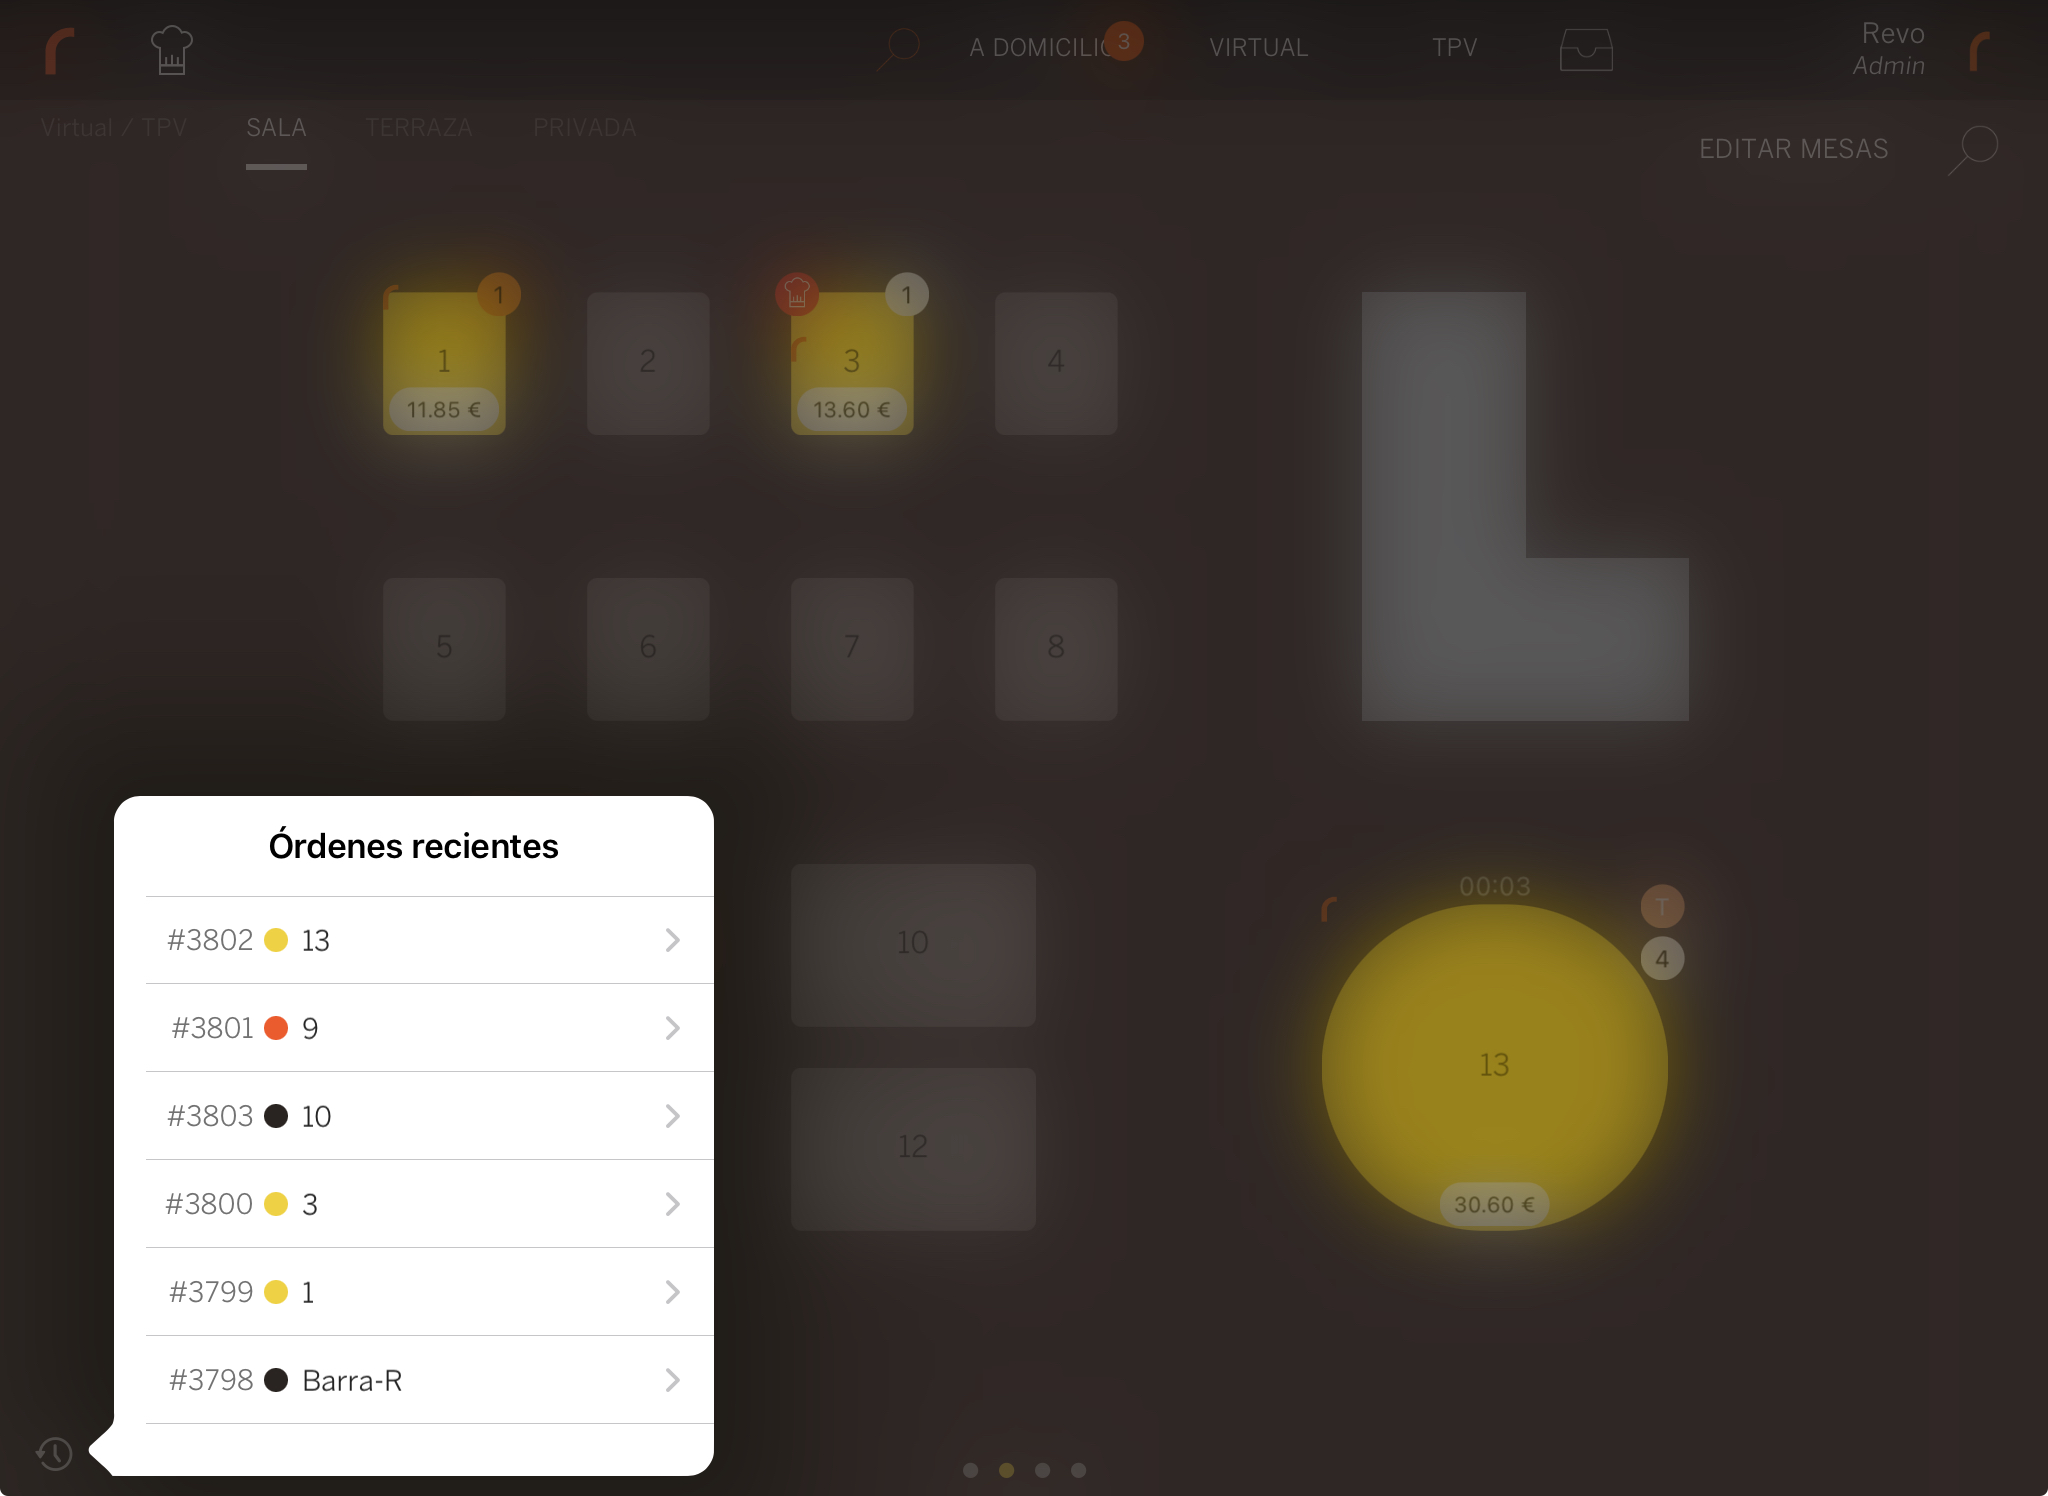
Recent Orders: By tapping on , you'll see the last managed orders. You'll see the order number, its status, and the table name. If you tap on an order, you'll be taken directly to it.
-
Filter: By tapping on , you can access the filters and see all open orders.
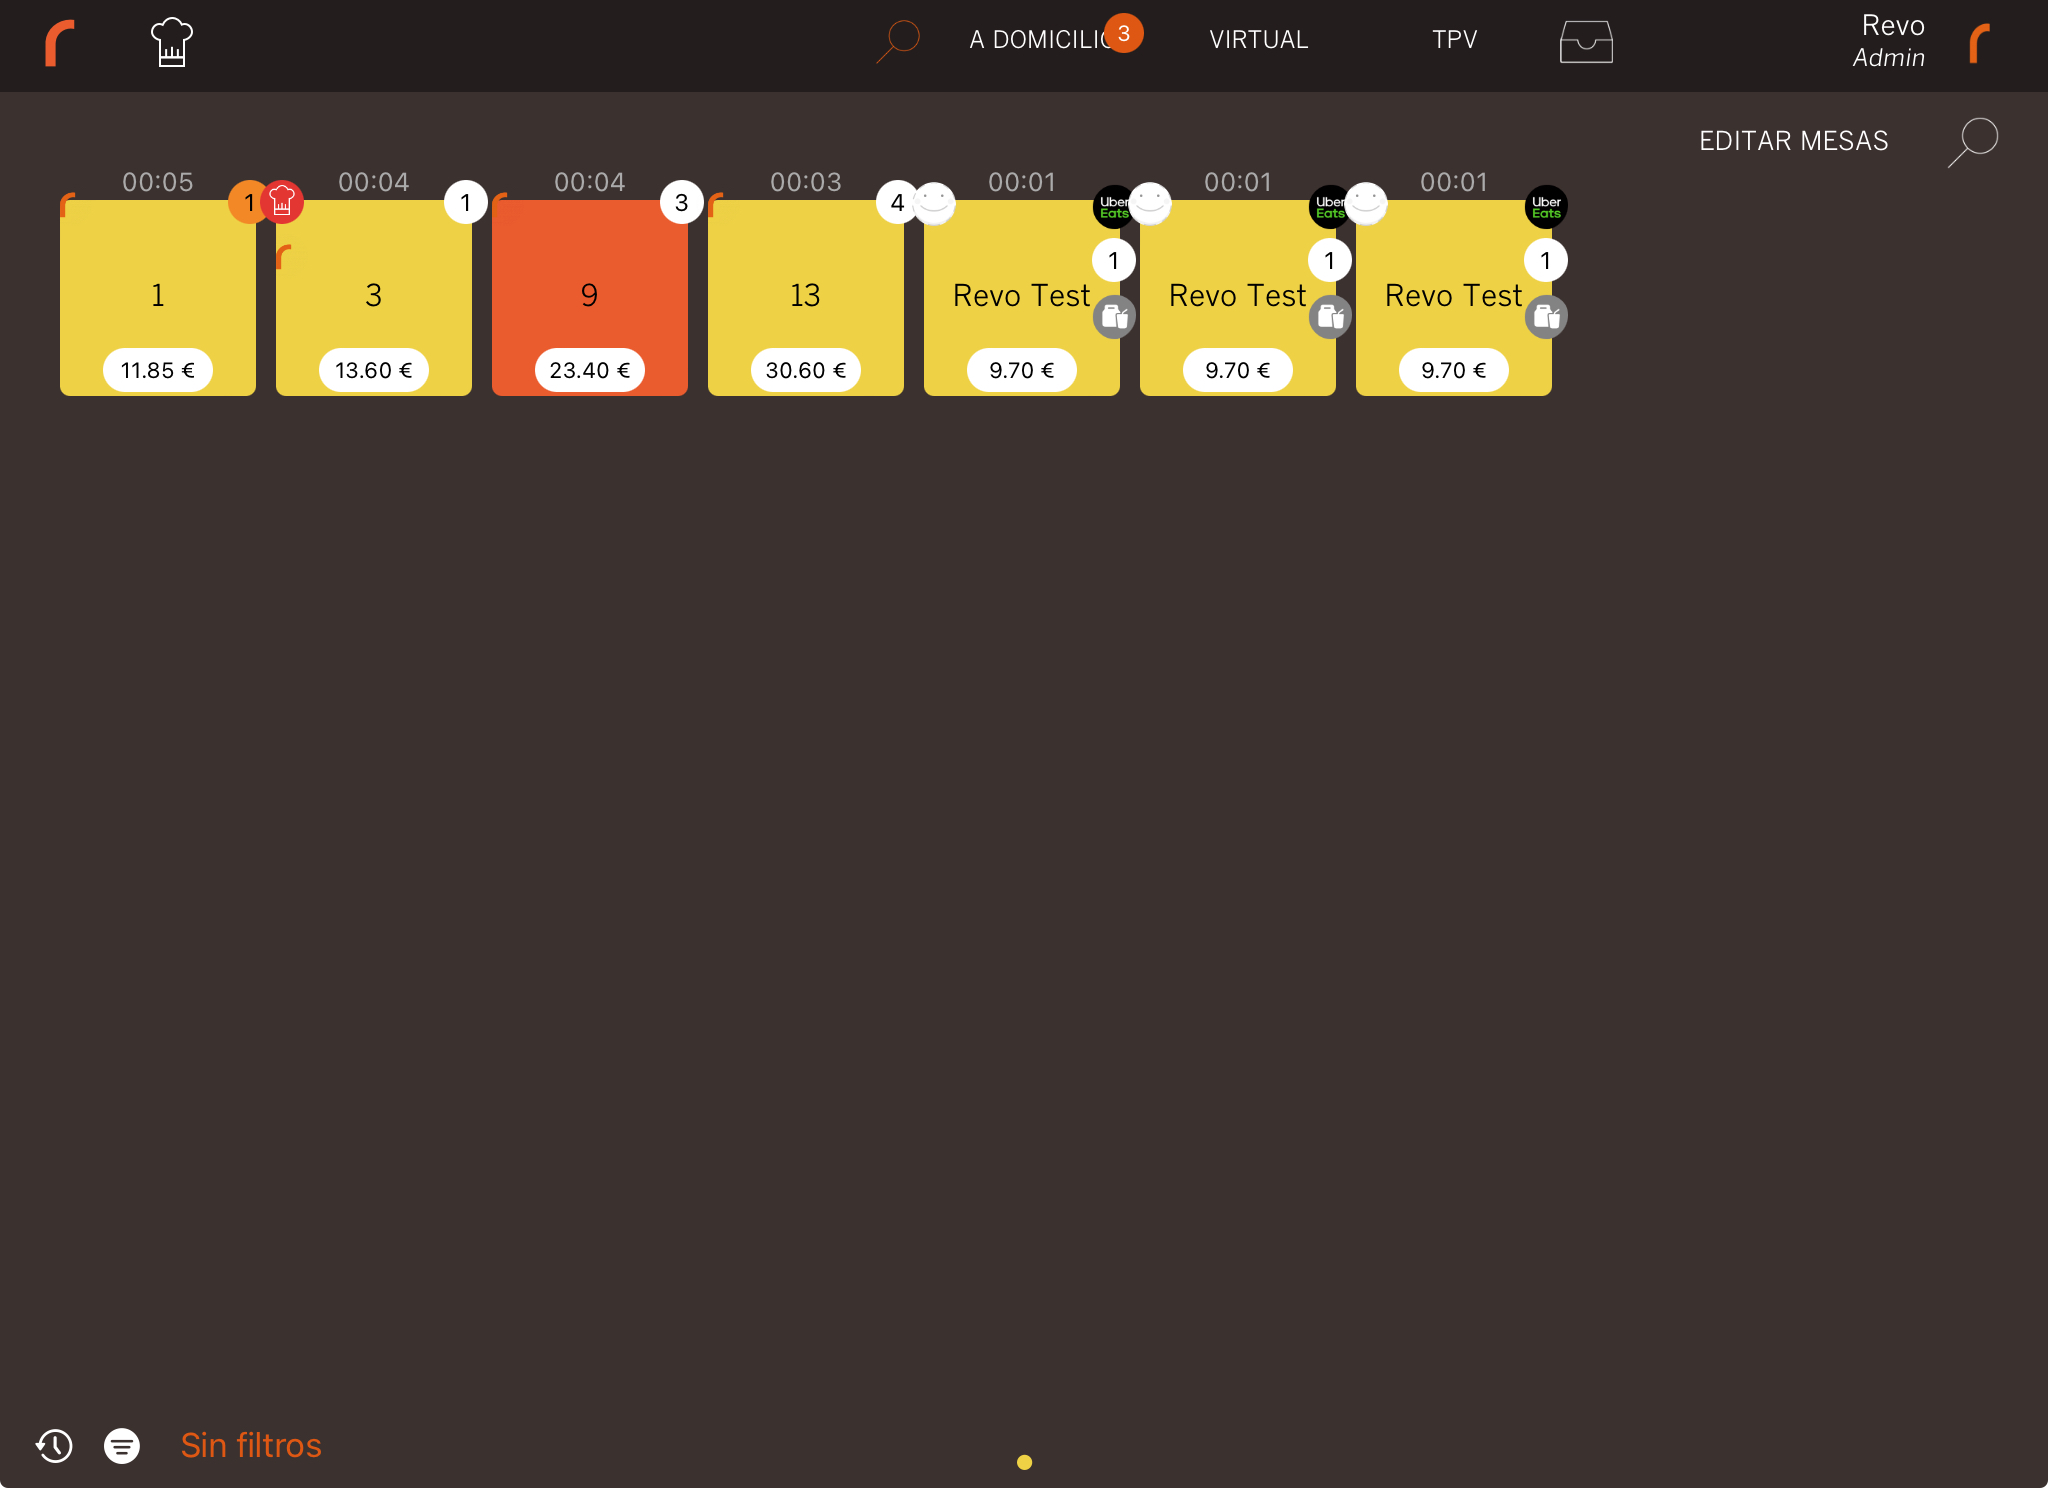
Tapping on No filters opens a window with options to select different available filters:
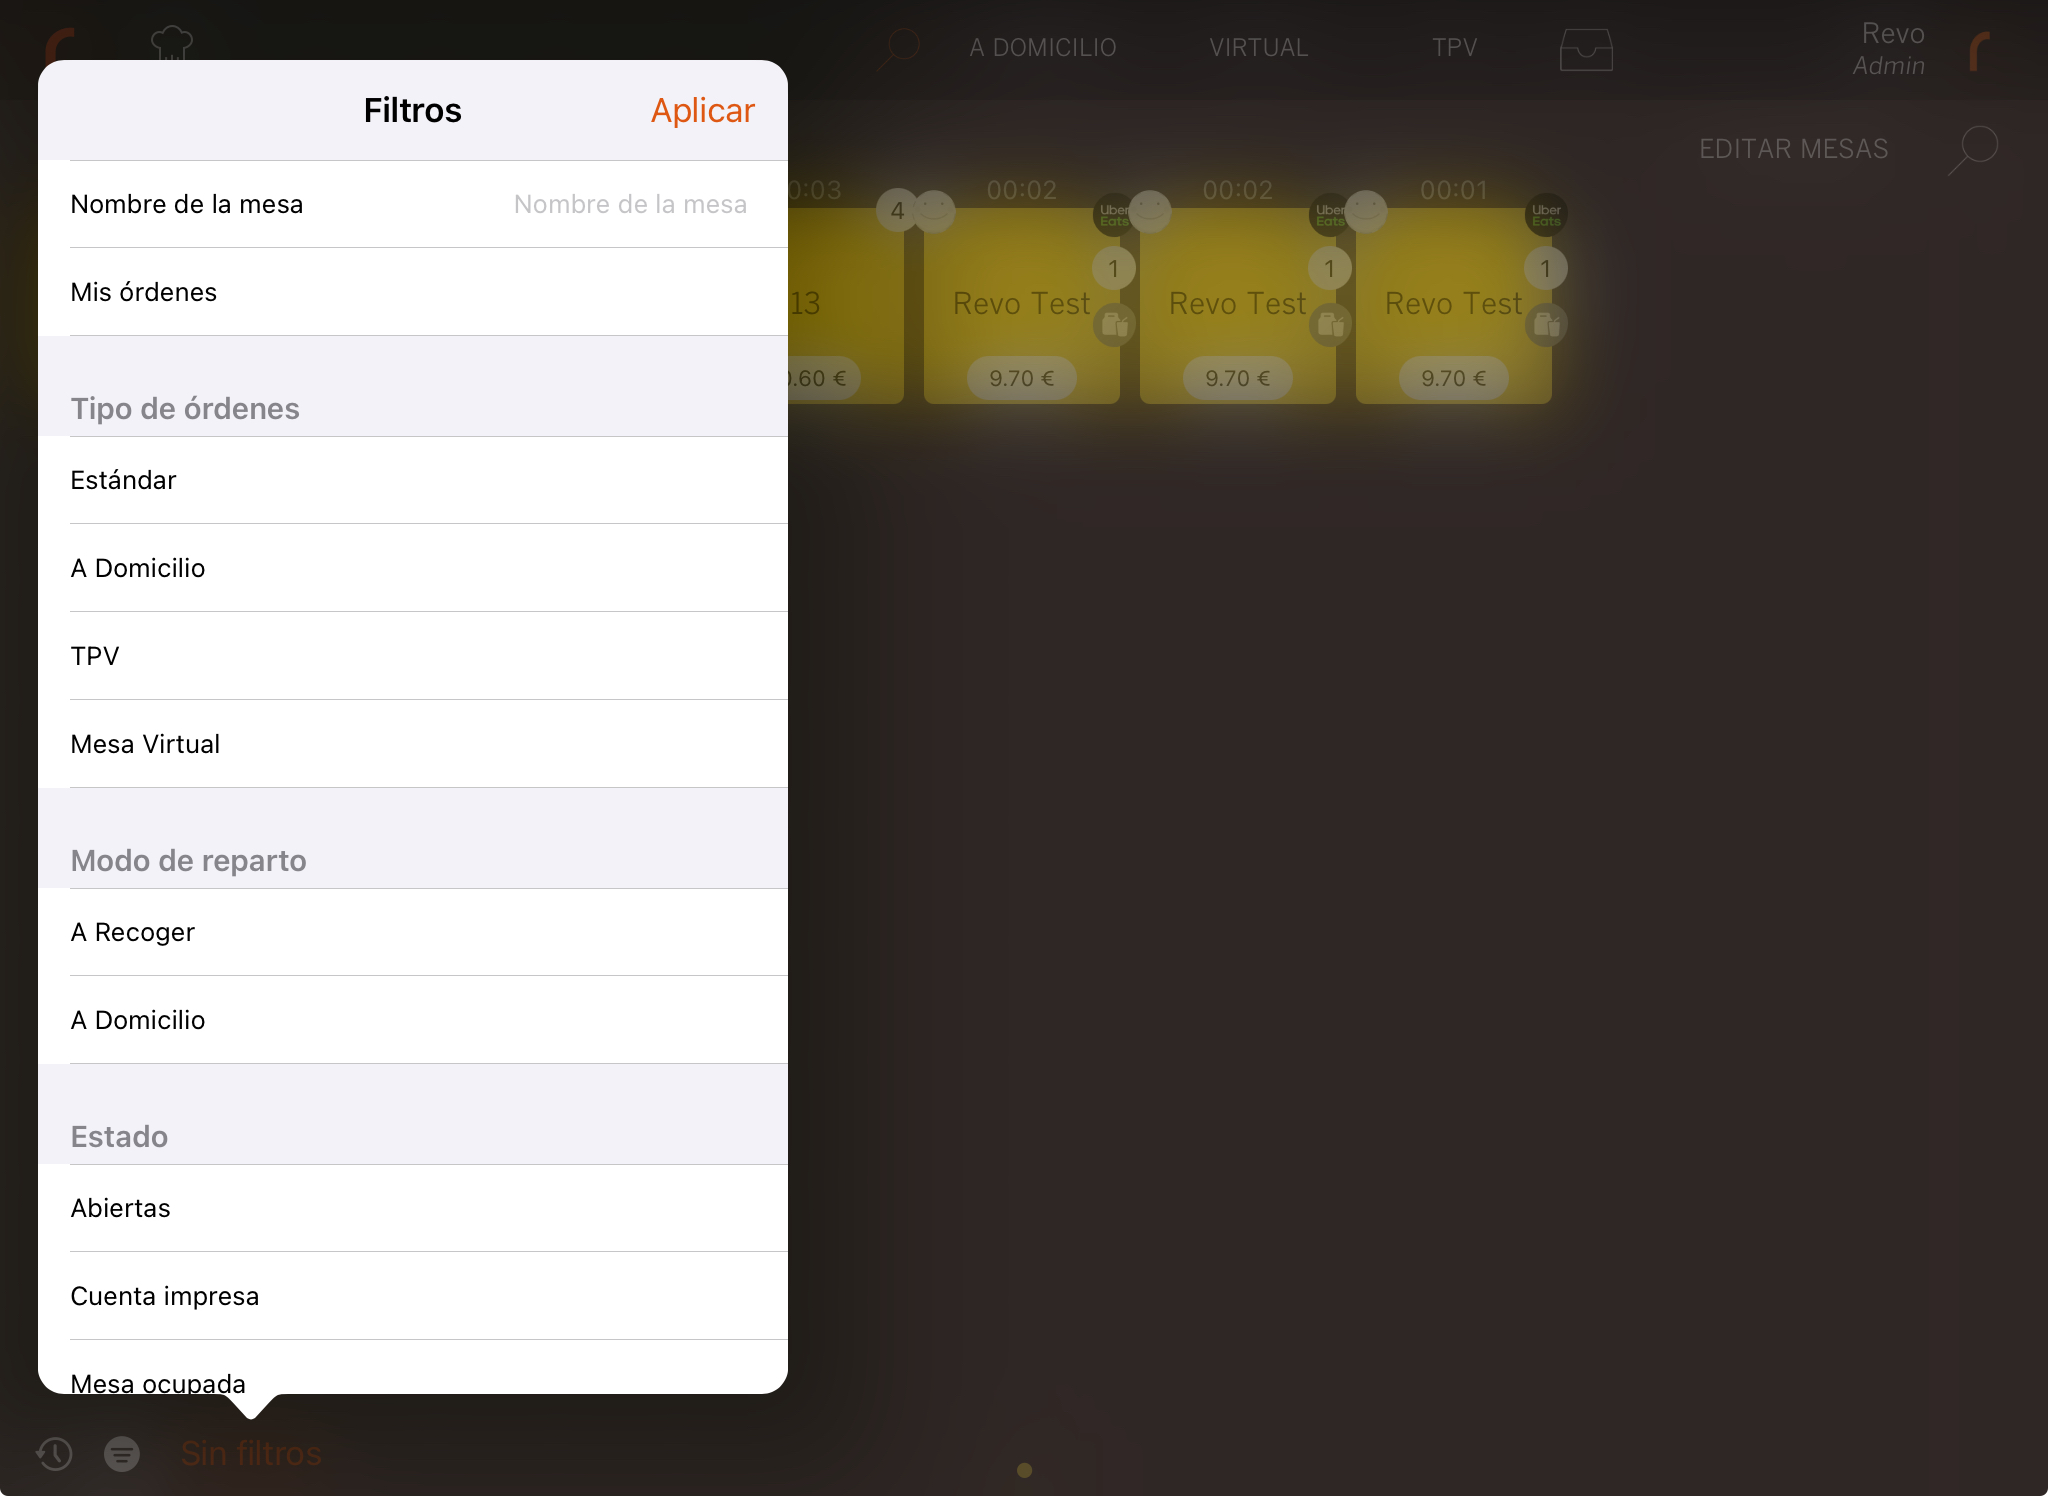
Once you've selected the desired filters, simply tap Apply.
-
Rooms: You can swipe your finger from left to right or vice versa to navigate through the different rooms.