1. OVERVIEW 2. HOW TO CREATE A NEW ROOM
Rooms is the tool you will use to design the rooms in your establishment.
1. OVERVIEW
1. Access the back-office of Revo XEF.
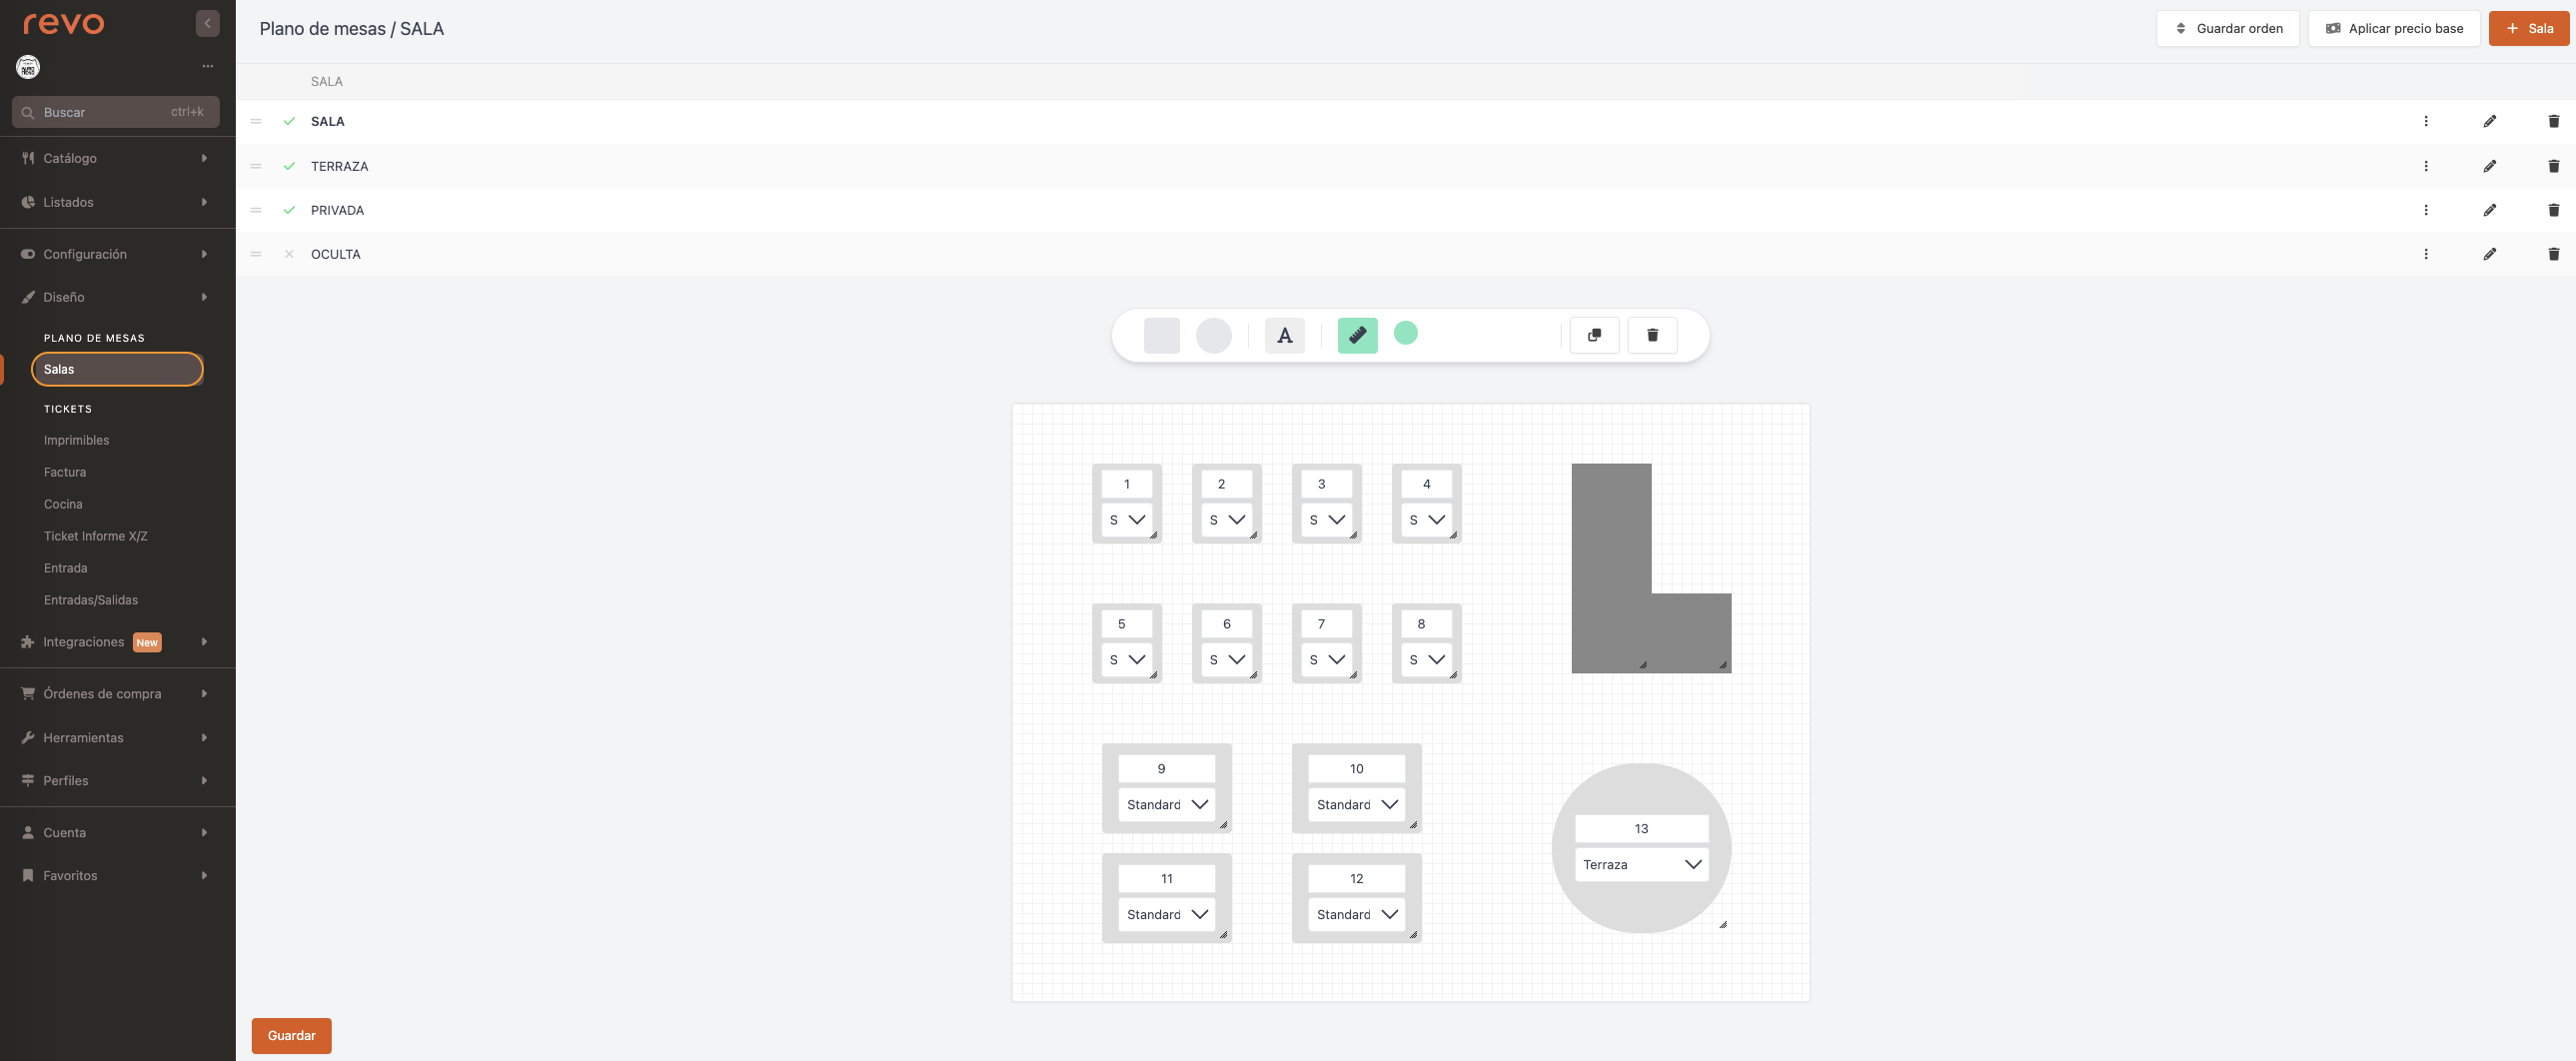
2. Go to Design / ROOMS.

-
Save Order: Save the new order of the rooms.
-
Apply Base Price: Assign a rate to the entire room by selecting it from the drop-down menu. You must have created the rates beforehand. Learn here.

-
+ Room: Create a new room.
-
: Rearrange the rooms.
-
: Room enabled or disabled.
-
Room: Name of the room.
-
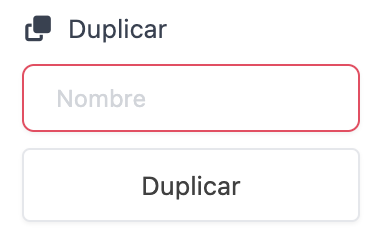
: Duplicate the room with a new name.

-
: Edit the room.
-
: Delete the room.
-
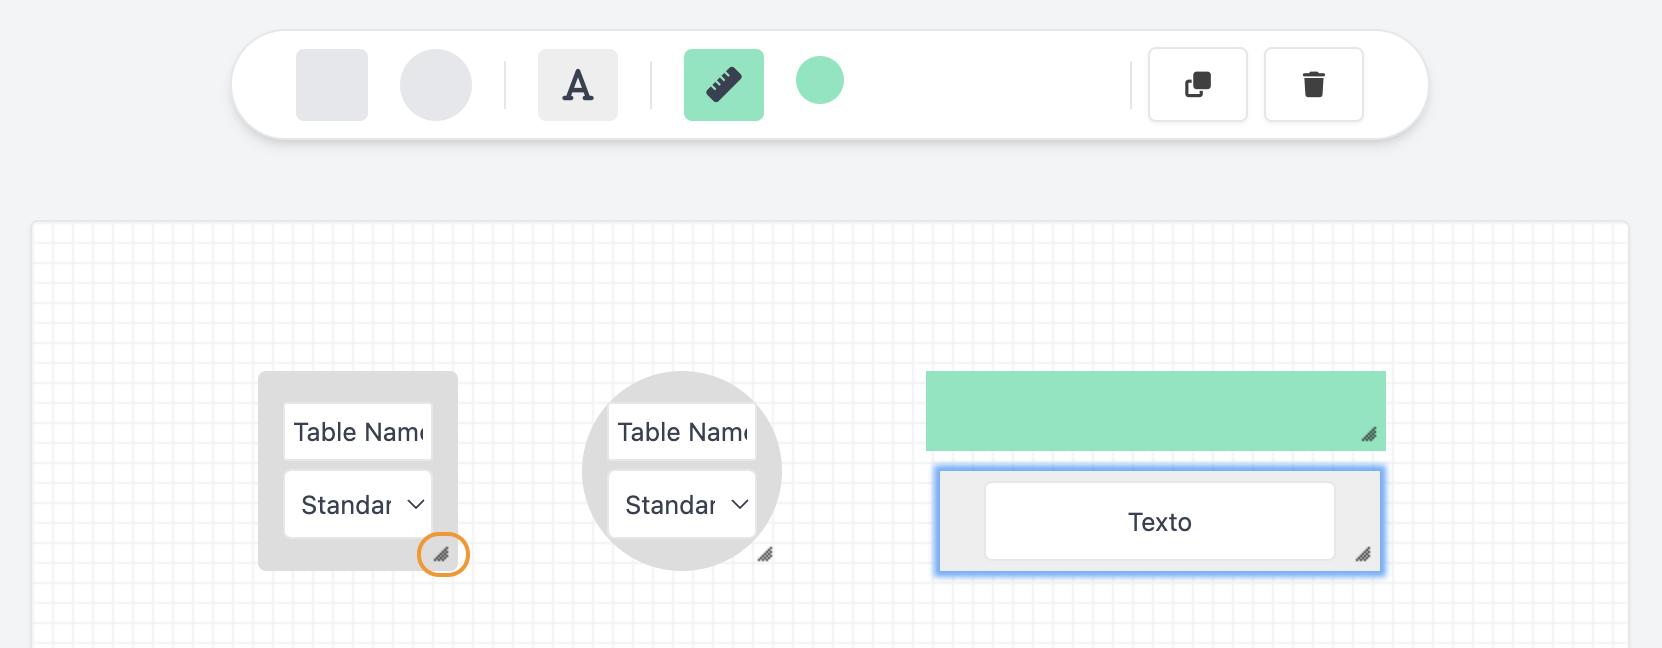
Design Tools:

-
Square Tables: Add square tables. Use the triangle in the bottom corner to change the shape.
-
Round Tables: Add round tables. Use the triangle in the bottom corner to change the shape.
RATES: You can select a rate for the tables. By default, the standard rate that you configured when creating the products will be applied. Learn here how to add a rate with a 10% surcharge for the terrace.
-
Text: Add text to mark areas or identify elements (for example, the entrance).
-
Walls: Add walls to separate tables or draw objects (for example, the bar).
-
Colour: Select the colour for the walls.
-
: Duplicate the selected object.
-
: Delete the selected object.
-
2. HOW TO CREATE A NEW ROOM
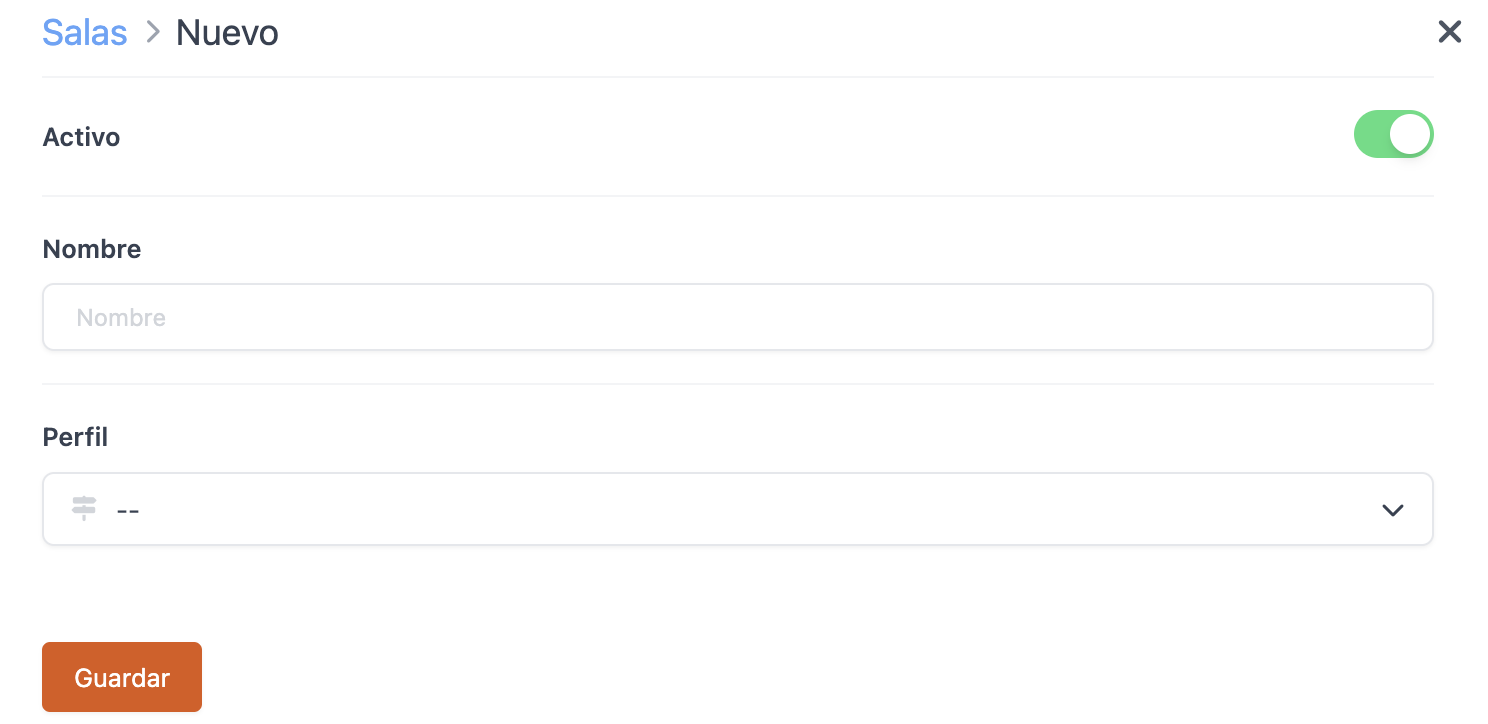
1. Click on + Room and complete the information:

-
Active:
-
Name: Assign a name to the room.
-
Profile: Select a profile or leave it as default.
2. Click on Save.
3. Drag the objects to create the layout of your room.
4. Change the name of the tables to make them more identifiable.
5. Select the rate for the table/room, or keep the standard rate.
If all the tables are the same size and have the same rate, create one table and duplicate it to speed up the process.
6. Click on Save.
