1. OVERVIEWL 2. HOW TO CREATE A NEW PRIVILEGE 3. HOW TO ASSOCIATE A PRIVILEGE WITH AN EMPLOYEE
To access the back-office, you need a username and password.
These are unique credentials, so anyone with this information can gain access. There is no connection limit, meaning multiple people can use the same username and password at the same time.
Just like the app privileges, back-office privileges allow you to control access to various functions. This provides access to your employees without sharing the main account's password.
You can create as many privilege groups as you need. Generally, privileges are created and assigned based on the role or function.
1. OVERVIEW
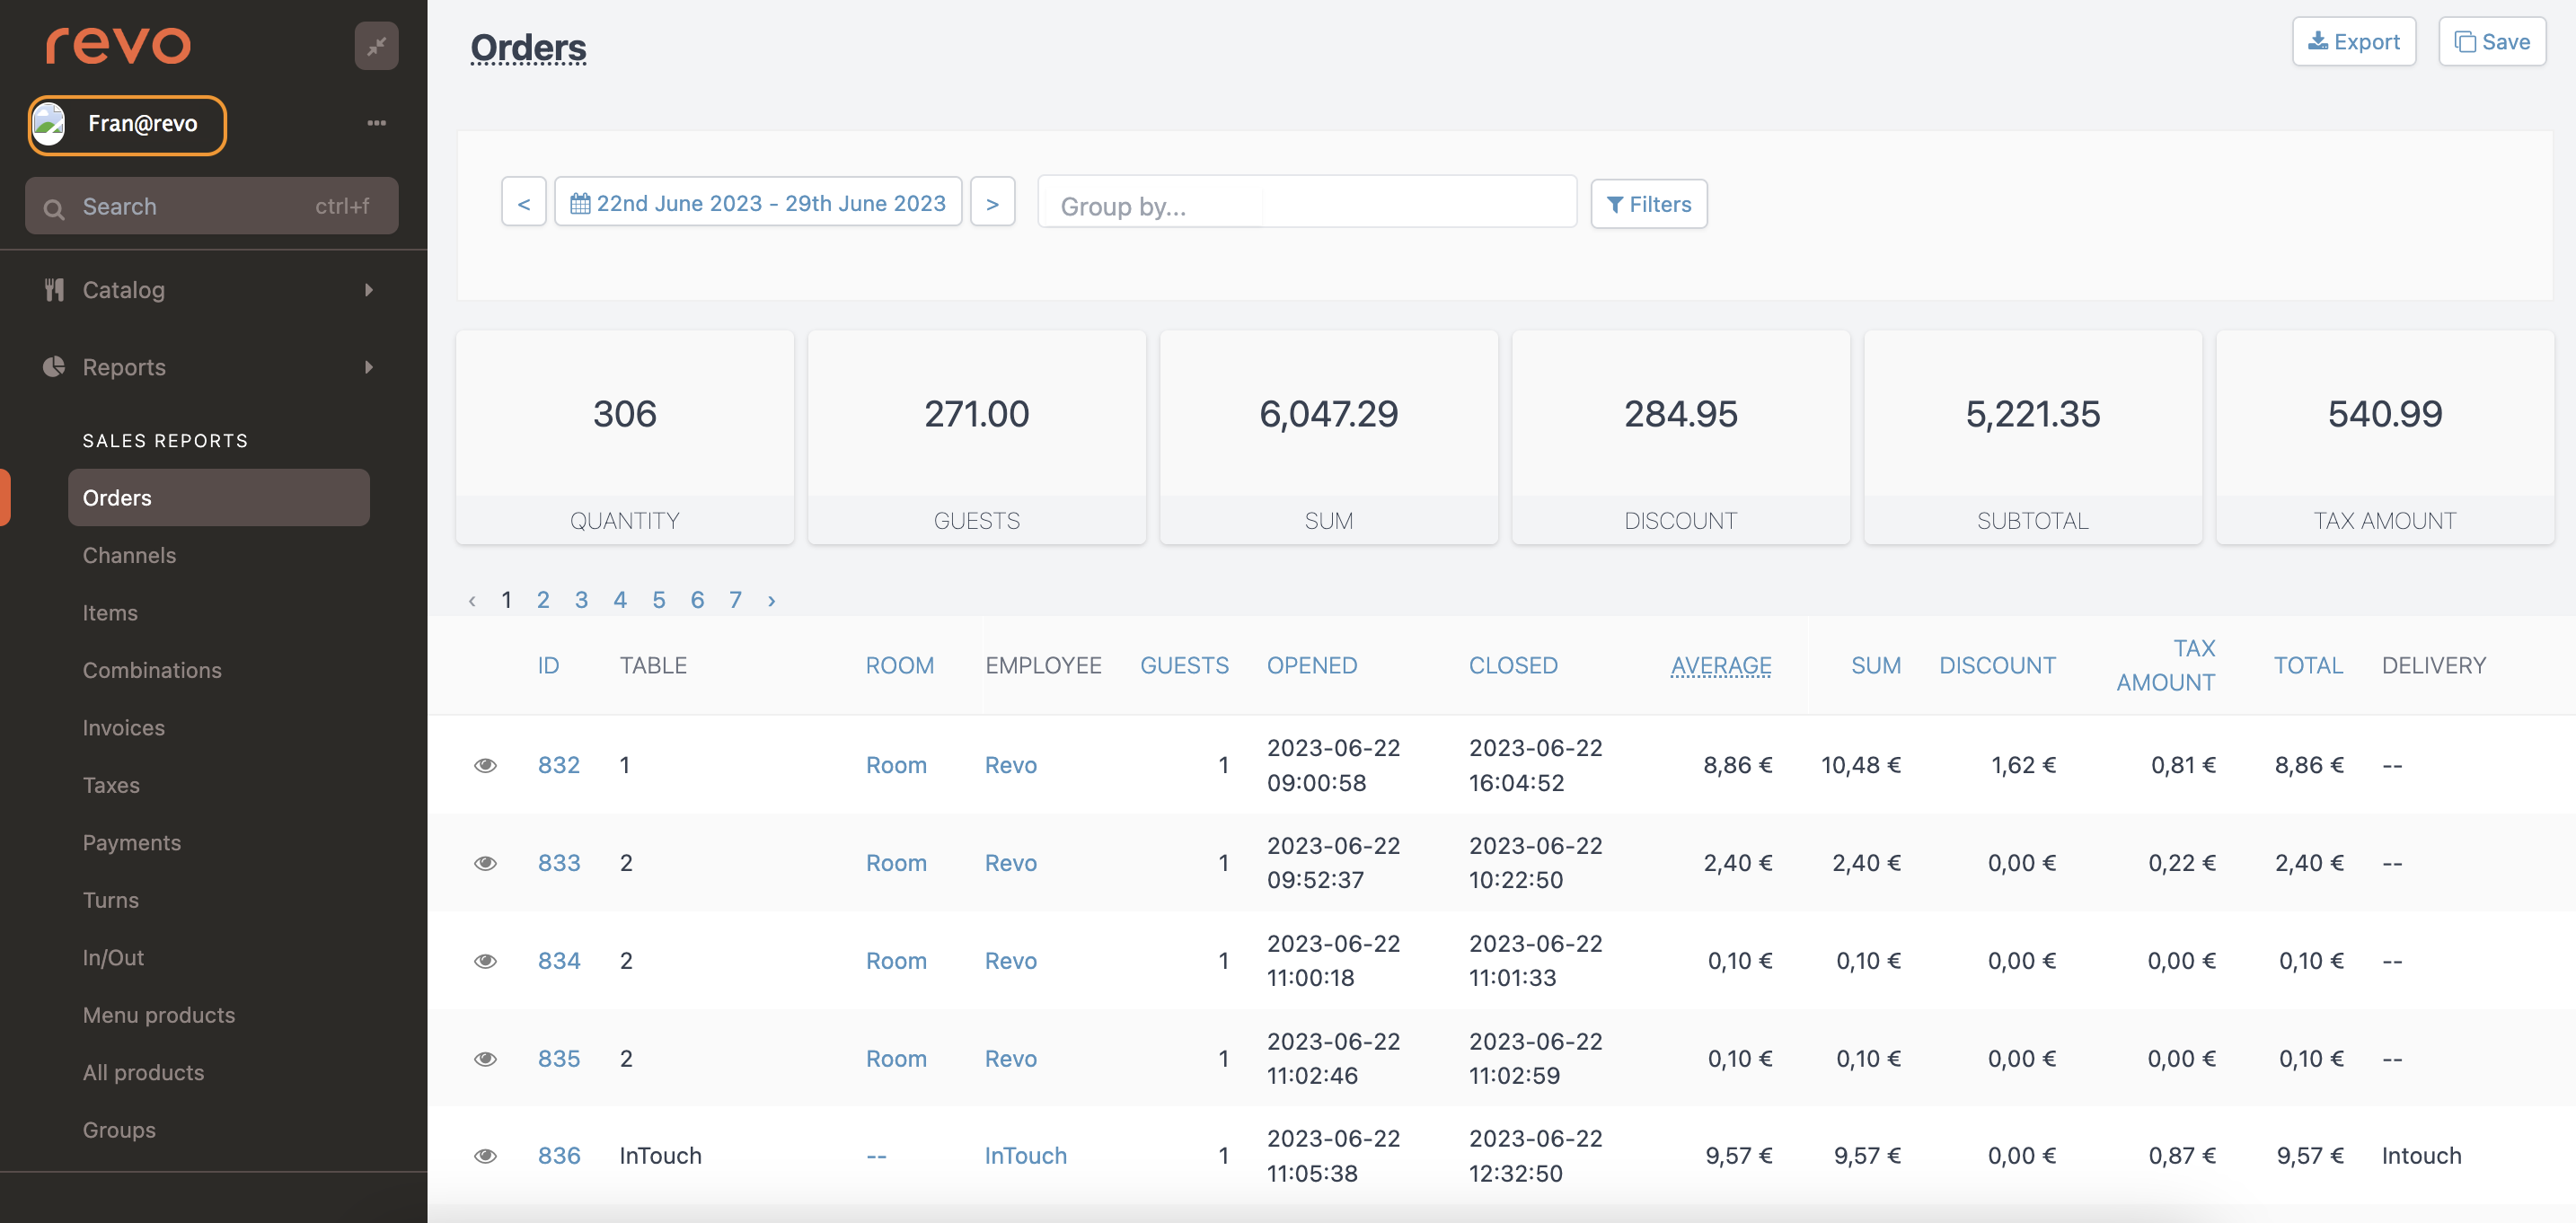
1. Access the back-office of Revo XEF.
2. Go to Settings / BACK-OFFICE PRIVILEGES.

- + New: Create a new privilege.
- : Search for privileges.
- Actions: Delete one or more selected privileges.
- : Select all or multiple privileges.
- Name: Name of the privilege.
- App privileges: Indicates how many privileges are in that group. For example, the privilege "purchases" has 3 permissions out of a total of 36.
- : Edit the privilege.
- : Delete the privilege.
2. HOW TO CREATE A NEW PRIVILEGE
1. Click on + New and complete the information:

- Name: Add a name to identify the privilege.
Menu
- Menu: Allows access to the Catalogue module.
You need menu permission to access general groups.
- General group: Allows access to the General Groups section.
Settings
- Settings: Allows access to the Settings module.
You need access to the module to access the various sections.
-
Company: Allows access to the Company section.
-
Order Settings: Allows access to the Order Settings section.
-
Fiscal Settings: Allows access to the Fiscal Settings section.
-
Tax: Allows access to the Taxes section.
-
Invoice: Allows access to the Counters and Invoice Settings section.
-
App Privileges: Allows access to the App Privileges section.
-
Discount: Allows access to the Discounts section.
-
Payment Method: Allows access to the Payment Methods section.
-
Rate: Allows access to the Rates section.
You need access to the Menu module to be able to access this section.
-
Dish Order: Allows access to the Dish Order section.
-
Cash Machine: Allows access to the Cash Machines section.
-
Customer: Allows access to the Customer section.
-
Employee: Allows access to the Employee section.
-
Event: Allows access to the Events section.
-
Presence Text: Allows access to the section Presence Text.
-
Printer: Allows access to the section Printers, Printer Groups, and Virtual Printers.
-
Entry: Allows access to the section Entry.
-
Warehouse: Allows access to the section Warehouse.
-
Shared Stores: Allow access to shared stores in the Chain section. For Master accounts.
-
Cashier: Allows access to the section Cashiers.
-
Device Preferences: Allows access to the section Device Preferences.
Module
-
Promotions: Allows access to the section Promotions.
To access this, you need to have access to the Catalogue module.
-
Purchase Order: Allows access to the module Purchase Orders and its sections.
-
Integration: Allows access to the module and the section Integrations.
** KDS 2: Allows access to the module KDS 2 and its sections.
Access to Listings
-
Listing: Allows access to the module Listings and all its subsections.
-
Payment: Allows access to the listing Payments (old).
-
Presence: Allows access to the listing Presences.
-
Ticket Image: Allows access to the ticket images from the PMS in the Invoices.
Room
- Room: Allows access to the section Rooms.
Account
-
Account: Allows access to the module Account.
-
Password: Allows access to the section Change Back-Office Password, Change App Password, and Change Revo CONTROL Password.
-
Device: Allows access to the section Devices.
-
Tools: Allow access to the Tools module.
The types of permissions you can grant are:
-
None: No permissions granted.
-
View: Allows view-only access.
-
View + Active: Allows view and modification of Active items.
-
View + Active + Edit: Allows view, modification of Active items, and editing.
-
Full: Grants all permissions.
3. HOW TO ASSOCIATE A PRIVILEGE WITH AN EMPLOYEE
Once you have created the profile in Back-Office Privileges, you need to select the employee to whom you will assign the privilege.
1. Go to Settings / EMPLOYEES.
2. Create a new employee or edit an existing one.
3. In the back-office section, create a username and a password. Then, select the back-office privilege you created from the dropdown menu.

4. Click on Save.
For each worker to access their personalised page in the back-office, they should go to the URL: revoxef.works. Then, they should enter their username using the template: name@establishmentname and the assigned password.