1. INTEGRATION SETUP IN SOLO – PART 1 2. INTEGRATION SETUP IN XEF 3. INTEGRATION SETUP IN SOLO – PART 2
1. INTEGRATION SETUP IN SOLO – PART 1
1. Go to the back office of Revo SOLO.
2. Navigate to Others / DEVELOPMENT
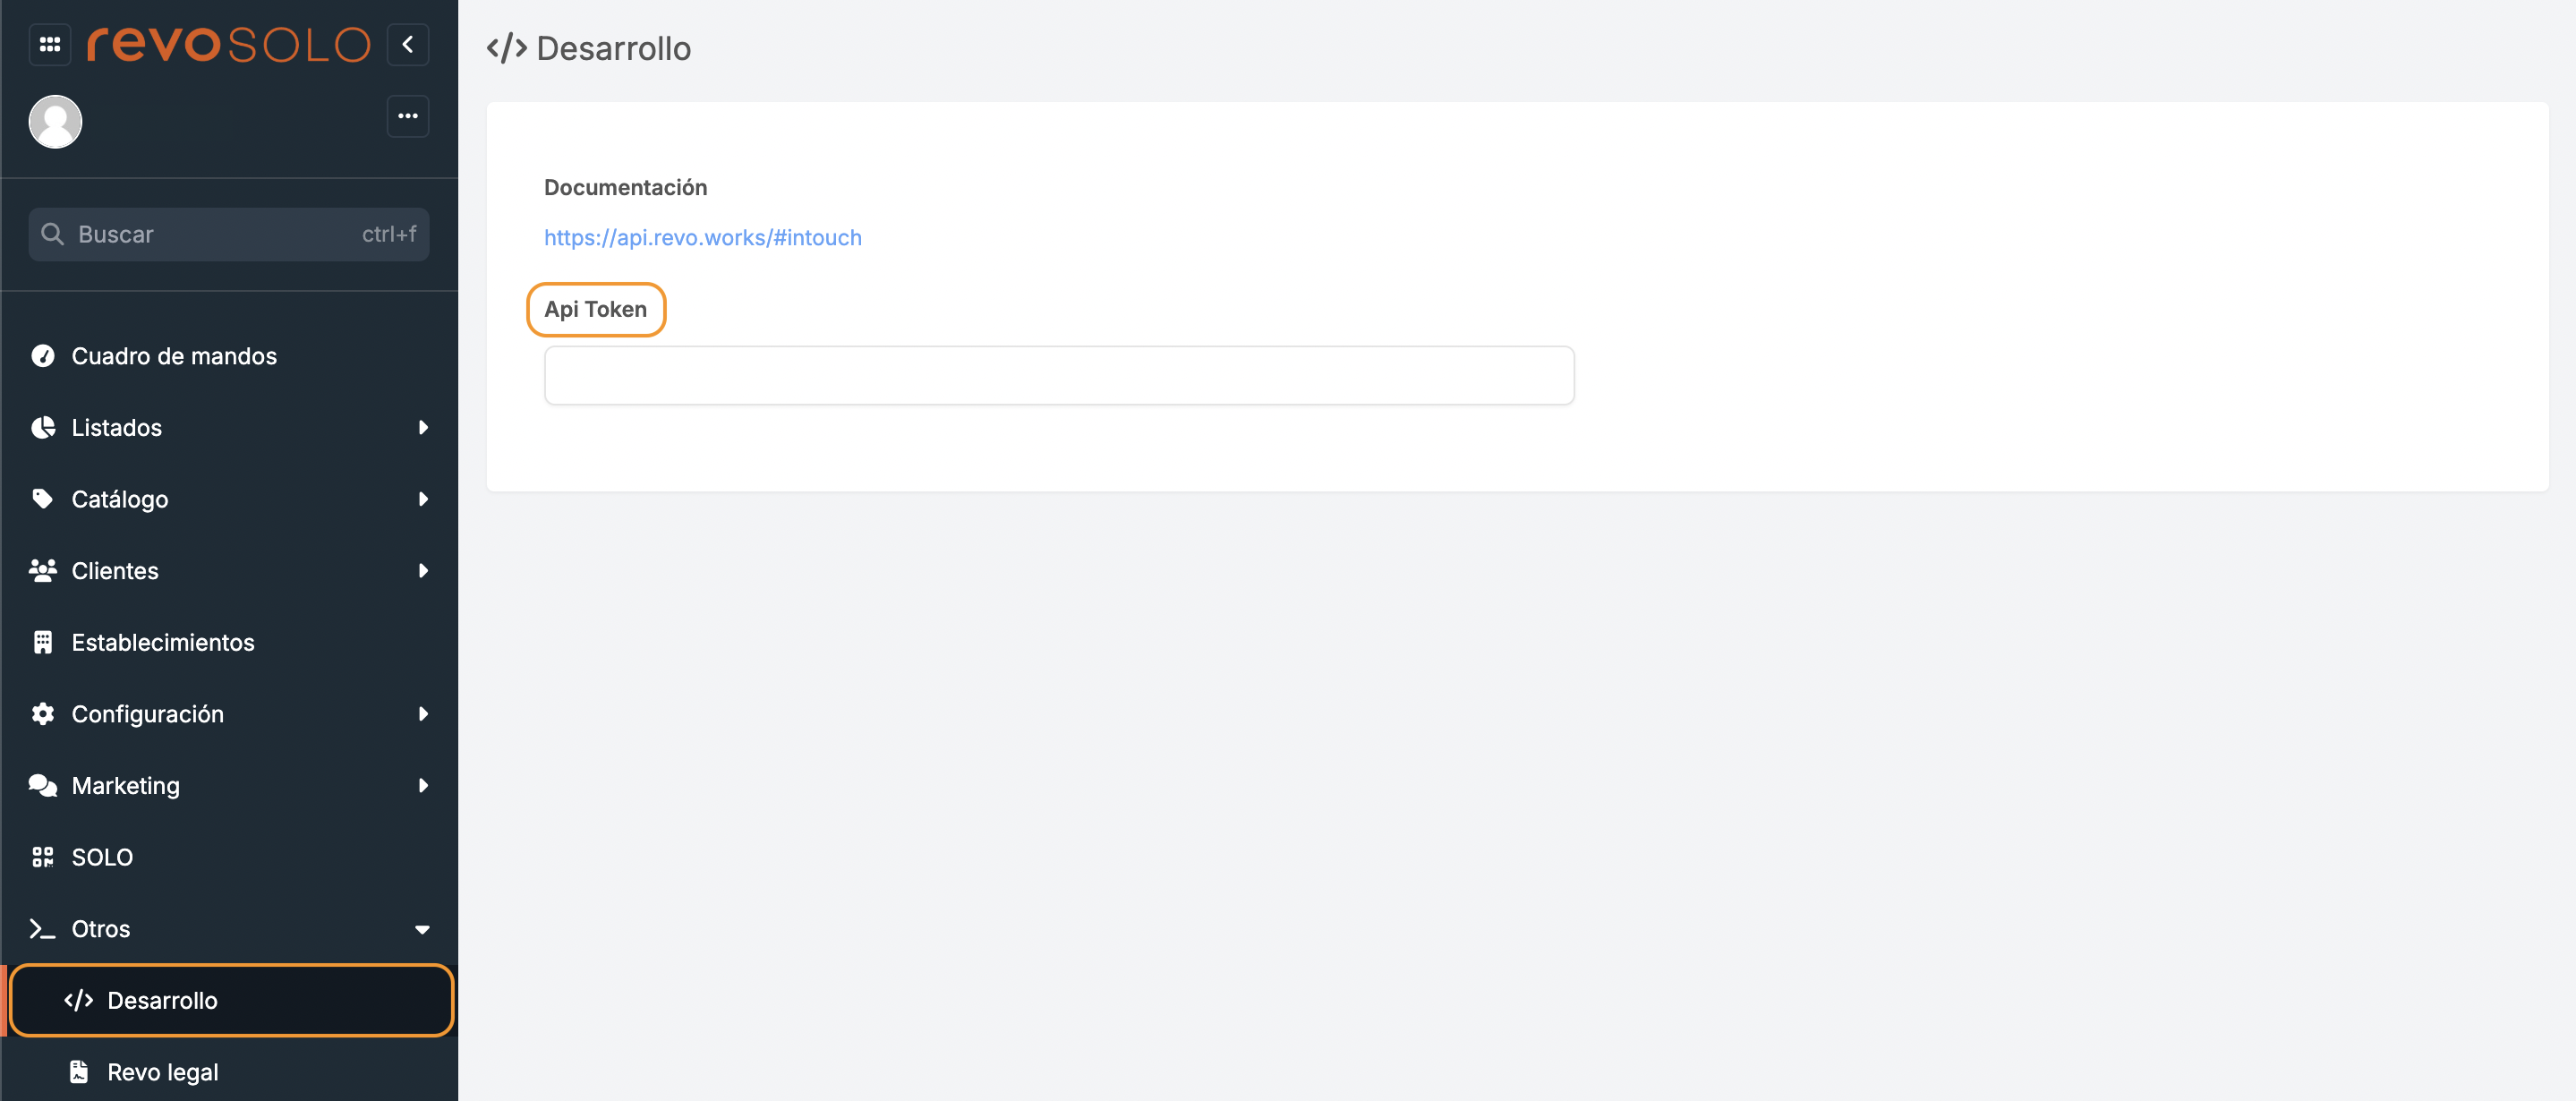
3. Copy the token.
2. INTEGRATION SETUP IN XEF
To link Revo XEF and Revo SOLO, you need to create the integration.
1. Go to the back office of Revo XEF.
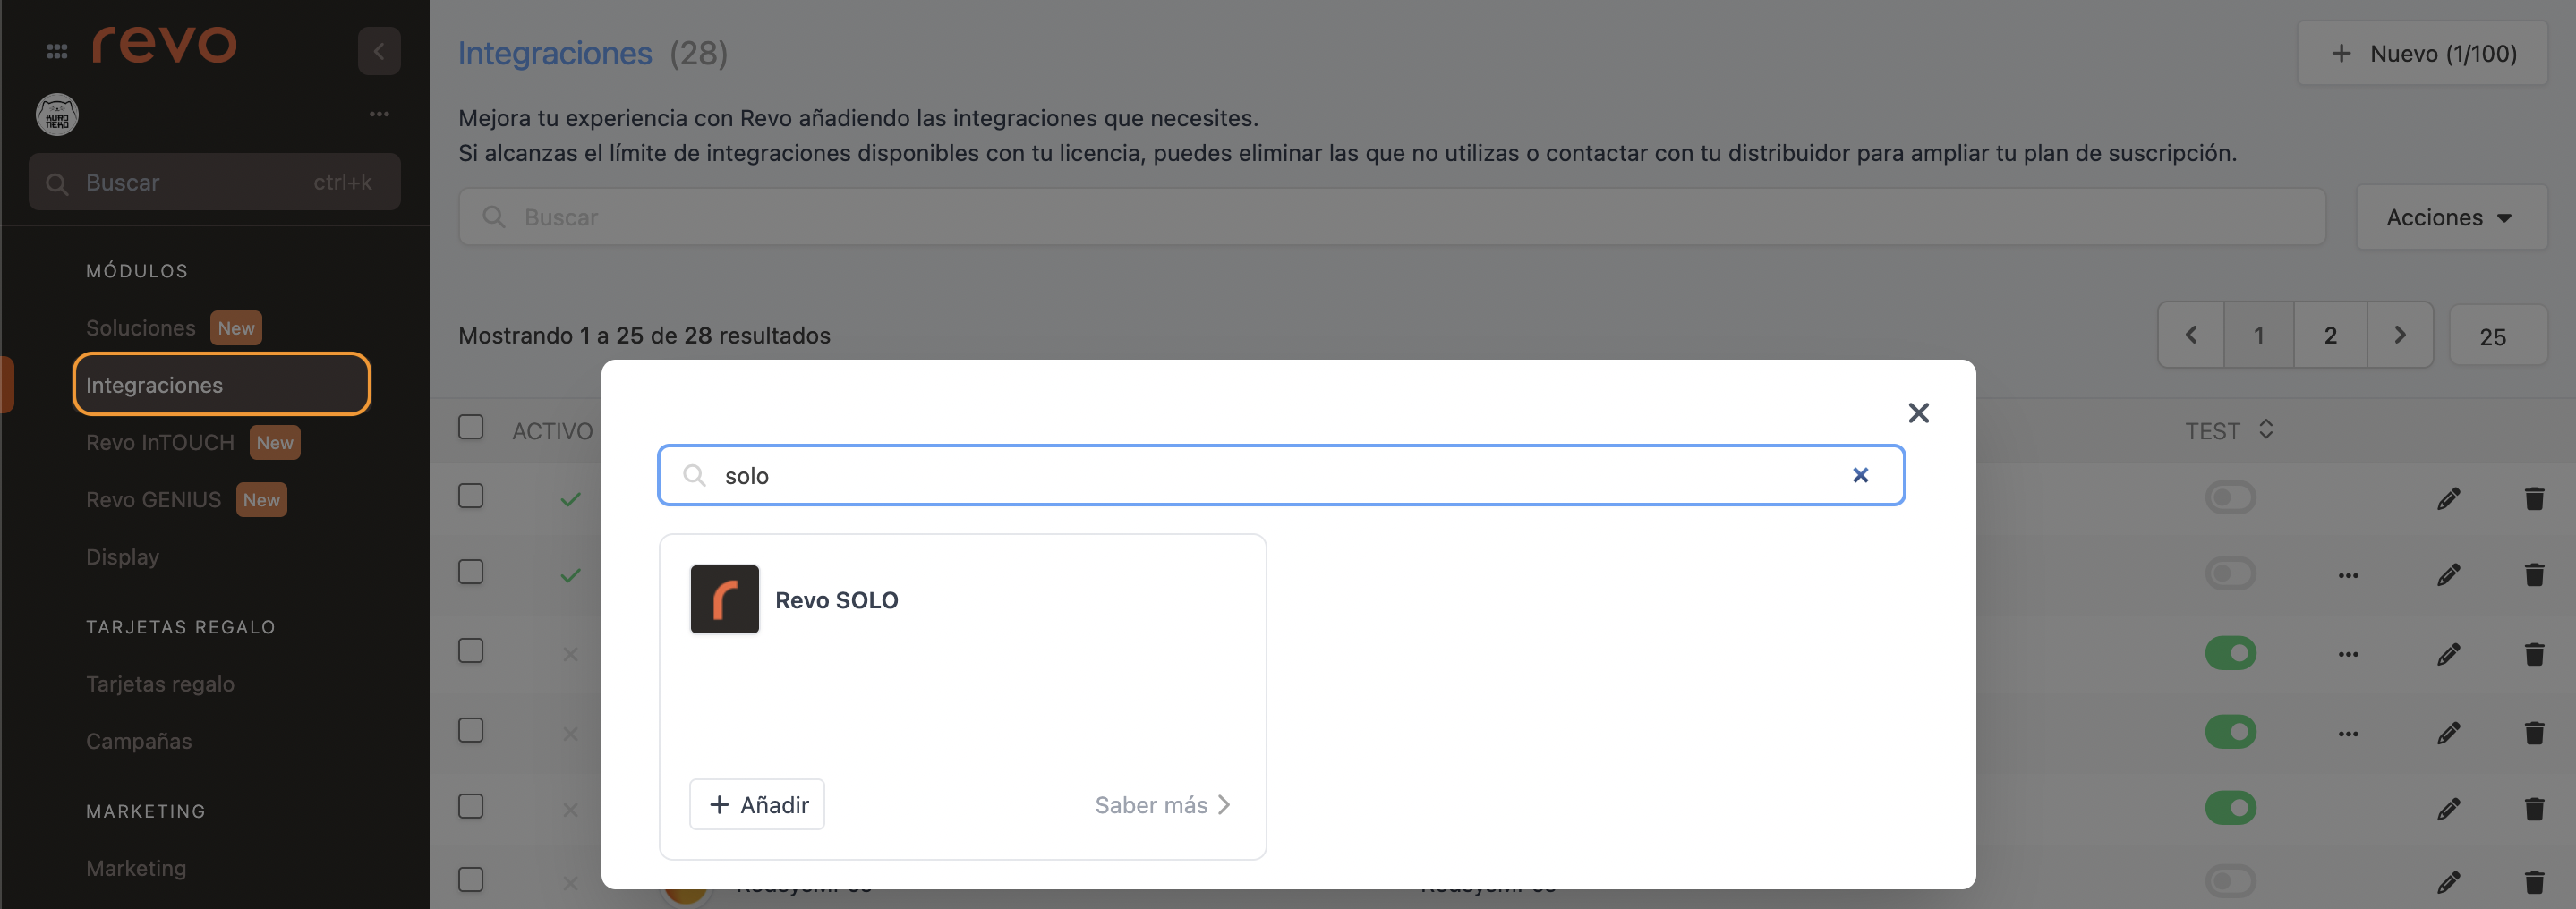
2. Go to Integrations / INTEGRATIONS
3. Click on + New, search Revo SOLO and click + Add.
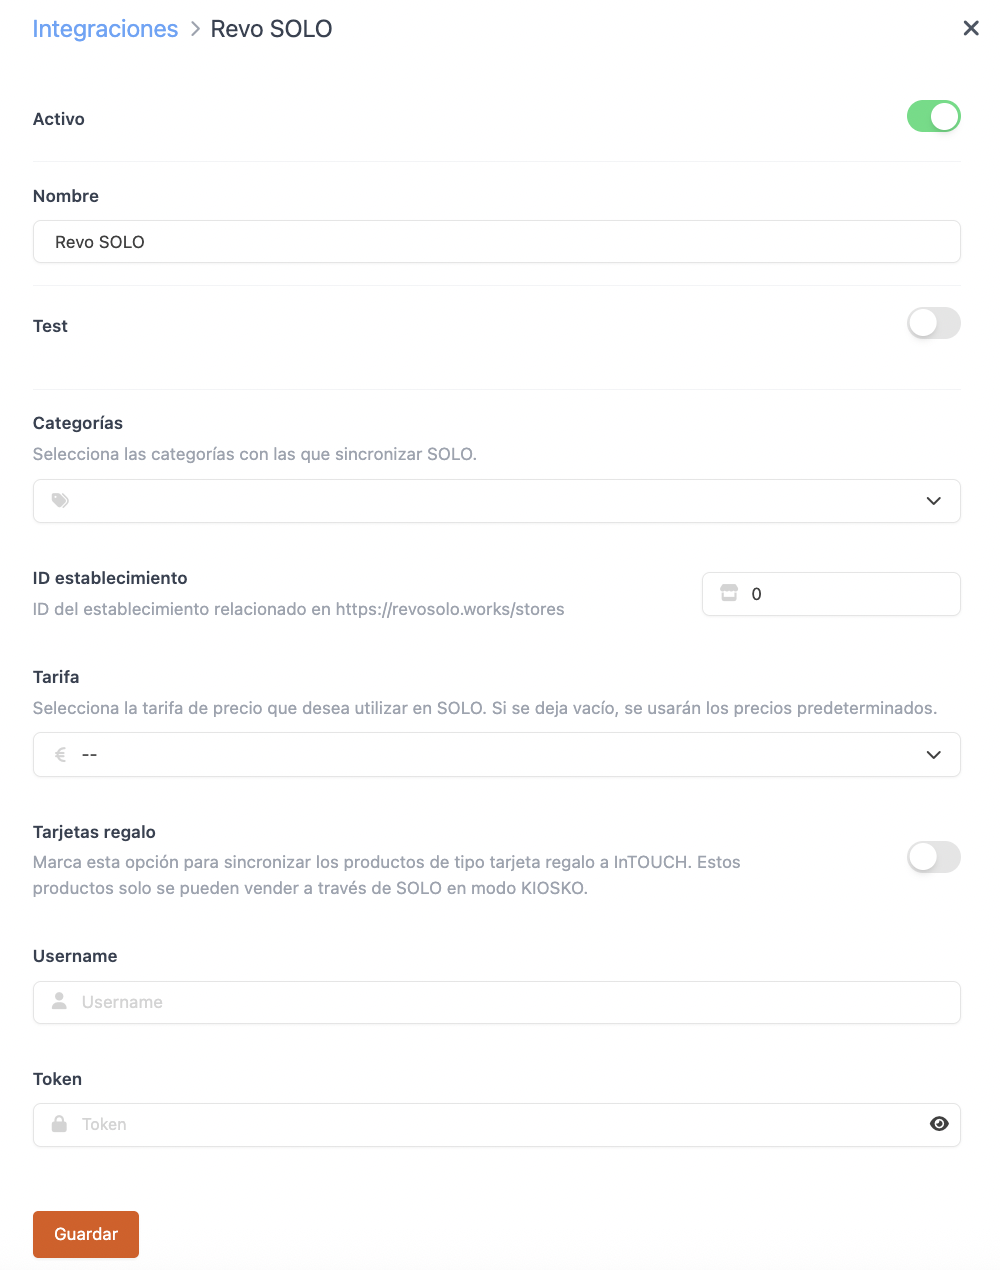
4. Fill in the fields.
-
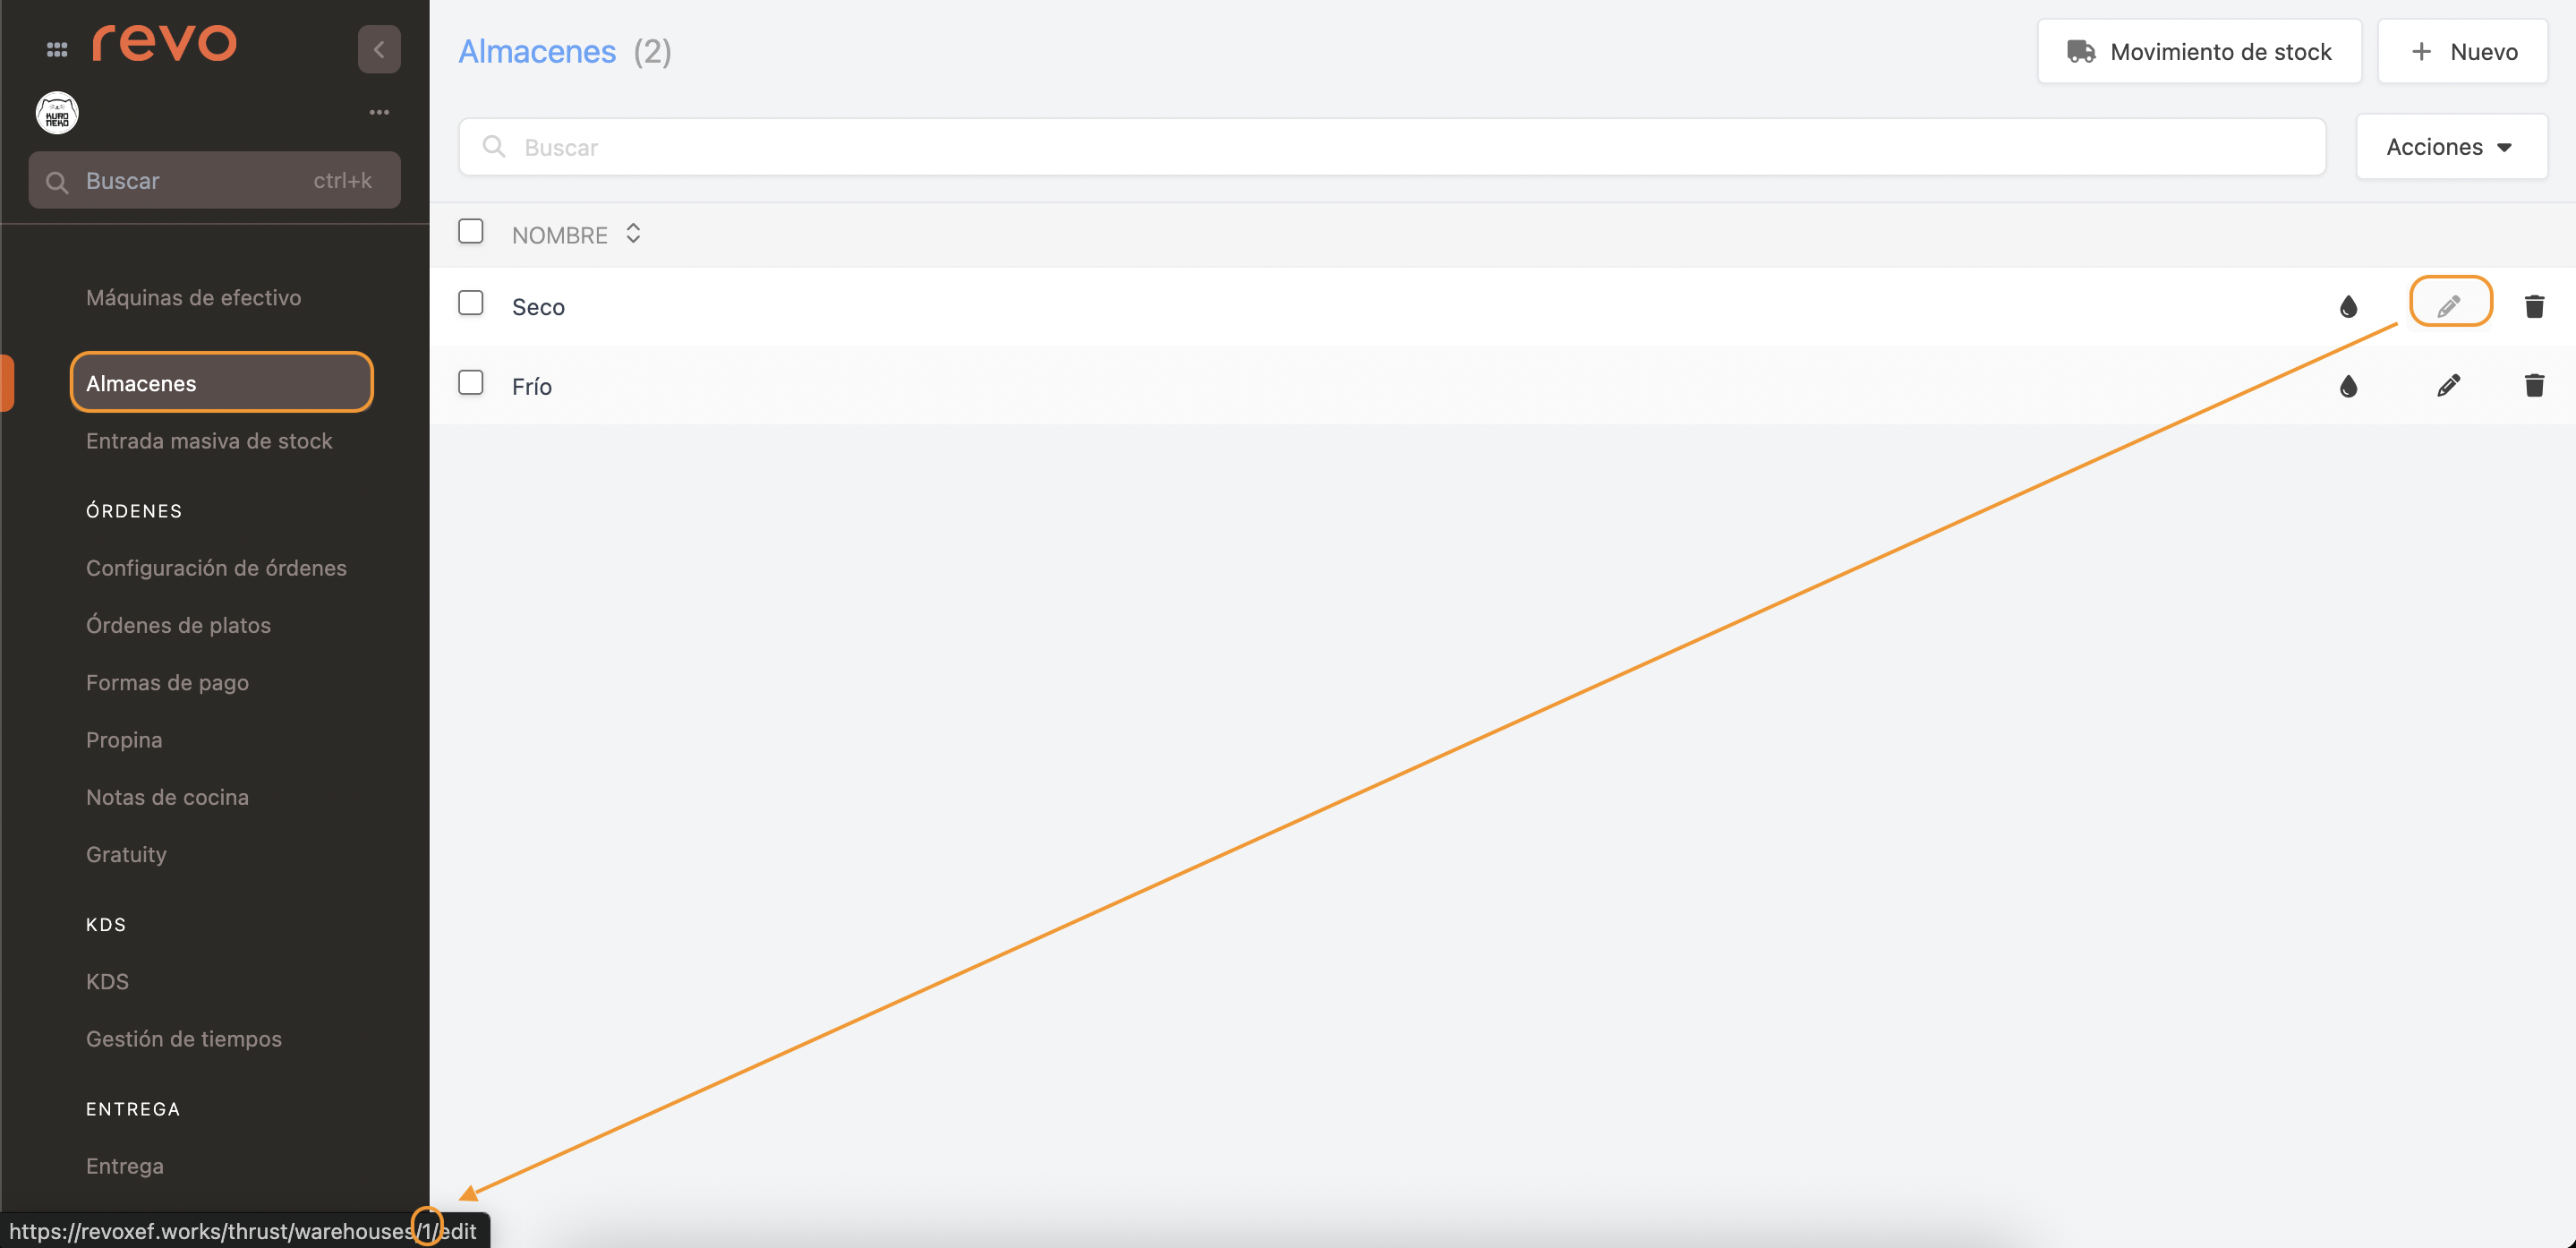
Store ID: Enter the store ID.
You can get it by hovering over the pencil icon in the Revo SOLO store list.

The default store usually has ID 1.
-
Username: The Revo SOLO account name (tenant).
-
Token: Paste the token you copied in step 1.3.
5. Click Save.
6. Go to Account / TOKENS.
7. Create a new token by clicking + New:
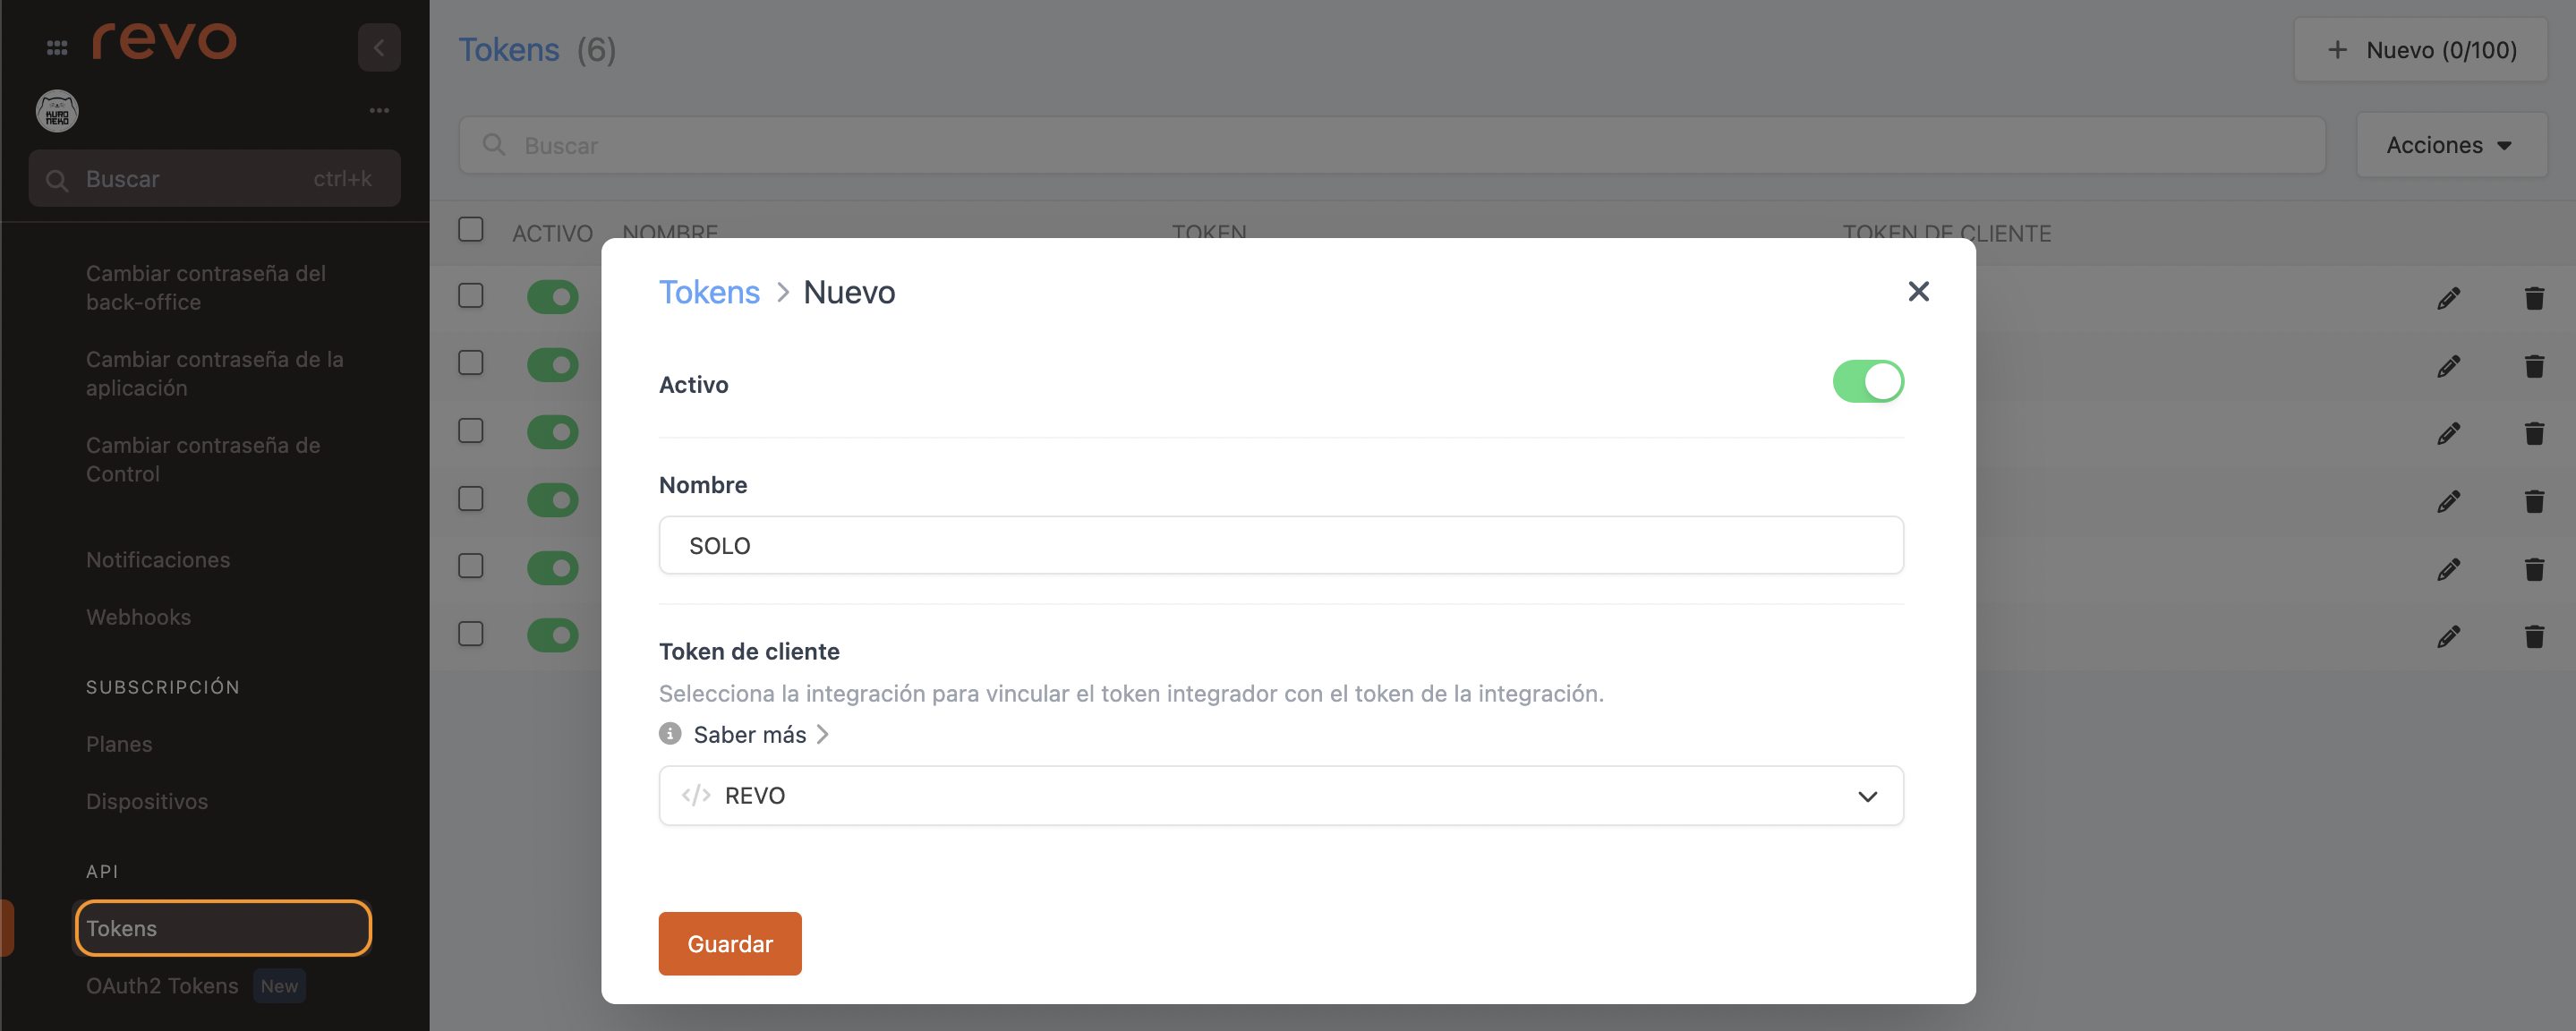
- Active:
- Name: SOLO
- Client token: REVO
8. Click Save.
9. Copy the token.
3. INTEGRATION SETUP IN SOLO – PART 2
1. Go to the back office of Revo SOLO.
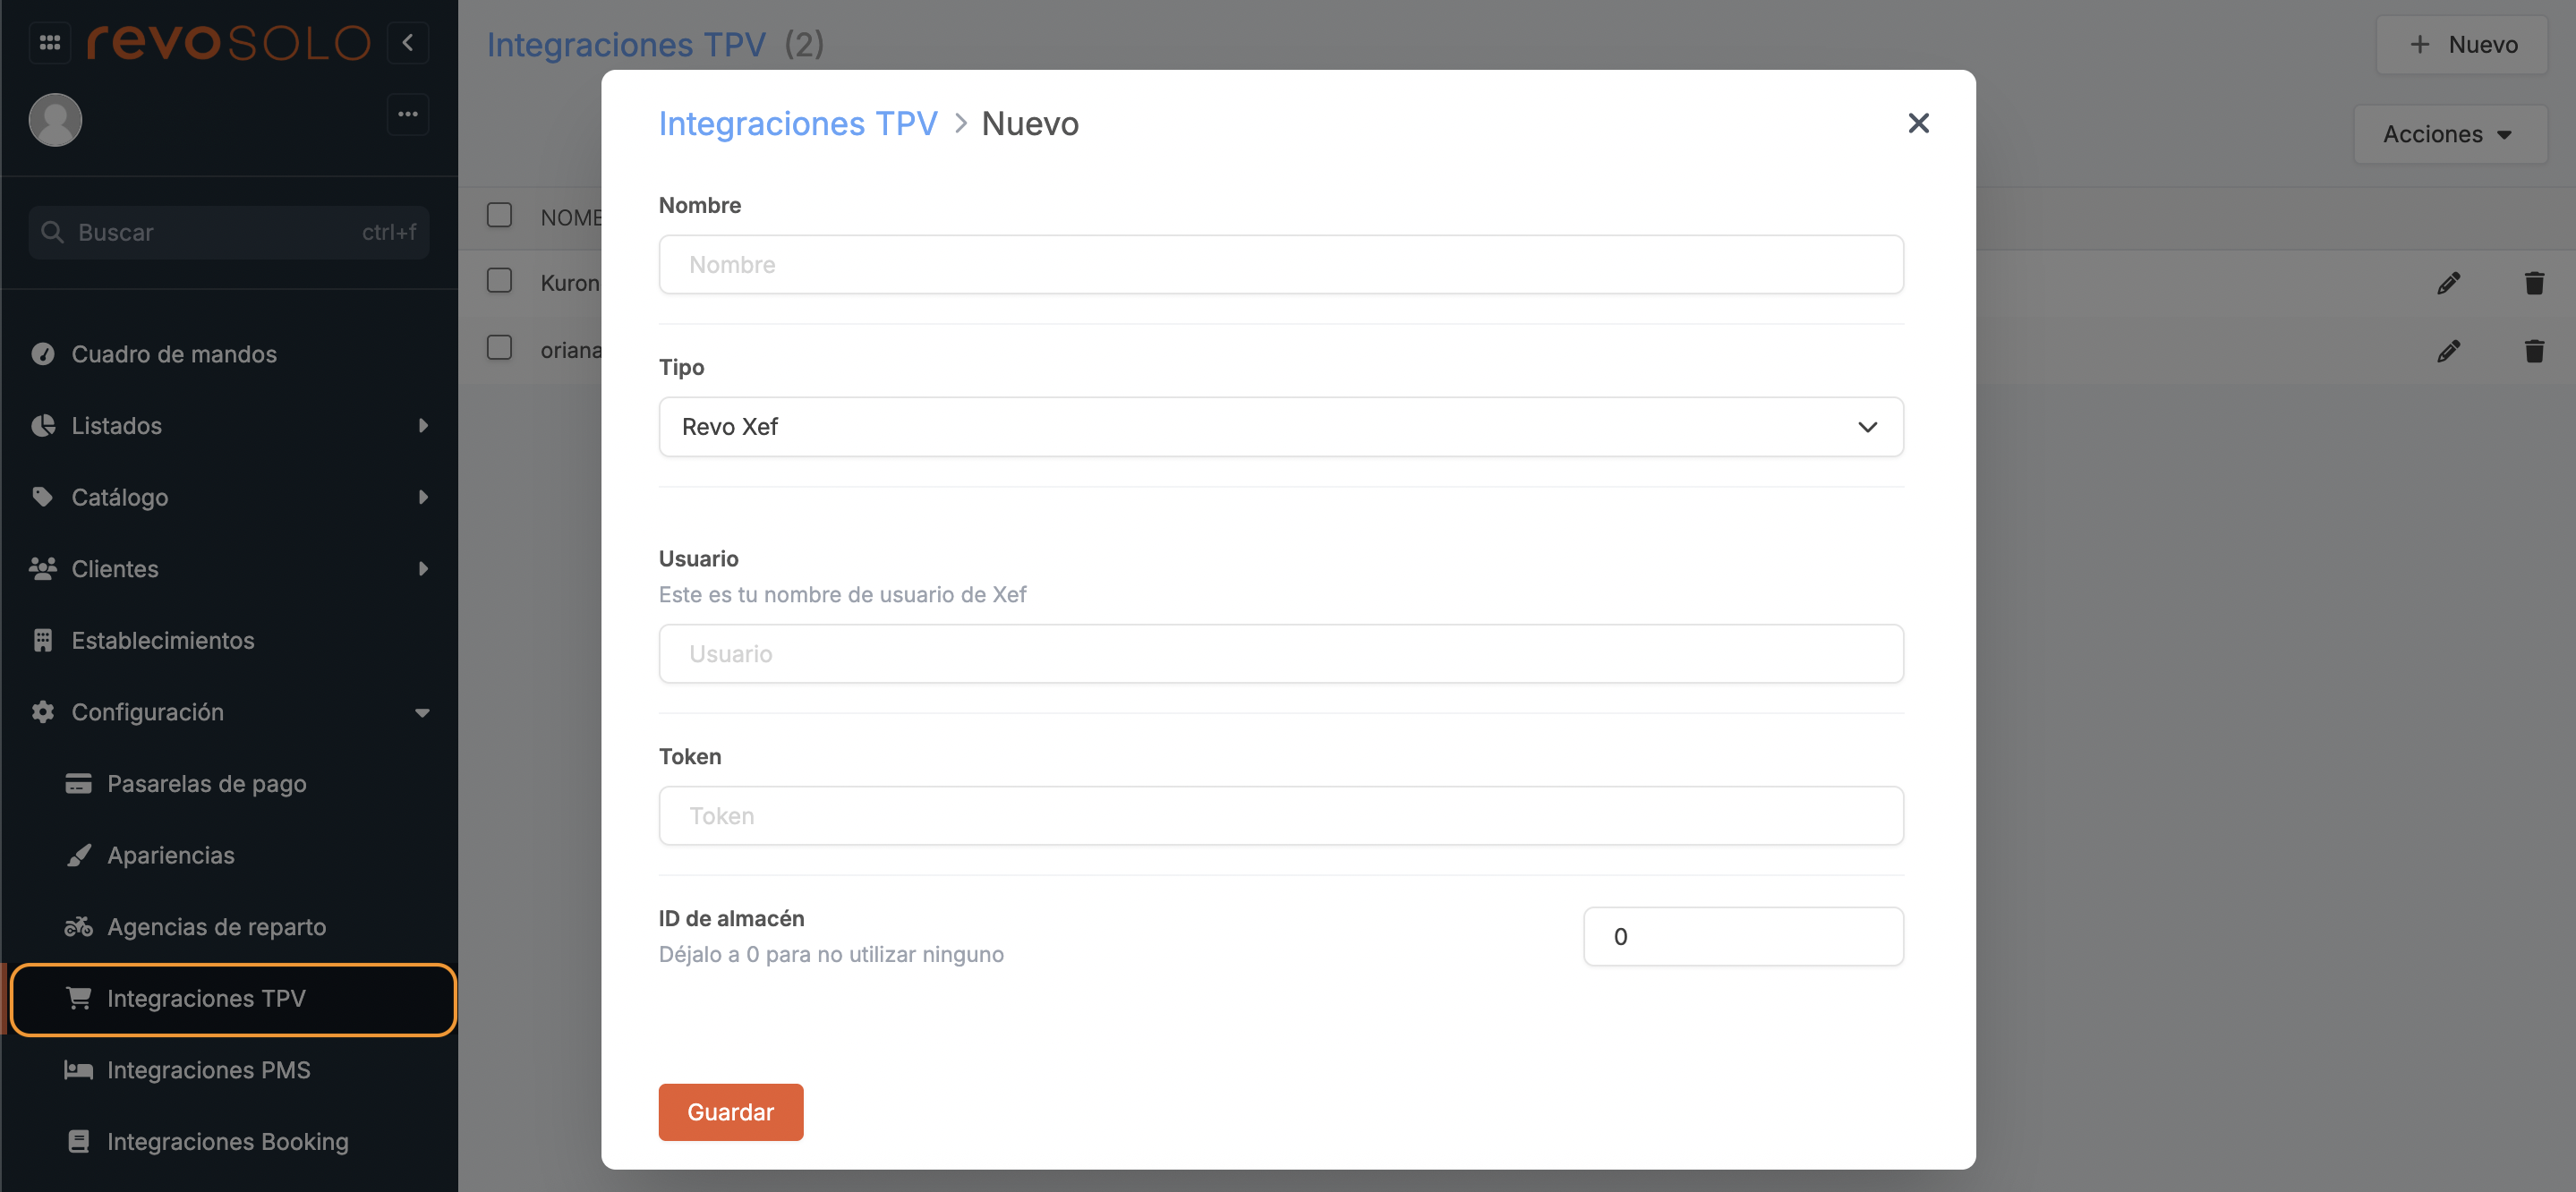
2. Go to Configuration / POS INTEGRATIONS
3. Click on + New and complete the fields.
-
Name: Identifying name.
-
Type: Revo XEF.
-
User: Revo XEF account name (tenant).
-
Token: Paste the token you copied from Revo XEF.
-
Warehouse ID: ID of the warehouse in the Revo XEF account. Leave it at 0 if you don’t want to link it.
4. Click Save.
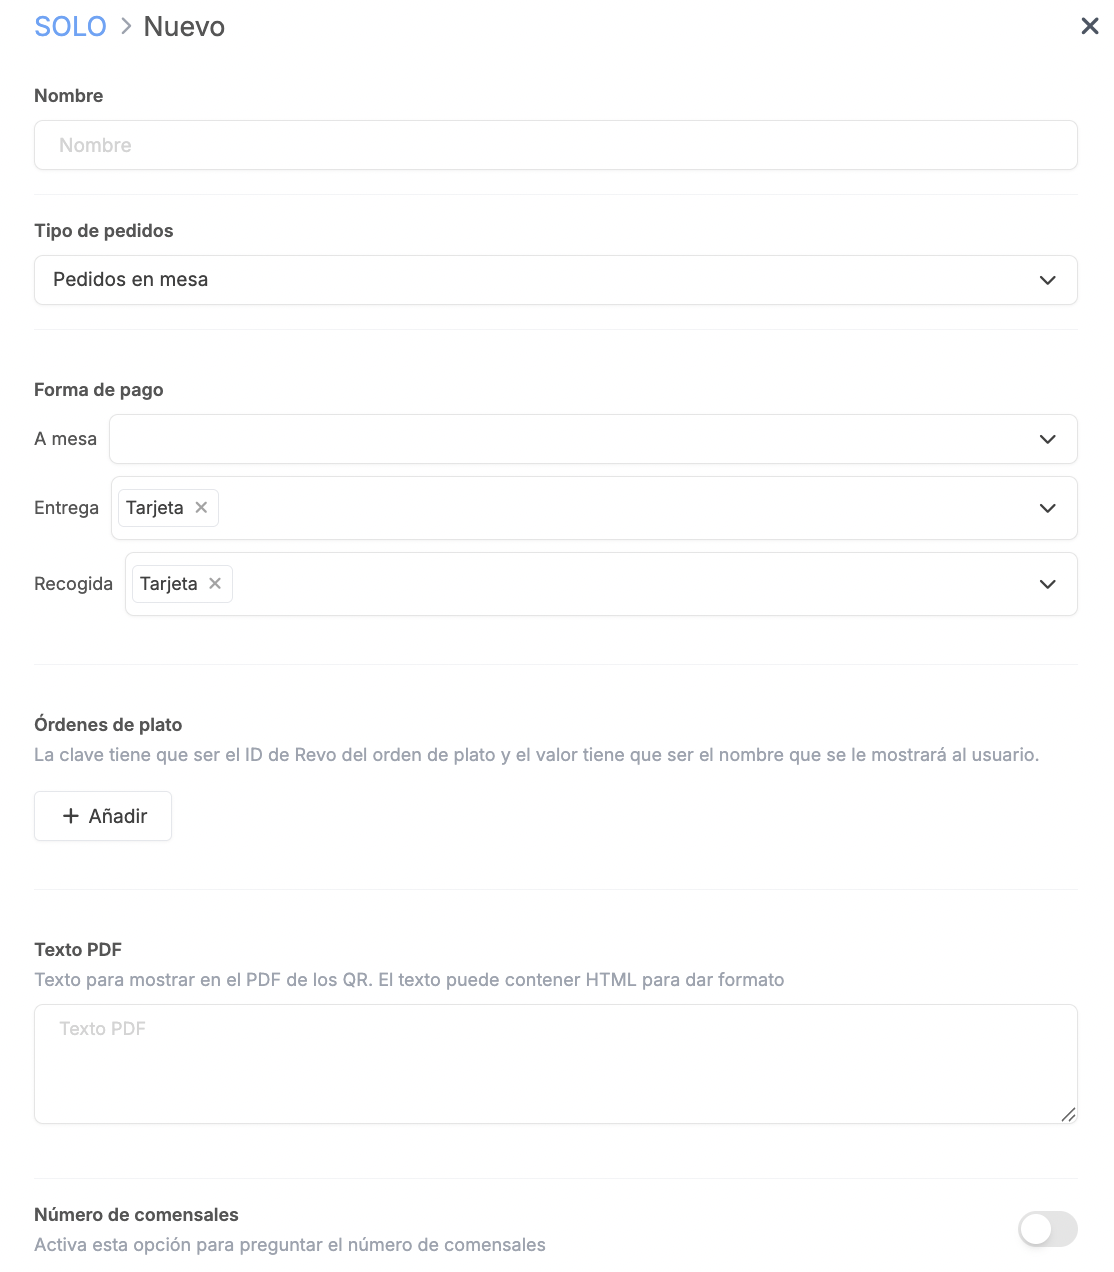
5. Go to SOLO and either edit or create a profile.
-
Name: Store name.
-
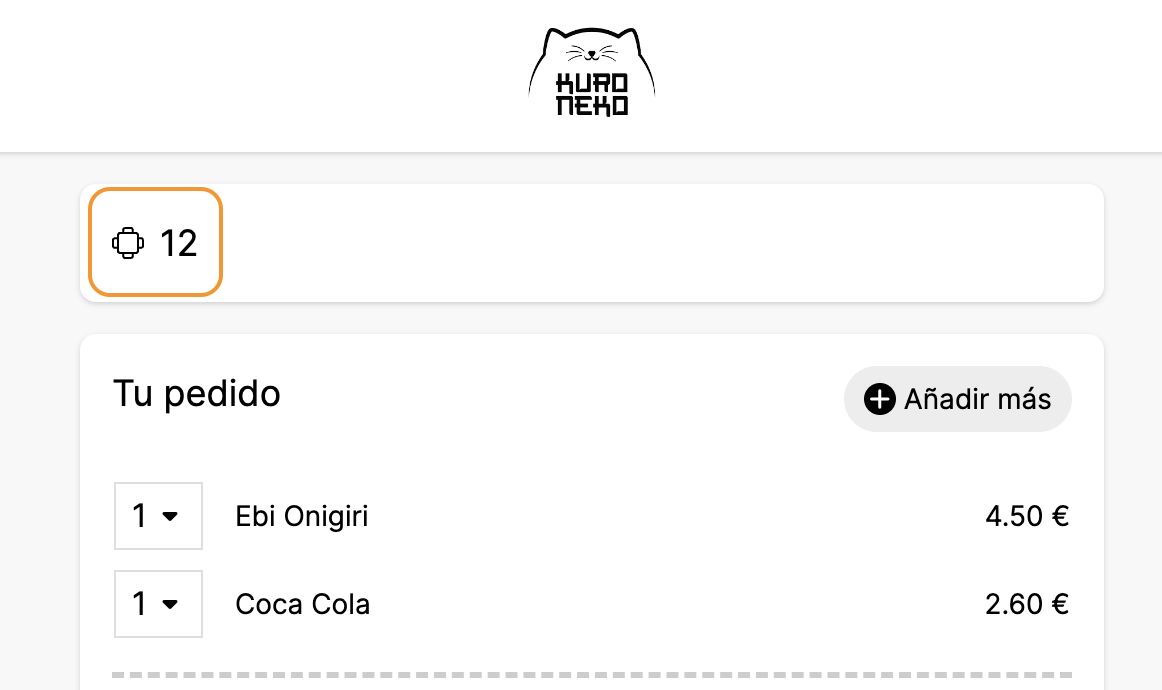
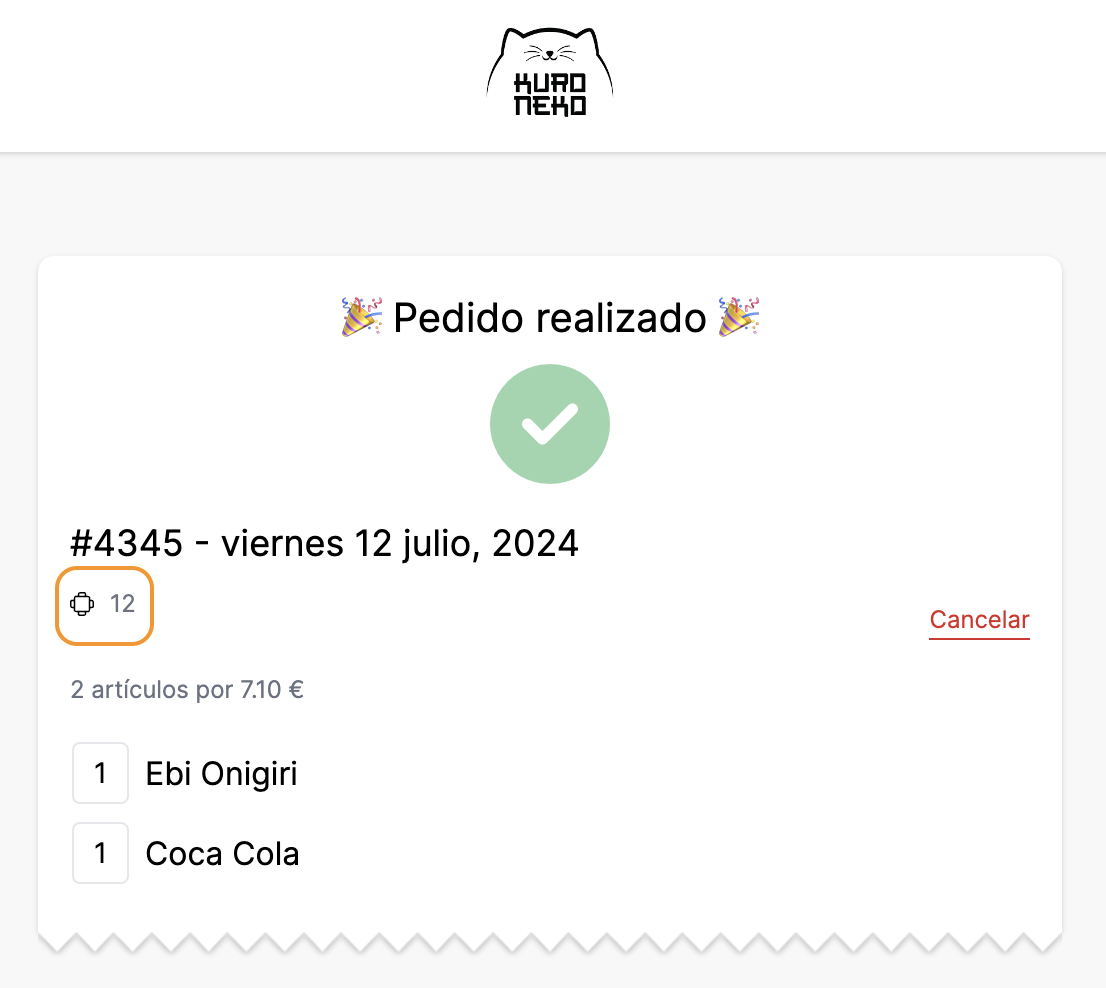
Order type: Choose "Delivery mode orders" or "Table orders" depending on how you want them received in Revo XEF. With "Table orders", the table name appears in the summary and confirmation.
-
Payment methods: Available options:
-
Card: The customer pays via a payment gateway using a card or Apple / Google Pay (if enabled).
-
At the POS: With cash or a traditional card reader.
-
Pay later with XPress: Payment available at any time via a new QR or the same one used to order.
IMPORTANT: To use XPress, a licence and integration are required. More info here.
-
-
Course orders: Create course names to be visible to the customer. The key is the course order ID in Revo XEF; the value is the name shown.
-
PDF text: Text displayed on the QR PDF.
-
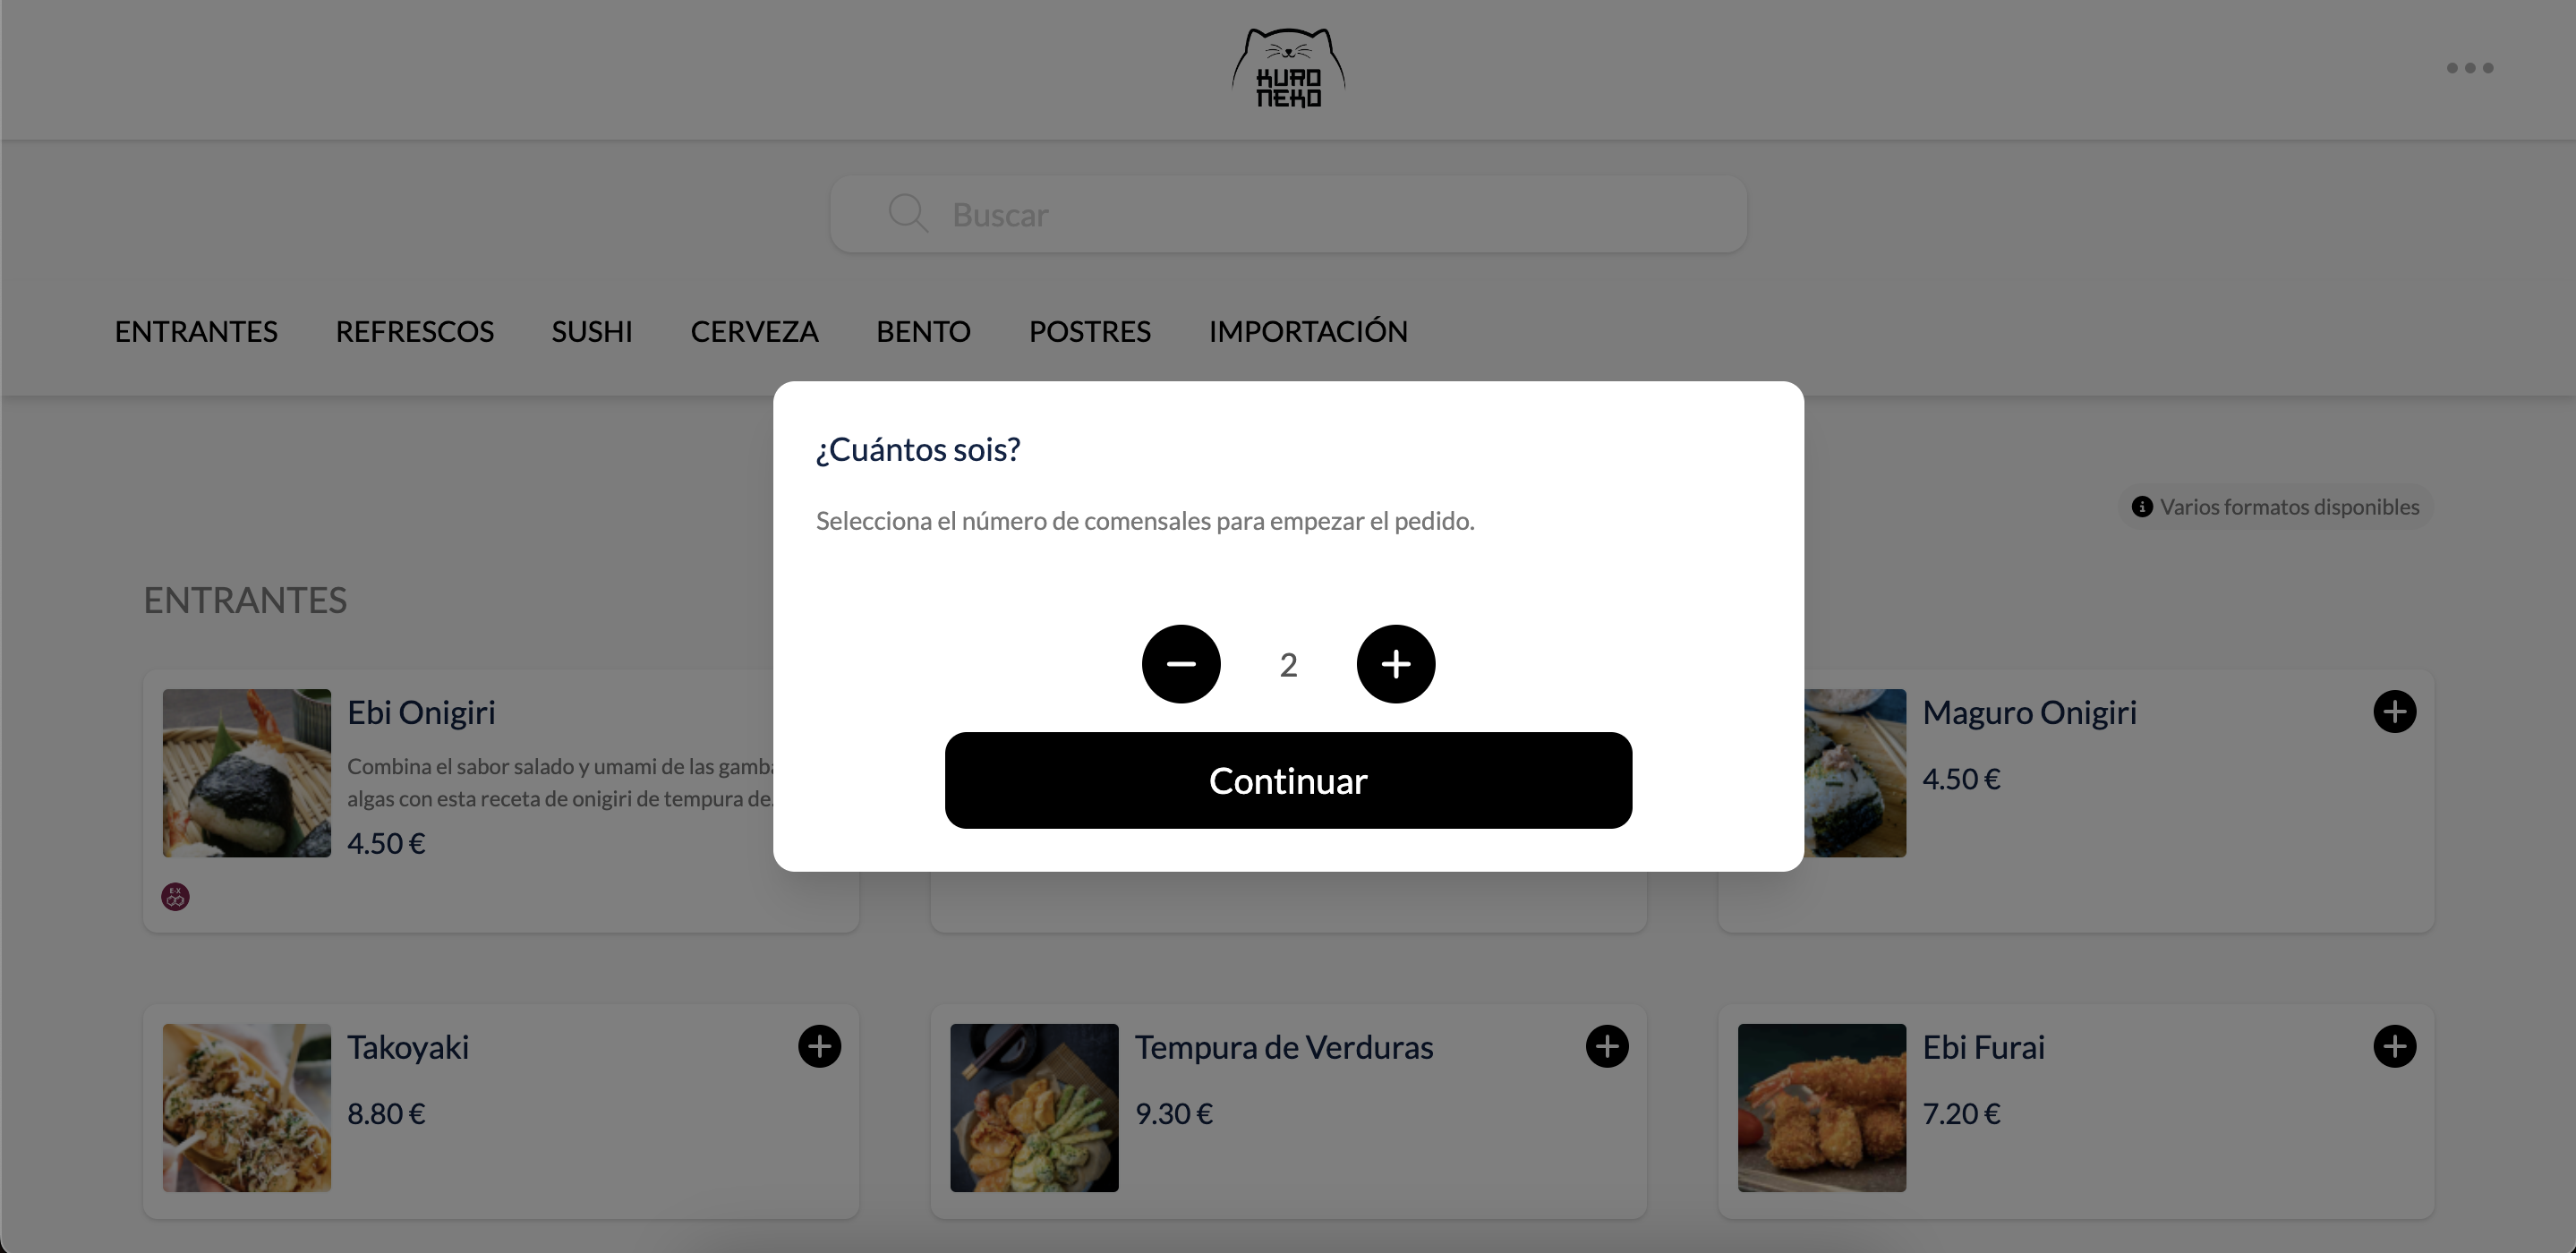
Number of guests: Enable this to ask for guest count.
-
Ask at start: If the above is enabled, Revo SOLO will ask for the number of guests when launched.
-
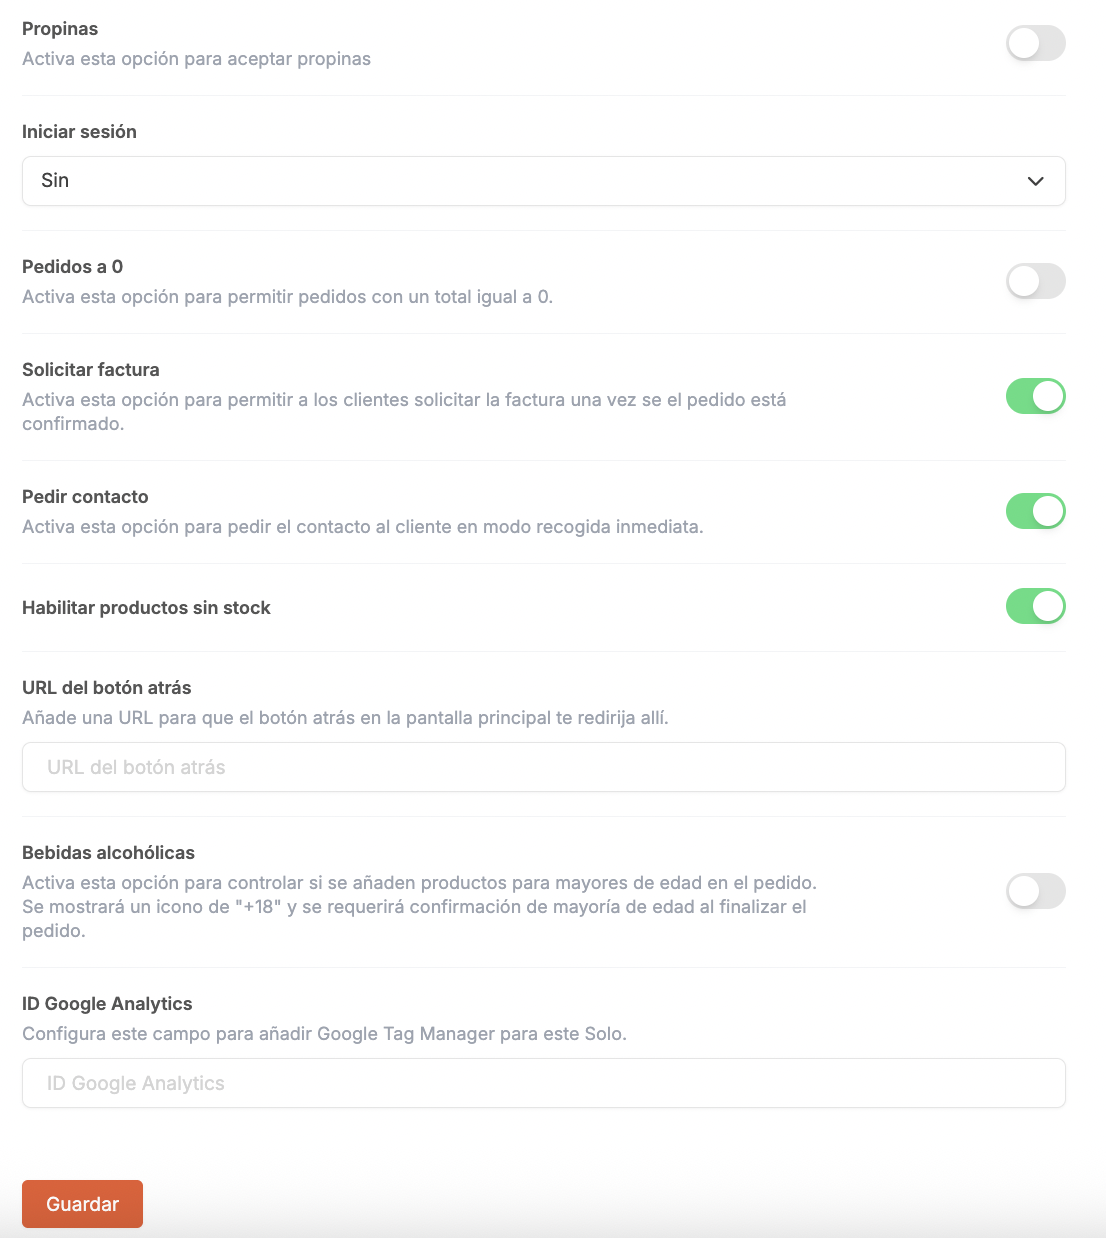
Tips: Enable this to allow tips.
-
Login method: Choose your preferred login mode.
-
Zero-value orders: Allow free orders.
-
Invoice request: Let customers request an invoice after ordering.
-
Ask for contact details: Enable to request contact info in immediate pickup mode.
-
Enable out-of-stock products: Allow products without stock.
-
Back button URL: Add a URL where the back button on the main screen will redirect.

-
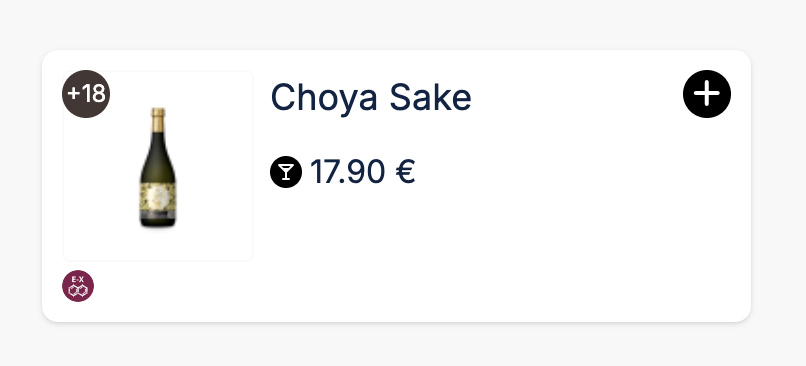
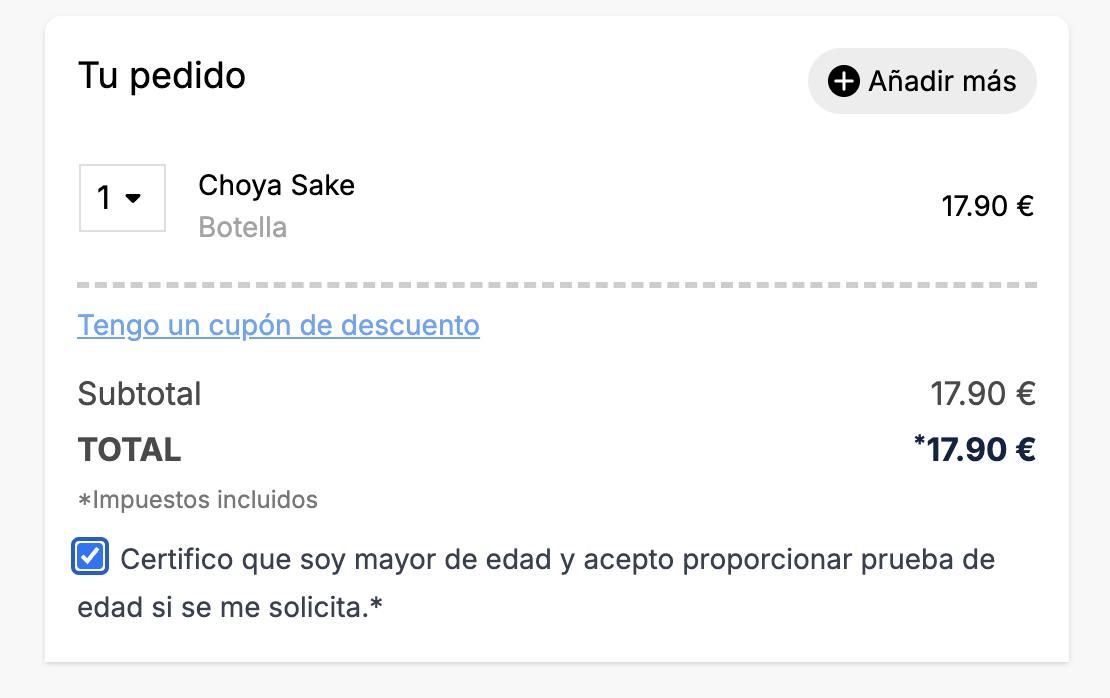
Alcoholic drinks: Display "+18" on alcoholic drinks and ask for age confirmation.
-
Google Analytics ID: Set this field to add Google Tag Manager to a Revo SOLO location.
6. Click Save.
7. Go to STORES, click and complete the fields.
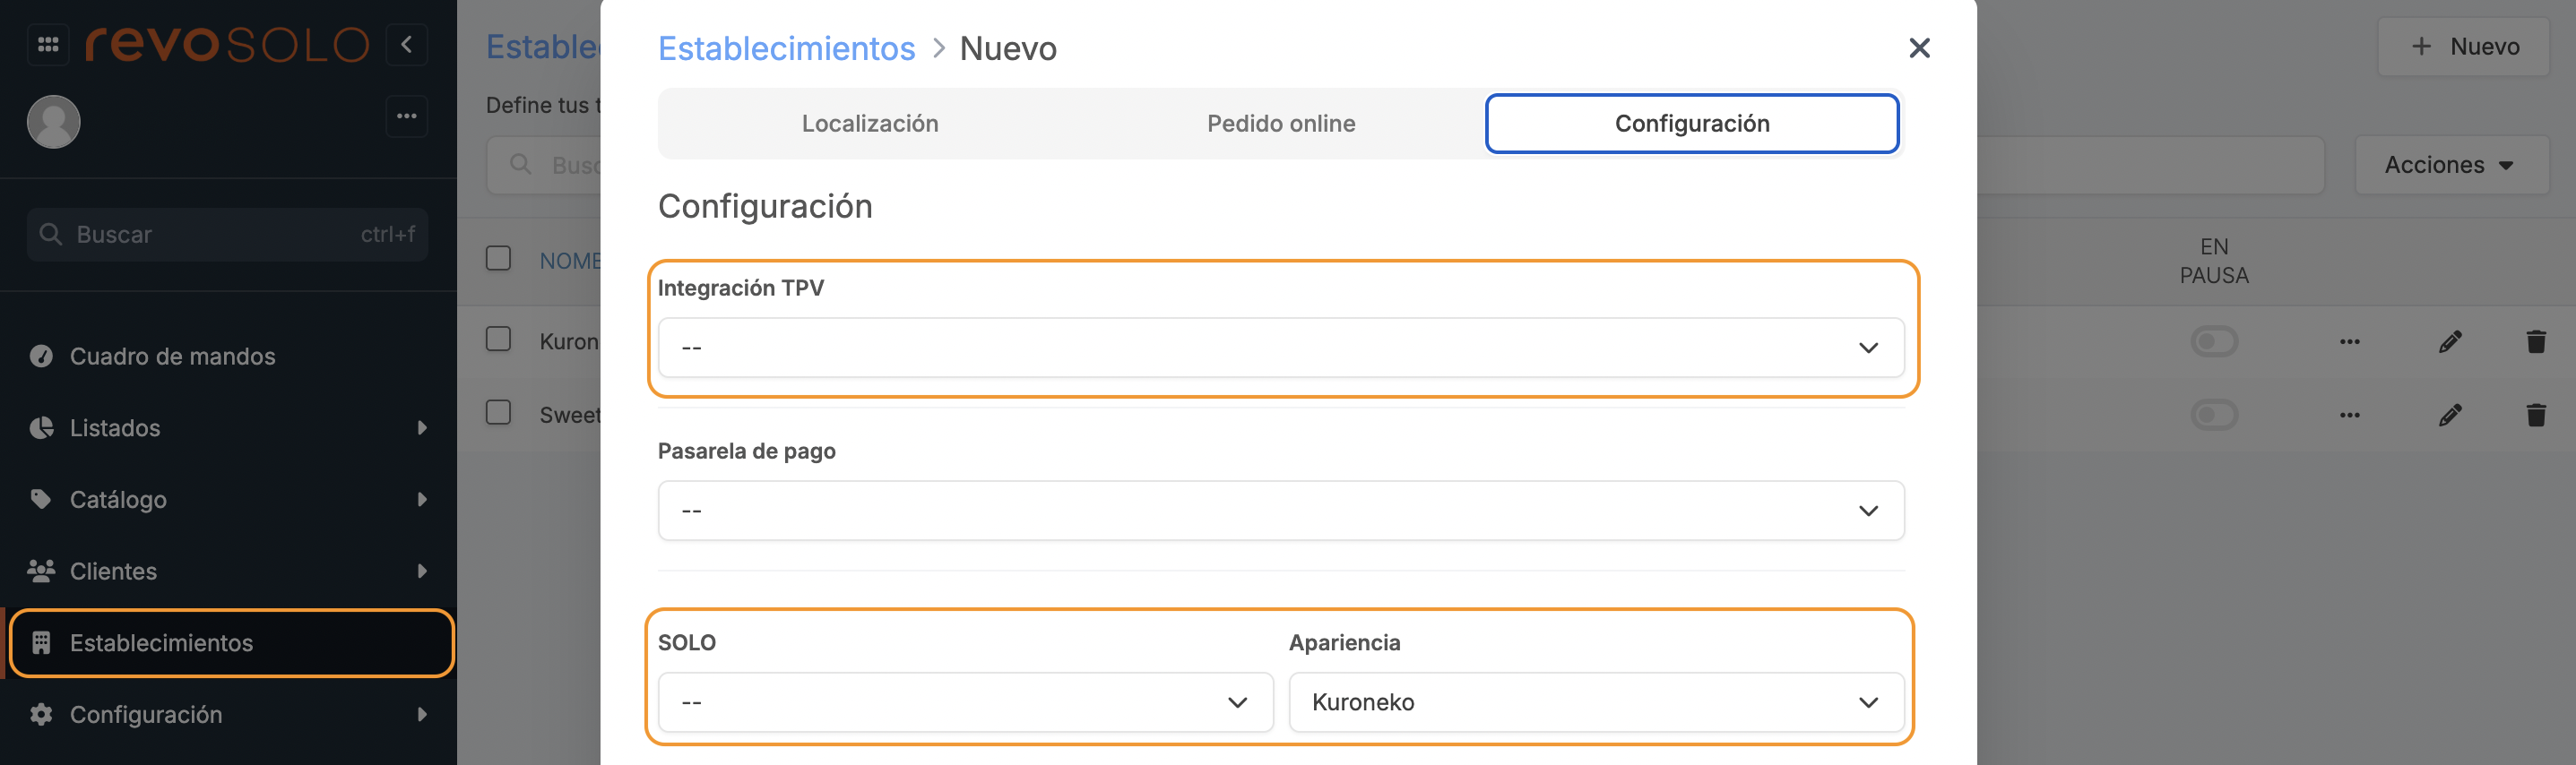
-
In the CONFIGURATION tab:
- POS Integration: Select the integration created in step 3.2.
- Solo: Select the profile created in step 3.5.
- Appearance: Select the appearance profile (there is always one created by default).
8. Click Save.
Integration between Revo SOLO and Revo XEF is now set up.
Now all that remains is to configure products, add the menu, etc. Learn how to do it here.