1. PAYMENT GATEWAYS 2. APPEARANCES 3. DELIVERY AGENCIES 4. POS INTEGRATIONS 5. BOOKING INTEGRATIONS 6. INTEGRATIONS 7. EVENTS 8. EMPLOYEES 9. PERMISSIONS 10.LEGAL DOCUMENTATION
1. PAYMENT GATEWAYS
This section allows you to configure the different payment gateways that you can use in your establishment. To do so:
1. Go to Settings / PAYMENT GATEWAYS.

2. Click on + New:


- Name: Enter an identifying name.
- Test: If you are using it in test mode.
- Default: If you want this payment gateway to be default.
- Type: Select from the dropdown.
IMPORTANT: All remaining information must be provided by the bank.
3. Click on Save.
For more information about payment gateways, you have the following articles available:
2. APPEARANCE
In this section, you can customise the appearance of your webapp. Follow these steps:
1. Go to Settings / APPEARANCE.

2. Click on + New:

GENERAL
- Default: If you want this to be the default look.
- Name: Enter an identifying name.
COLOUR
-
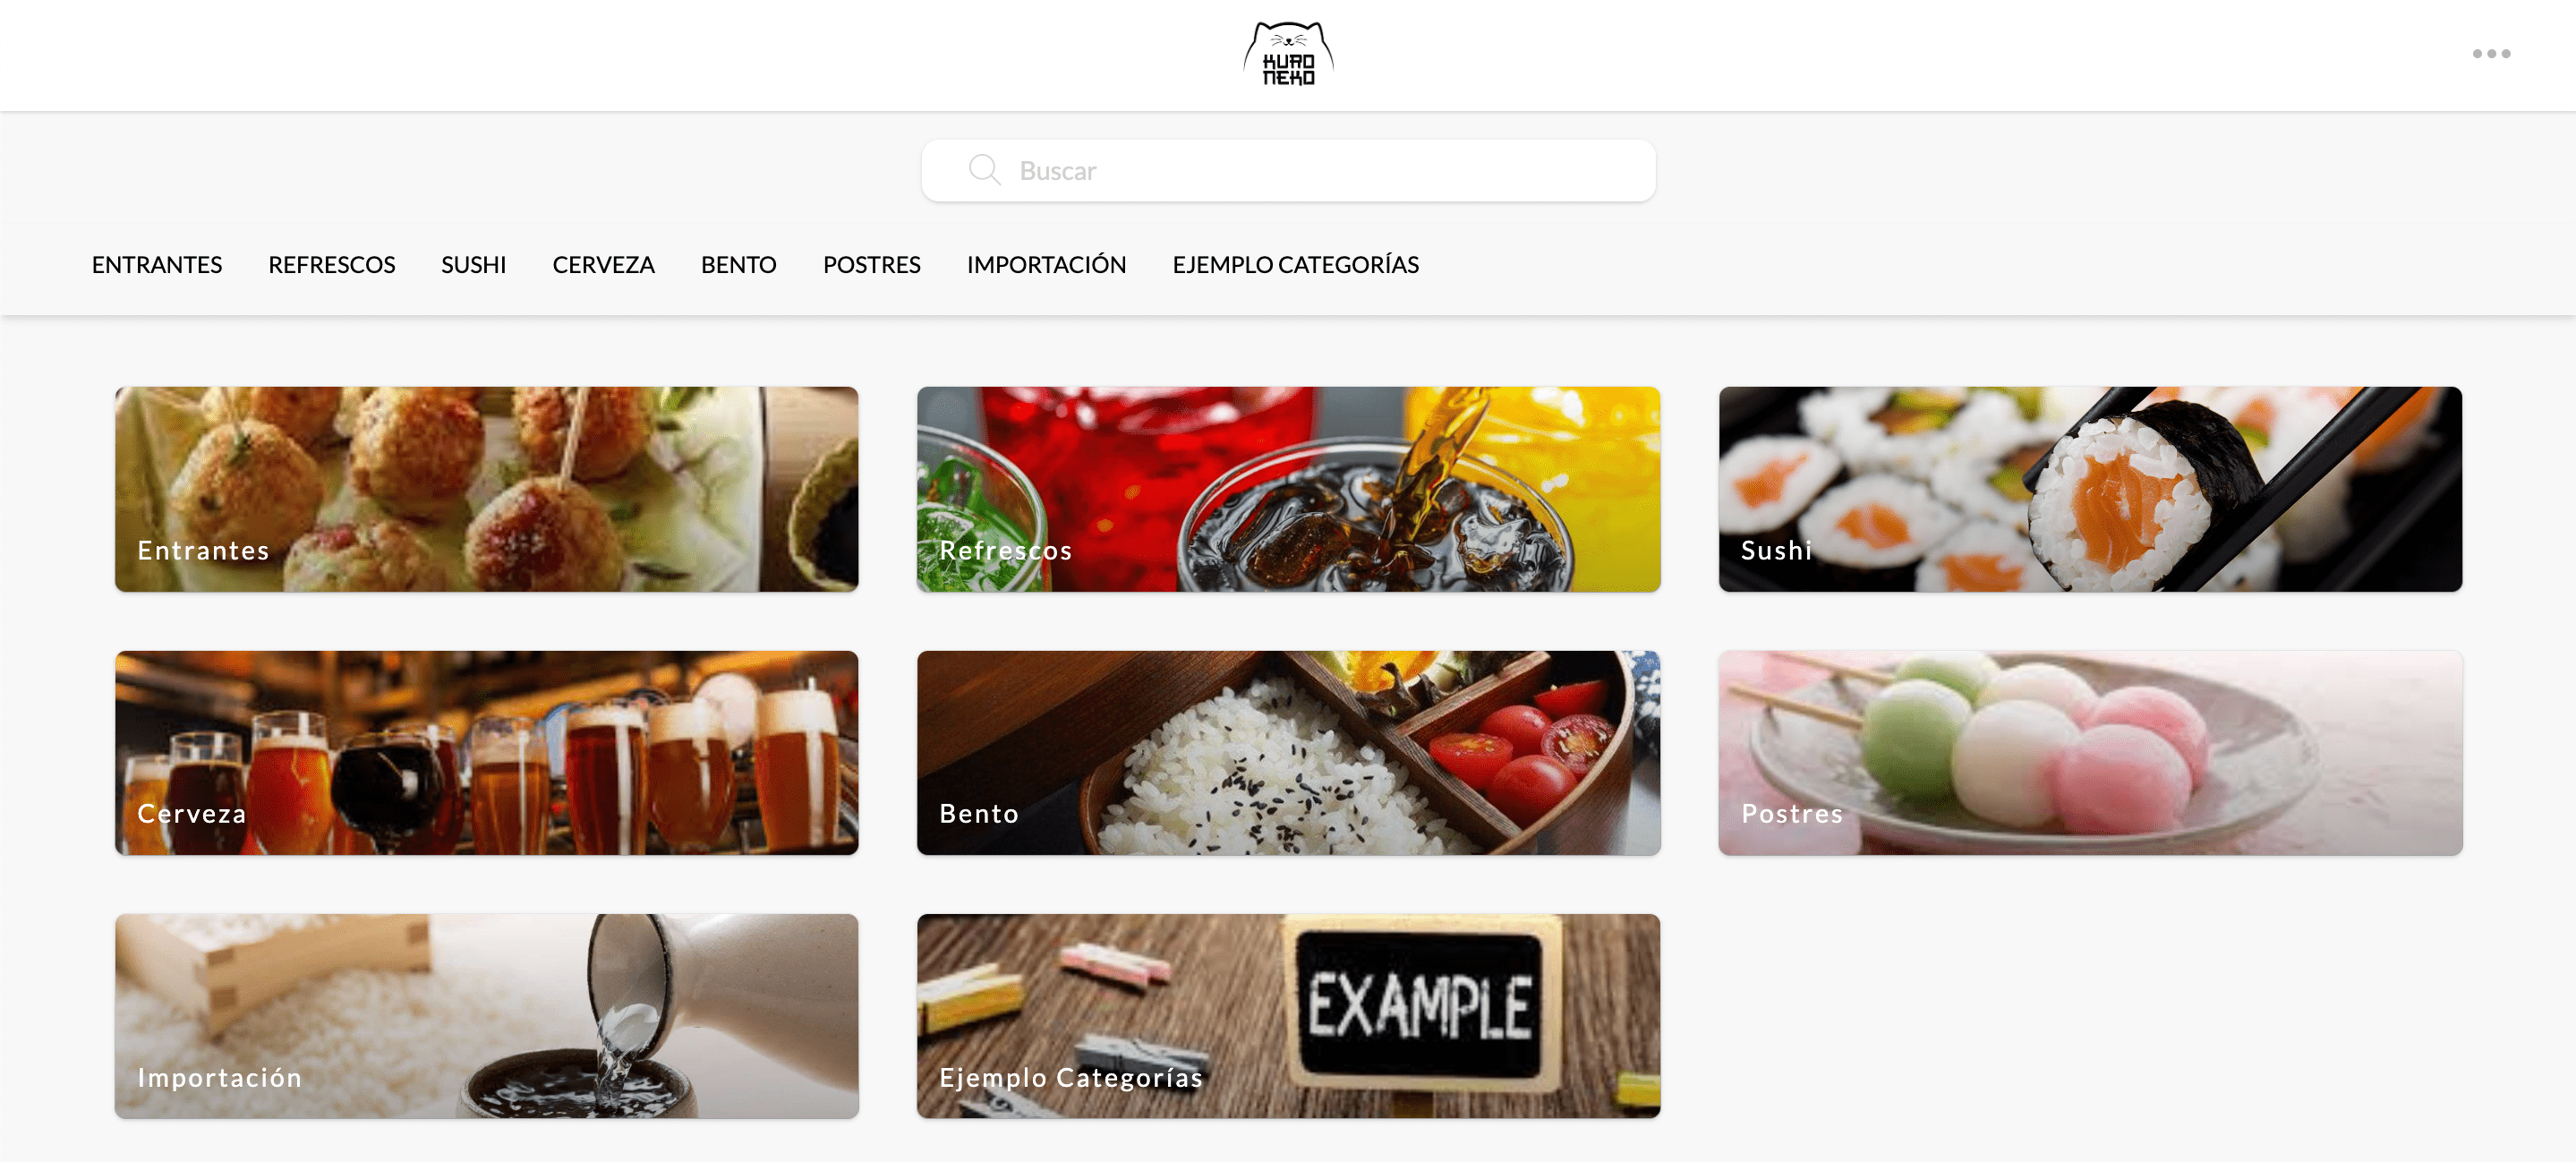
Primary colour: This is the main colour, for example: the buttons in the product categories.

-
Complementary colour: This is the complementary colour, for example: the colour of the cross on the button.
CATEGORIES
-
Category menu: Enable this option to always show the navigation menu between categories.
-
Product images: Enable the display of catalogue images in SOLO.
-
Category button images: Enable this option to display category images on the catalogue buttons.
-
Category name: Enable this option to display the category name above the image.
Make sure you have at least one category added for this option to work correctly. More information here.
-
Featured category title: Enter a title for the category.

FOOTER
-
Footer text: Add a custom text to the Revo SOLO footer.
In HTML format, you can add:- Links: < a href= "http://google.com" > Google < /a >
- Bold text: < b > Bold text < /b >
-
Italic text: < i > Italic text < /i >
Write the elements without spaces between < >.

3. Click on Save to confirm the changes.
4. Finally, you can add a logo or an image in the header by clicking on .
3. DELIVERY AGENCIES
1. Go to Settings / DELIVERY AGENCIES.
2. Click on + New:

-
Name: Enter an identifying name.
-
Test: Activate it if you are testing.
-
Type: Stuart / Glovo / Custom.
If you select Custom, you will just need to provide an email address where order details will be sent: order number, customer (name, phone, and address), delivery time, notes, and establishment details (name, address, and phone).
-
Client: Provided by Stuart / Glovo.
-
Secret: Provided by Stuart / Glovo.
3. Click on Save to confirm the changes.
4. POS INTEGRATIONS
In this section, you can integrate Revo SOLO with different POS systems (Revo XEF, Simphony, and ICG).
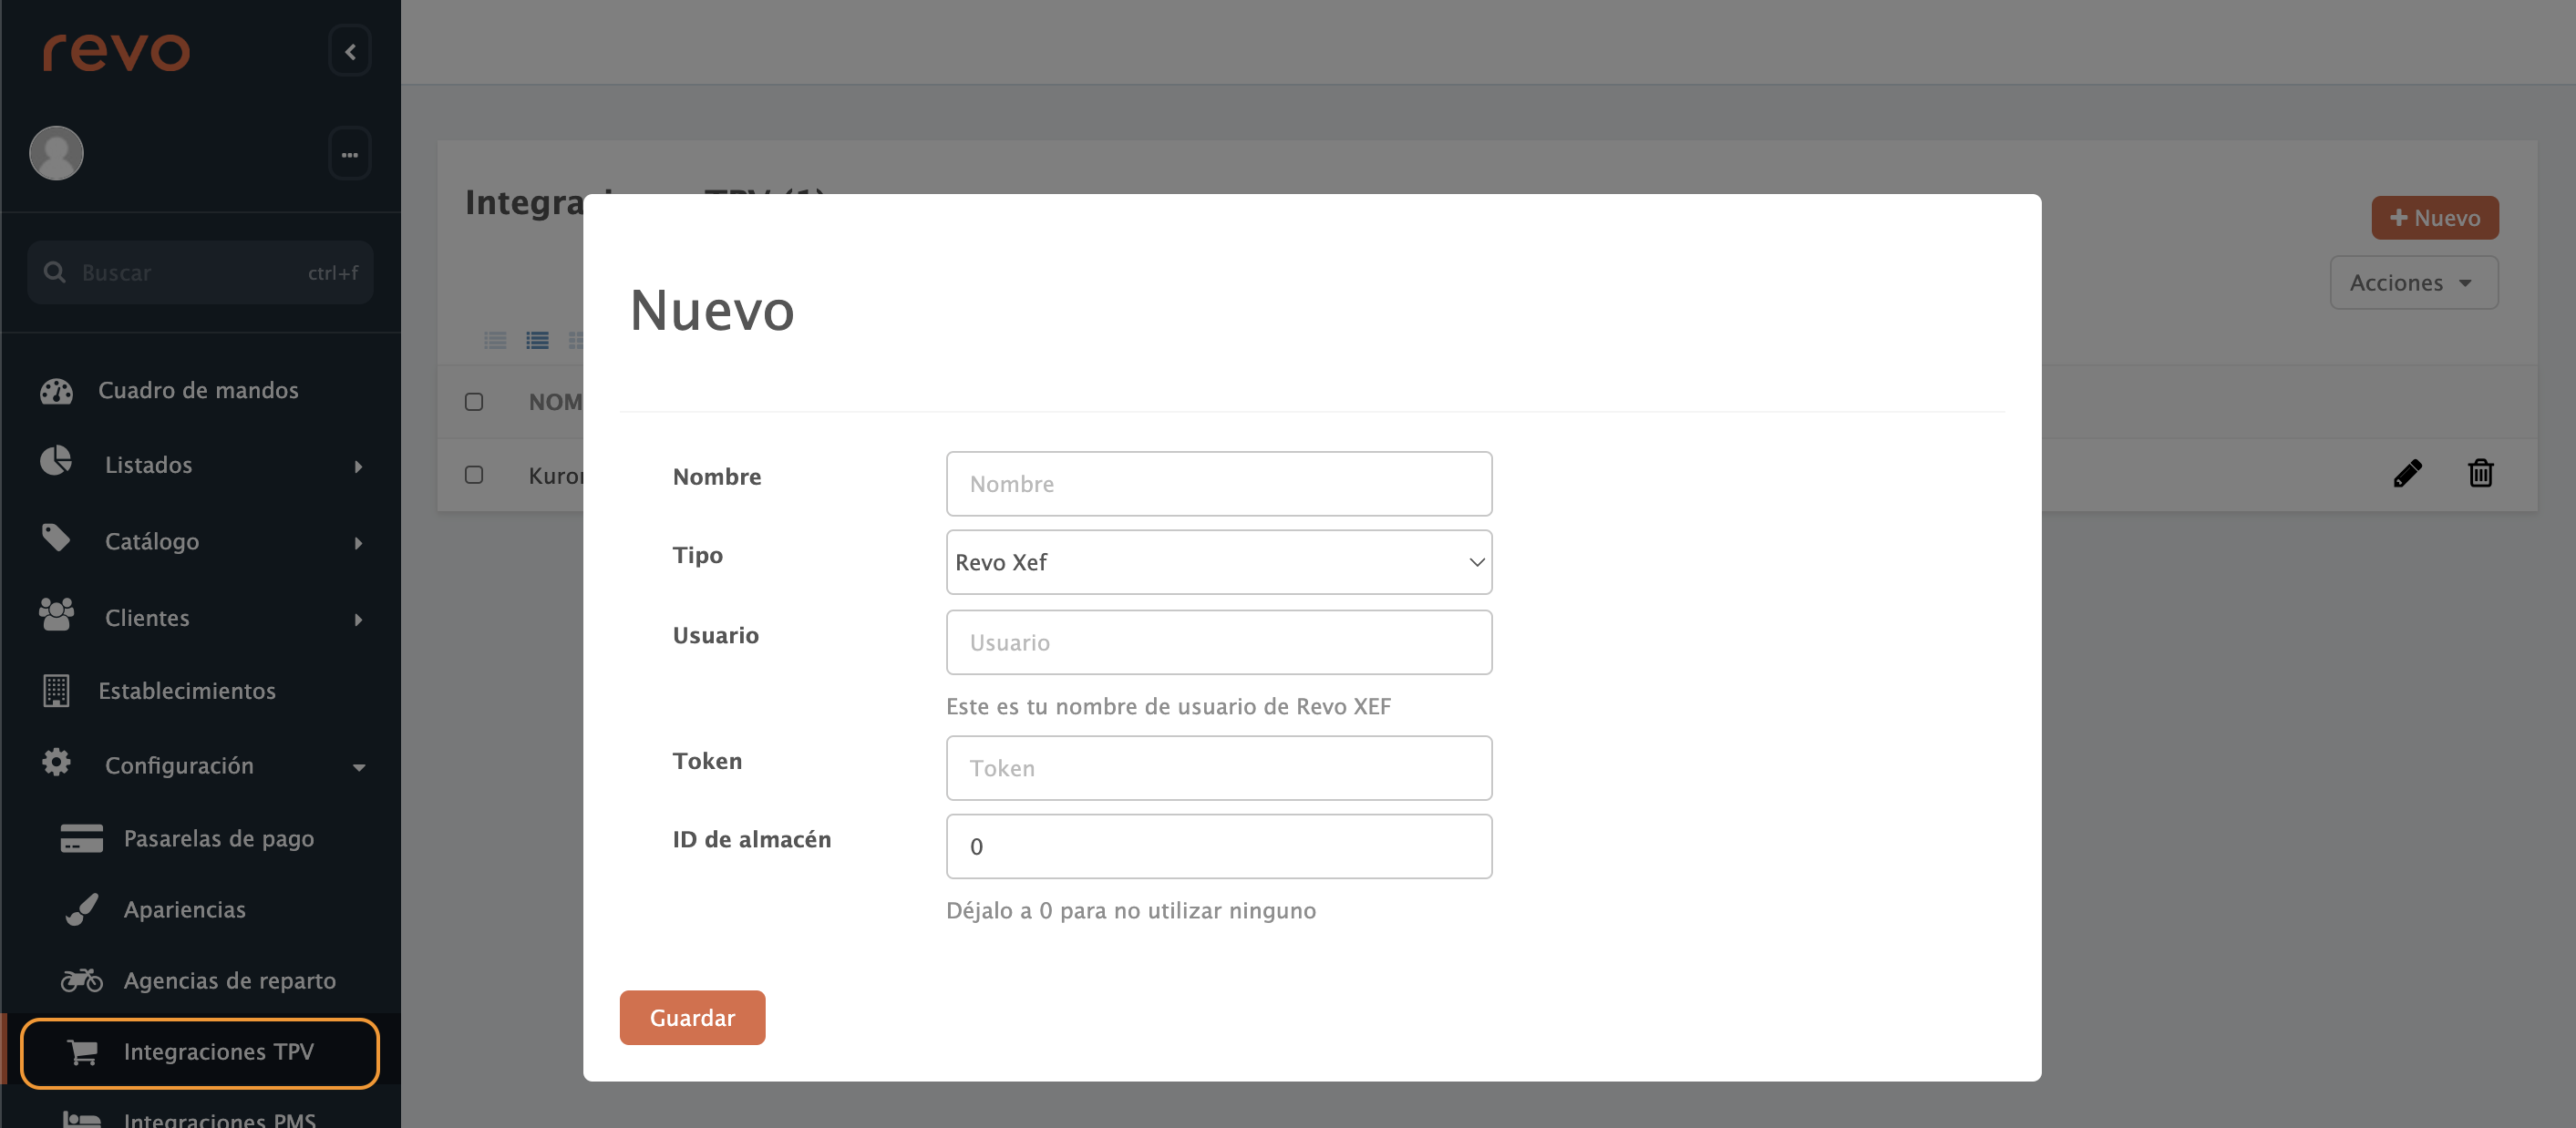
1. Go to Settings / POS INTEGRATIONS.
2. Click on +New :
-
Name: Enter an identifying name.
-
Type: Select the POS from the dropdown menu.
If you choose Simphony or ICG, you will need to complete the following points with the information provided by them.
-
User: Enter your Revo XEF username.
-
Token: Use the token generated in the Revo XEF back-office. For more details on tokens, see here.
-
Store ID: Leave it at 0 if you don't need it.
3. Click on Save to confirm the changes.
5. BOOKING INTEGRATIONS
In this section, you can integrate Revo SOLO <-> Revo FLOW to manage bookings. Follow these steps:
1. Go to Settings / BOOKING INTEGRATIONS.
2. Click on + New:

- Name: Enter an identifying name.
- Revo FLOW User: Enter your Revo FLOW username if you want to enable bookings from the SOLO app.
- Revo FLOW Token: Use the token generated in Revo FLOW. Get information on how to create it here.
3. Click on Save to confirm the changes.
6. INTEGRATIONS
In Settings / INTEGRATIONS you can add integrations like Revo INTOUCH.
Learn how here.
7. EVENTS
You can find information about events and how to configure them here.
8. EMPLOYEES
Employees are the workers who use REVO.
1. Go to the EMPLOYEES section.

2. Click on the +New button, and complete the information.


- Active: Enable this option to make this user available.
- Name: Enter the employee's name. (Required Field)
- Last Name: Enter the employee's last name.
- Email: Enter the employee's email.
- Mobile: Enter the employee's phone number.
- NIF: Enter the employee's NIF.
- Notes: Space for notes or additional information.
Back-office
-
Username: Employee's username to access the back-office.
-
Password: Password the employee will use to access the back-office.
Remember that to access, the username field on the login screen is: username@cuenta.

-
Permission: Define the employee's privileges in the back-office.
3. Click on Save to confirm the changes.
9. PERMISSIONS
To create a new privilege group, go to Settings and find PERMISSIONS, then click on the + New button. A window will open where you can set the group name and select the permissions you wish to assign:

Each tab refers to the back-office module, and within each module, you can choose the type of permission for each section.
-
Name: Assign a name to the permission for identification.
-
Catalogue: Select permissions for the Catalogue module.
-
Account: Choose permissions for lists, establishments, clients, and accounts.
-
Settings: Select permissions for the Settings module.
-
Marketing: Choose permissions for sections within the Marketing module.
-
App: Select permissions for sections within the App module.
-
Other: Choose permissions for the Other module.
The different types of permissions are:
-
None: No permissions.
-
View: View only.
-
View + Activate: View and modify active.
-
View + Activate + Edit: View, modify active, and edit.
-
View + Feature: View products and activate the feature.
-
View + Feature + Activate: View products, activate the feature, and modify active.
-
View + Feature + Activate + Edit: View products, activate the feature, modify active, and edit.
-
Full: Full permissions.
You can select the options you want based on the privileges you wish to assign to employees. Each employee will only see the sections assigned to them.
10. LEGAL DOCUMENTATION
In the LEGAL DOCUMENTATION section, you can upload all the necessary legal documents.

You can check the status of the documents:
- : All documents are uploaded in the configured languages.
- : The document is only uploaded in the default language, other languages are missing.
- : No document has been uploaded.
1. To add documents, click on + New and complete the information.

- Establishment: Leave it as default or select a specific establishment.
- Type: Choose from the 4 types of documents.
- Language: Select the document’s language.
- Link: Upload the file.
2. Click on Save.